> ## Documentation Index
> Fetch the complete documentation index at: https://cal.com/docs/llms.txt
> Use this file to discover all available pages before exploring further.
# SSO setup
Cal.com supports both Security Assertion Markup Language (SAML) and OpenID Connect (OIDC), two of the industry's leading authentication protocols. We prioritize your ease of access and security by providing robust Single Sign-On (SSO) capabilities. Whether you're looking for the XML-based standard of SAML or the lightweight OIDC, our platform is equipped to integrate smoothly with your preferred identity provider, ensuring both convenience and security for your users.
### Setting up SAML login
Follow the instructions here - [SAML Setup](/developing/guides/auth-and-provision/sso-setup#saml-registration-with-identity-providers)
Ensure that all users who need access to Cal.com have access to the IdP SAML app.
Keep the XML metadata from your IdP accessible, as you will need it later.
Visit `settings/organizations/sso`.
Click on the `Configure` button for `SSO with SAML`.
In the SAML configuration section, copy and paste the XML metadata from step 3 and click on Save.
Once setup is complete, provisioned users can log into Cal.com using SAML.
### SAML Registration with Identity Providers
This guide explains the settings you need to use to configure SAML with your Identity Provider. Once configured, obtain an XML metadata file and upload it on your Cal.com instance.
> **Note:** Please do not add a trailing slash at the end of the URLs. Create them exactly as shown below.
**Assertion consumer service URL / Single Sign-On URL / Destination URL:** [https://app.cal.com/api/auth/saml/callback](https://app.cal.com/api/auth/saml/callback)
**Entity ID / Identifier / Audience URI / Audience Restriction:** [https://saml.cal.com](https://saml.cal.com)
**Response:** Signed
**Assertion Signature:** Signed
**Signature Algorithm:** RSA-SHA256
**Assertion Encryption:** Unencrypted
**Name ID Format:** EmailAddress
**Application username:** email
**Mapping Attributes / Attribute Statements:**
| Name | Name Format | Value |
| :-------- | :---------- | :------------- |
| firstName | Basic | user.firstName |
| lastName | Basic | user.lastName |
### Setting up OIDC login
Keep handy the Client Secret, Client ID, and Well Known URL for the next steps.
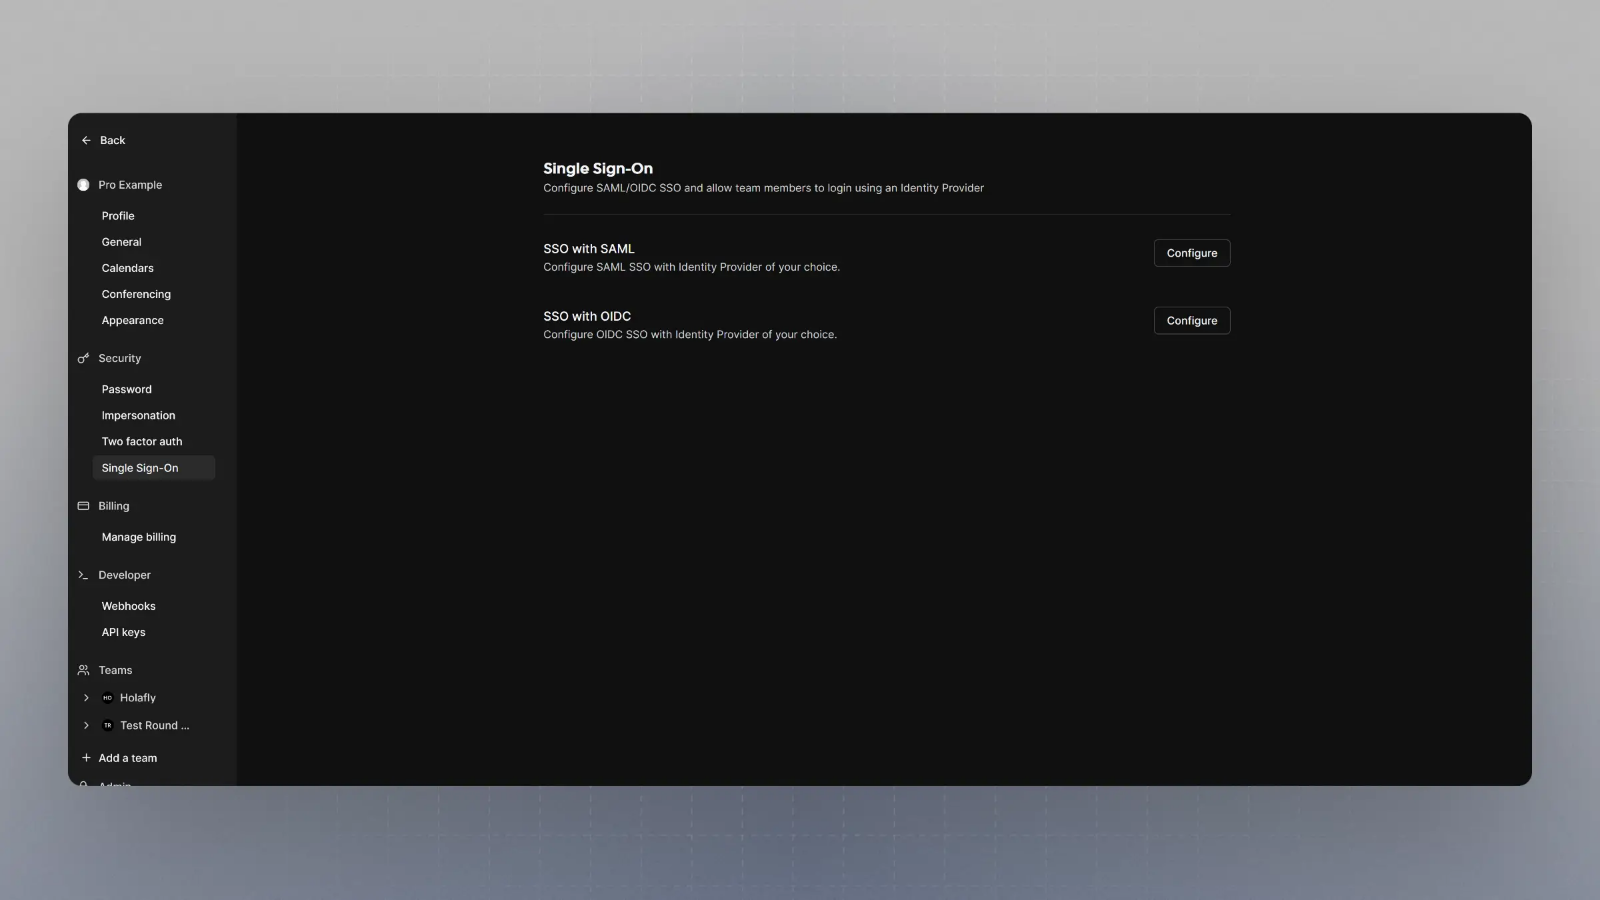
Visit `/settings/organizations/sso` and you should see something like this:
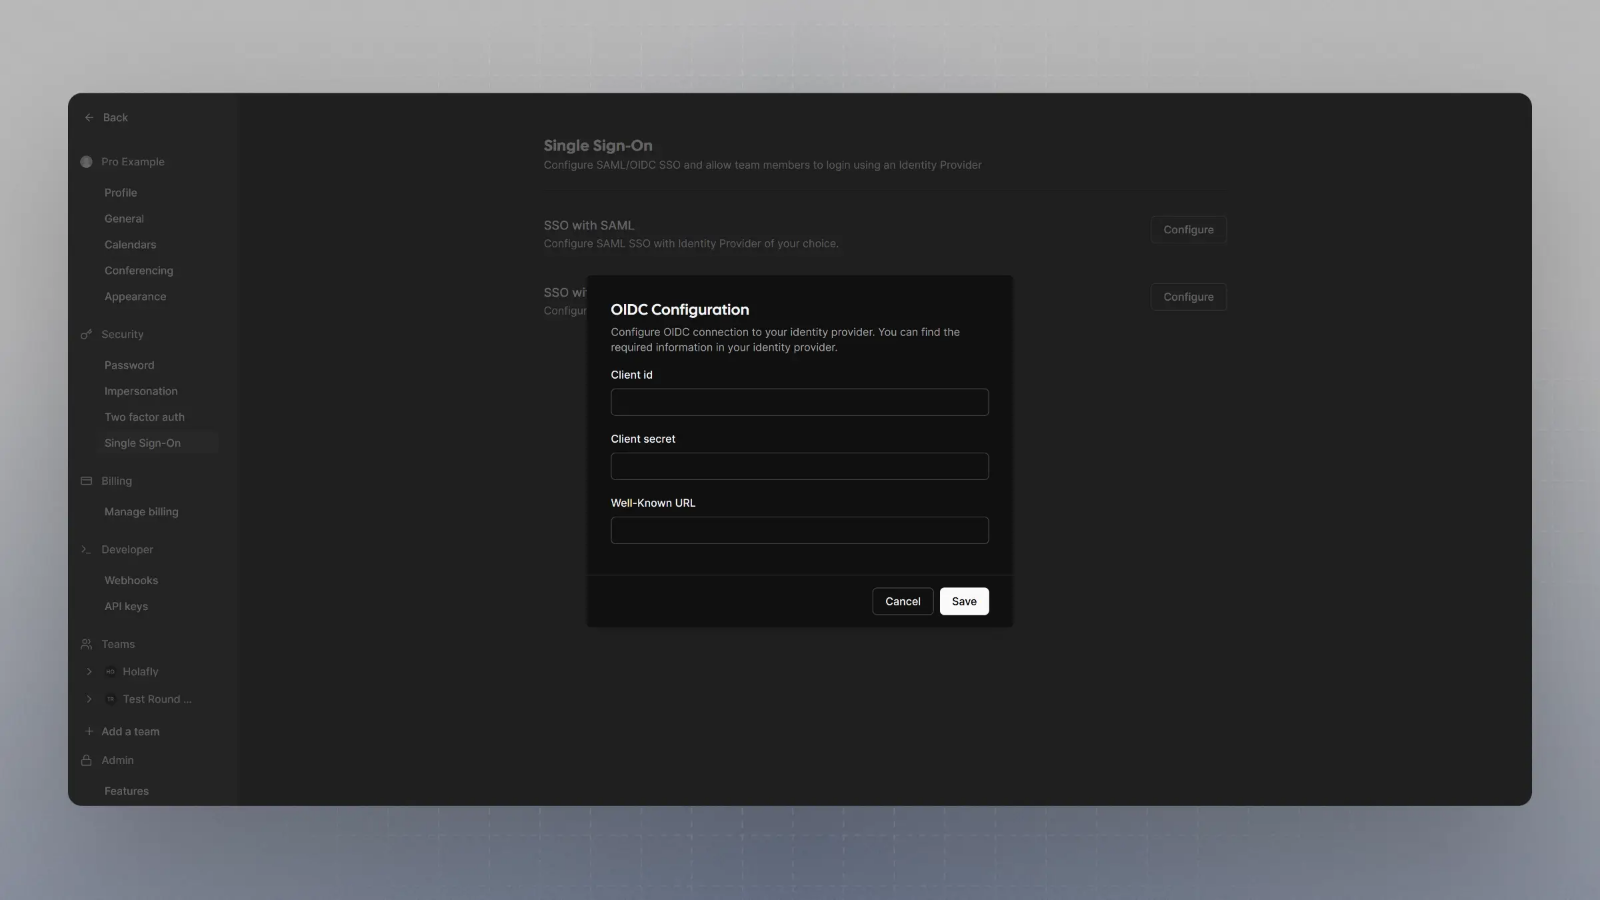
 Click on Configure SSO with OIDC, enter the Client Secret, Client ID, and Well Known URL from Step 1, and click save.
 Now, when you try to login with SSO, your OIDC provider will handle the authentication.