> ## Documentation Index
> Fetch the complete documentation index at: https://cal.com/docs/llms.txt
> Use this file to discover all available pages before exploring further.
# Organization Setup
This guide will walk you through setting up and configuring the organizations feature for your self-hosted Cal.com instance. Organizations allow you to create branded, multi-tenant environments within your Cal.com deployment.
## Prerequisites
Before setting up organizations, ensure you have:
* A working Cal.com instance already installed and running
* Admin access to your Cal.com instance
* Access to modify environment variables and restart your server
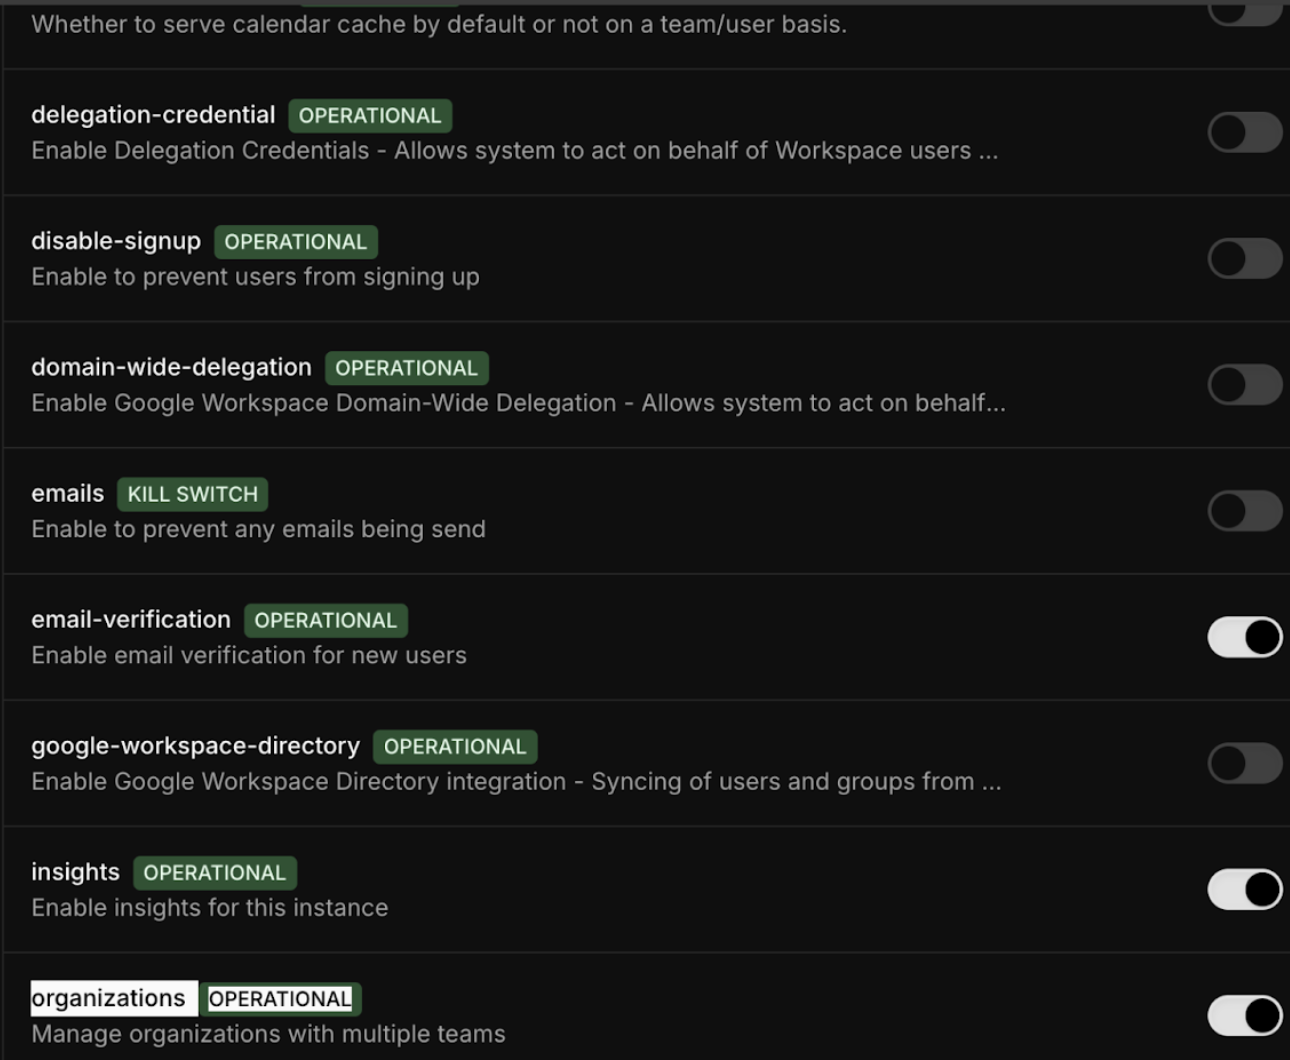
## Step 1: Enable Organizations Feature
1. Login as admin using `admin@example.com`
2. Navigate to **Settings** → **Admin** → **Features**
3. Turn on the **Organizations** feature flag under the Features section
 ## Step 2: Configure Environment Variables
Set the following environment variables in your `.env` file:
```bash theme={null}
NEXT_PUBLIC_WEBAPP_URL=http://app.cal.local:3000
NEXT_PUBLIC_WEBSITE_URL=http://app.cal.local:3000
NEXTAUTH_URL=http://app.cal.local:3000
ORGANIZATIONS_ENABLED=1
```
## Step 3: Configure Local DNS
Add the following entry to your hosts file to enable local access:
```bash theme={null}
127.0.0.1 app.cal.local
```
**Host file locations:**
* **Linux/Mac**: `/etc/hosts`
* **Windows**: `C:\Windows\System32\drivers\etc\hosts`
## Step 4: Start/Restart Development Server
After making the configuration changes, start/restart your development server:
```bash theme={null}
yarn dev
```
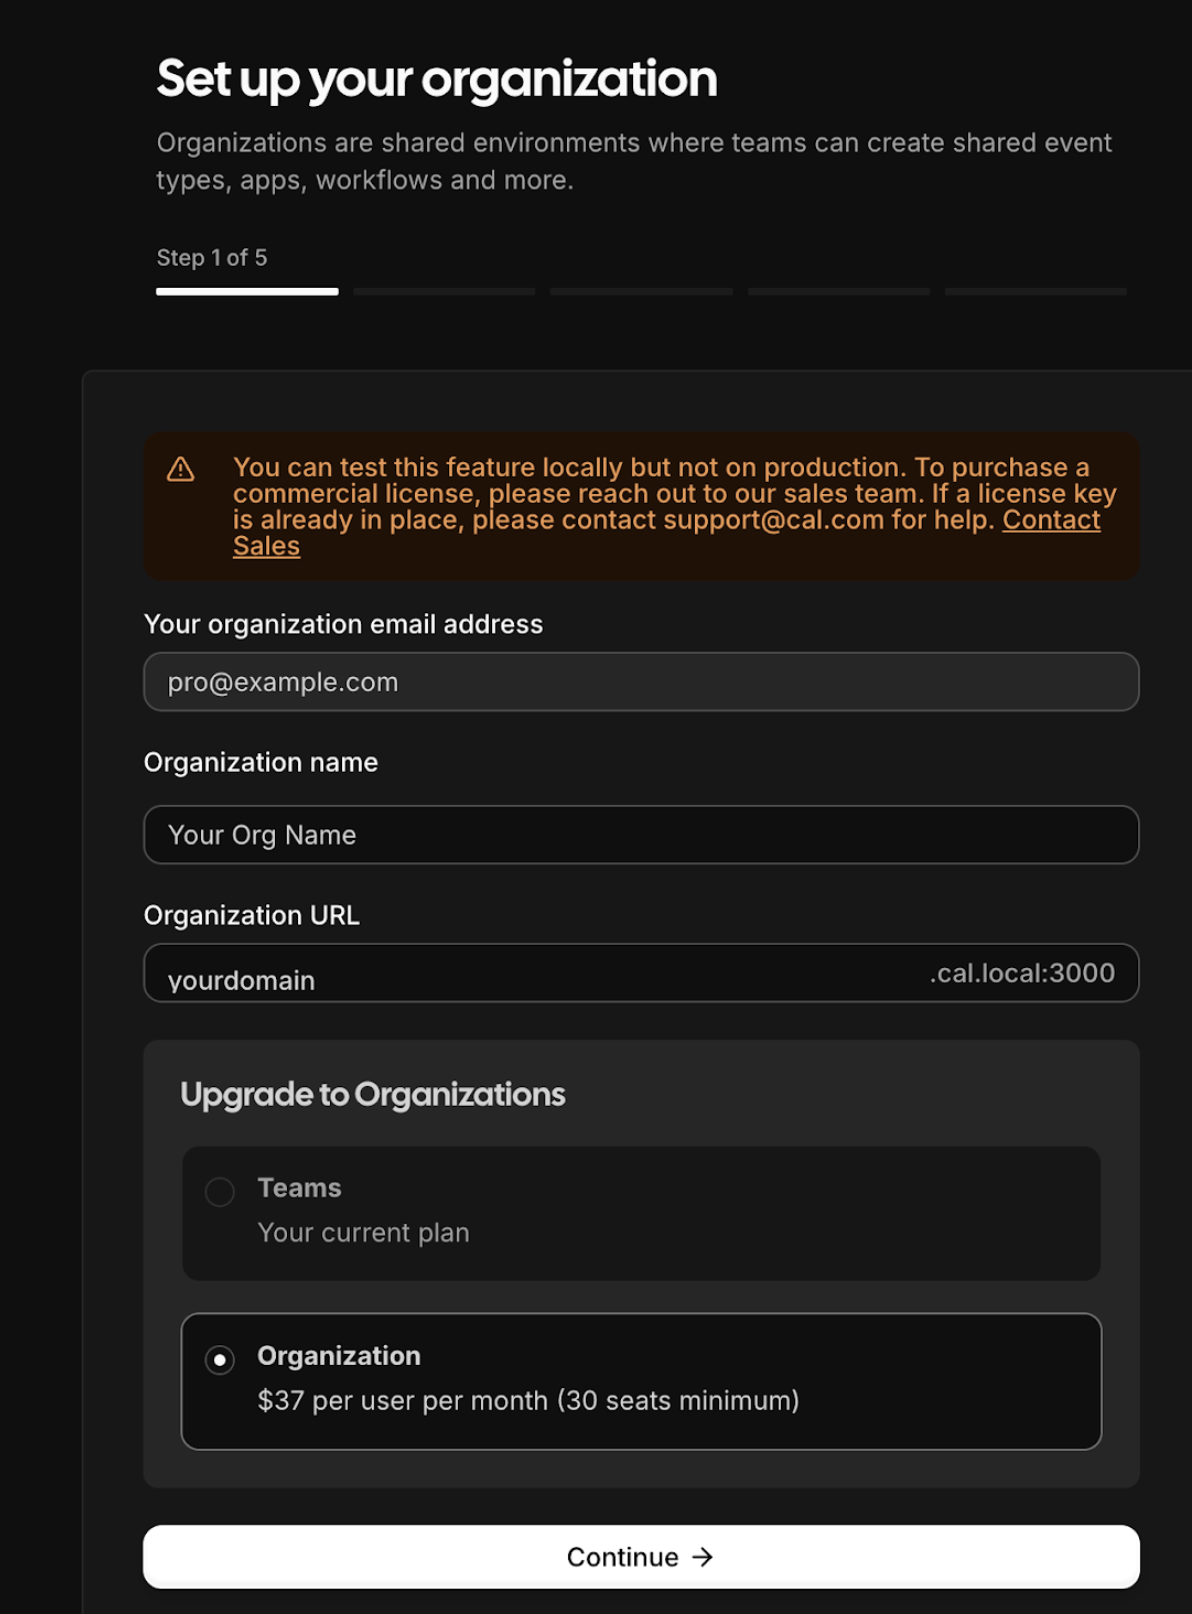
## Step 5: Create an Organization
1. Login using `pro@example.com` (or any user account)
2. Visit `http://app.cal.local:3000/settings/organizations/new`
3. Follow the onboarding steps:
* Choose a slug for the organization(say `myorg`)
* Ignore pricing information (not required for self-hosting)
* Complete the first step (remaining steps can be skipped for now)
## Step 2: Configure Environment Variables
Set the following environment variables in your `.env` file:
```bash theme={null}
NEXT_PUBLIC_WEBAPP_URL=http://app.cal.local:3000
NEXT_PUBLIC_WEBSITE_URL=http://app.cal.local:3000
NEXTAUTH_URL=http://app.cal.local:3000
ORGANIZATIONS_ENABLED=1
```
## Step 3: Configure Local DNS
Add the following entry to your hosts file to enable local access:
```bash theme={null}
127.0.0.1 app.cal.local
```
**Host file locations:**
* **Linux/Mac**: `/etc/hosts`
* **Windows**: `C:\Windows\System32\drivers\etc\hosts`
## Step 4: Start/Restart Development Server
After making the configuration changes, start/restart your development server:
```bash theme={null}
yarn dev
```
## Step 5: Create an Organization
1. Login using `pro@example.com` (or any user account)
2. Visit `http://app.cal.local:3000/settings/organizations/new`
3. Follow the onboarding steps:
* Choose a slug for the organization(say `myorg`)
* Ignore pricing information (not required for self-hosting)
* Complete the first step (remaining steps can be skipped for now)
 After creating the organization, you'll be moved inside it and all existing Cal.com links will redirect to the organization URL (e.g., `yourdomain.cal.local:3000`).
## Accessing Your Organization
Now if everything above went well, all booking pages for the organization will be accessible at:
```
http://myorg.cal.local:3000/{CAL_LINK}
```
Read more about some other [Organization related environment variables](./understanding-organization-env-variables.mdx) to configure your Cal.com instance to work with multiple organizations.
After creating the organization, you'll be moved inside it and all existing Cal.com links will redirect to the organization URL (e.g., `yourdomain.cal.local:3000`).
## Accessing Your Organization
Now if everything above went well, all booking pages for the organization will be accessible at:
```
http://myorg.cal.local:3000/{CAL_LINK}
```
Read more about some other [Organization related environment variables](./understanding-organization-env-variables.mdx) to configure your Cal.com instance to work with multiple organizations.