To ensure optimal performance and compatibility, we highly recommend using Node.js version 18 for your development environment. This version provides the best balance of stability, features, and security for this project. Please make sure to update your Node.js installation if necessary.
Development Setup & Production Build
- First, you git clone the repository with the following command, so you have a copy of the code.
-
Then, go into the directory you just cloned with
and runto install all of the dependencies. Essentially, dependencies are just things that Cal.com needs to install to be able to work.
-
Then, you just need to set up a couple of things. For that, we use a
.envfile. We just need to copy and paste the.env.examplefile and rename the copy to.env. Here you’ll have a template with comments showing you the settings you need/might want to set. -
Next, use the command
(or another secret generator tool if you prefer) to generate a key and add it under
NEXTAUTH_SECRETin the .env file. -
You’ll also want to fill out the
.env.appStorefile similar to the.envfile as this includes keys to enable apps.
AddNEXT_PUBLIC_DEBUG=1anywhere in your.envto get logging information for all the queries and mutations driven by trpc.
For email testing, set it to “1” if you need to email checks in E2E tests locally. Make sure to run mailhog container manually or with yarn dx.
E2E Testing
Be sure to set the environment variableNEXTAUTH_URL to the correct value. If you are running locally, as the documentation within .env.example mentions, the value should be http://localhost:3000.
In a terminal just run:
Manual setup
-
Configure environment variables in the .env file. Replace
<user>,<pass>,<db-host>,<db-port>with their applicable values -
Set a 24 character random string in your .env file for the
CALENDSO_ENCRYPTION_KEY(You can use a command liketo generate one). -
Set up the database using the Prisma schema (found in
packages/prisma/schema.prisma) -
Run (in development mode)
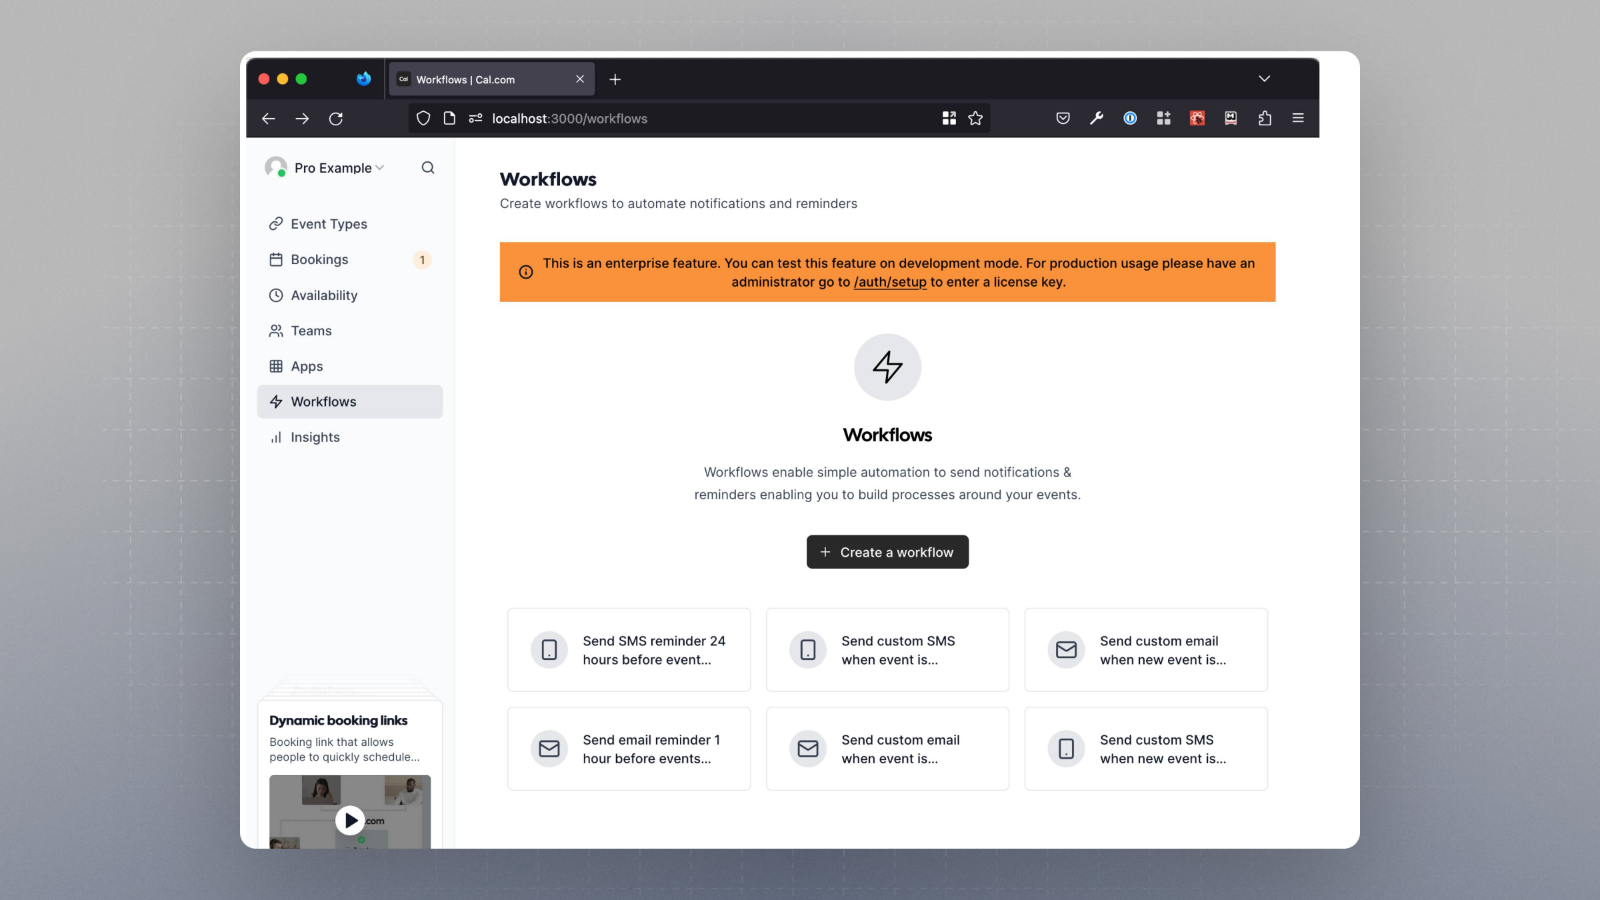
When you’re testing out the enterprise features locally, you should see a warning shown in the image below, clarifying the need to purchase a license for such features in production.

Development quick start with yarn dx
- Requires Docker and Docker Compose to be installed
- Will start a local Postgres instance with a few test users - the credentials will be logged in the console
Cron Jobs
There are a few features which require cron job setup. At cal.com, the cron jobs are found in the following directory:App store seeder
We recommend using the admin UI/wizard instead of the seeder to enable app store apps
API
Step 1
Copy the .env files from their respective example files depending on the version of the API (v1 or v2):Step 2
Install packages with yarn:Running API server
Run the API V1 with yarn:Please note API V2 requires the database running in docker
On windows, you would need to update the script to explicitly set port to 3003 and run yarn dev under
apps/api/package.json So, it should look something like this after the changes:"dev": "set PORT=3003 && next dev" Now, running yarn workspace @calcom/api dev should start the server.