

Prerequisites
Before setting up organizations, ensure you have:- A working Cal.com instance already installed and running
- Admin access to your Cal.com instance
- Access to modify environment variables and restart your server
Step 1: Enable Organizations Feature
- Login as admin using
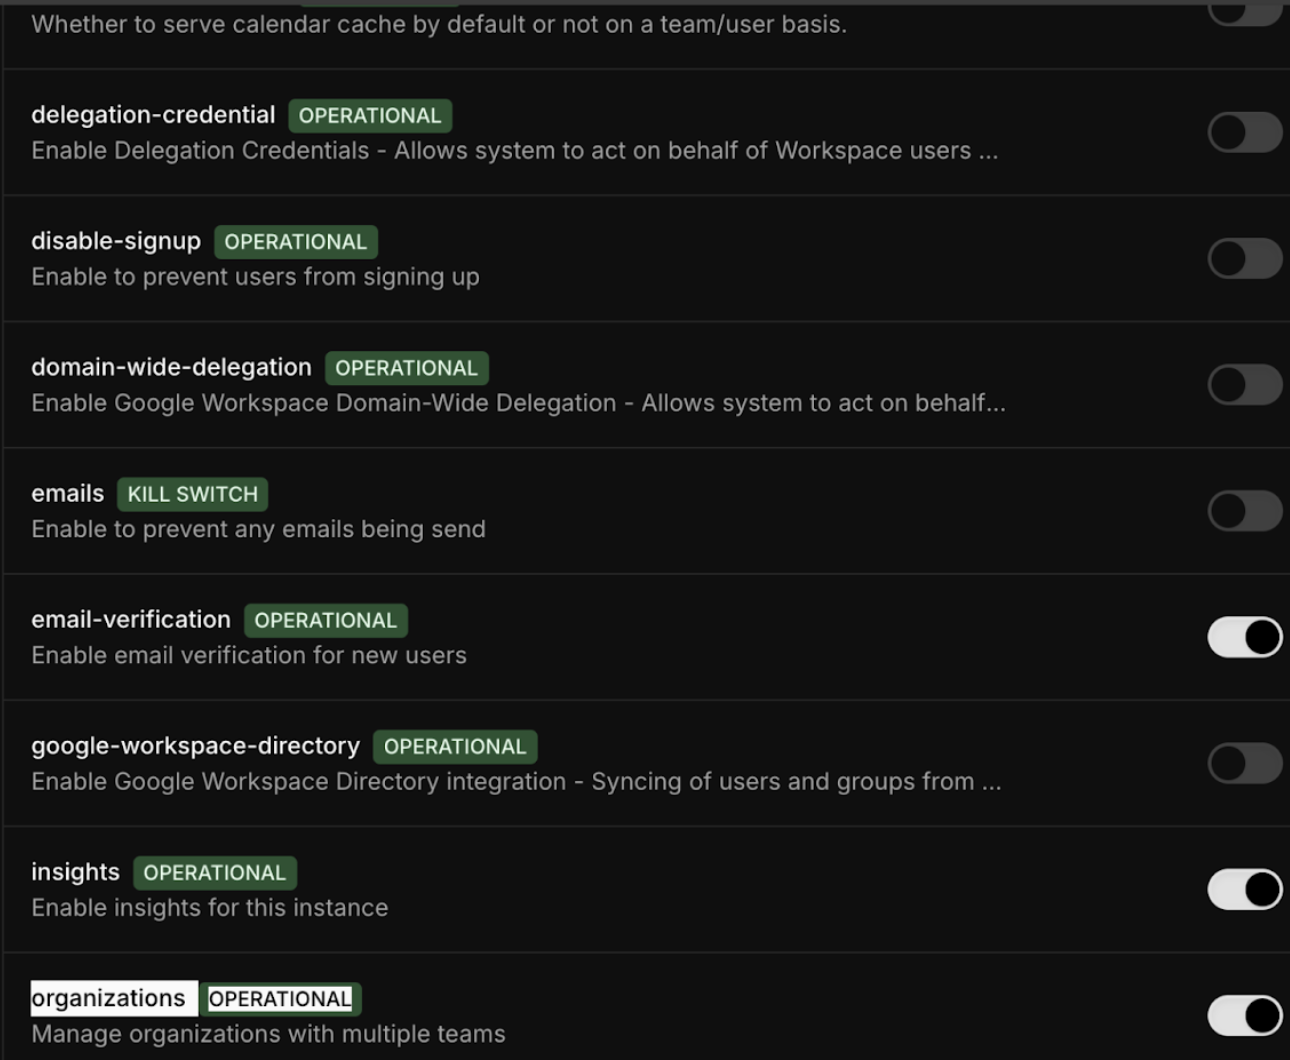
[email protected] - Navigate to Settings → Admin → Features
- Turn on the Organizations feature flag under the Features section
Step 2: Configure Environment Variables
Set the following environment variables in your.env file:
Step 3: Configure Local DNS
Add the following entry to your hosts file to enable local access:- Linux/Mac:
/etc/hosts - Windows:
C:\Windows\System32\drivers\etc\hosts
Step 4: Start/Restart Development Server
After making the configuration changes, start/restart your development server:Step 5: Create an Organization
- Login using
[email protected](or any user account) - Visit
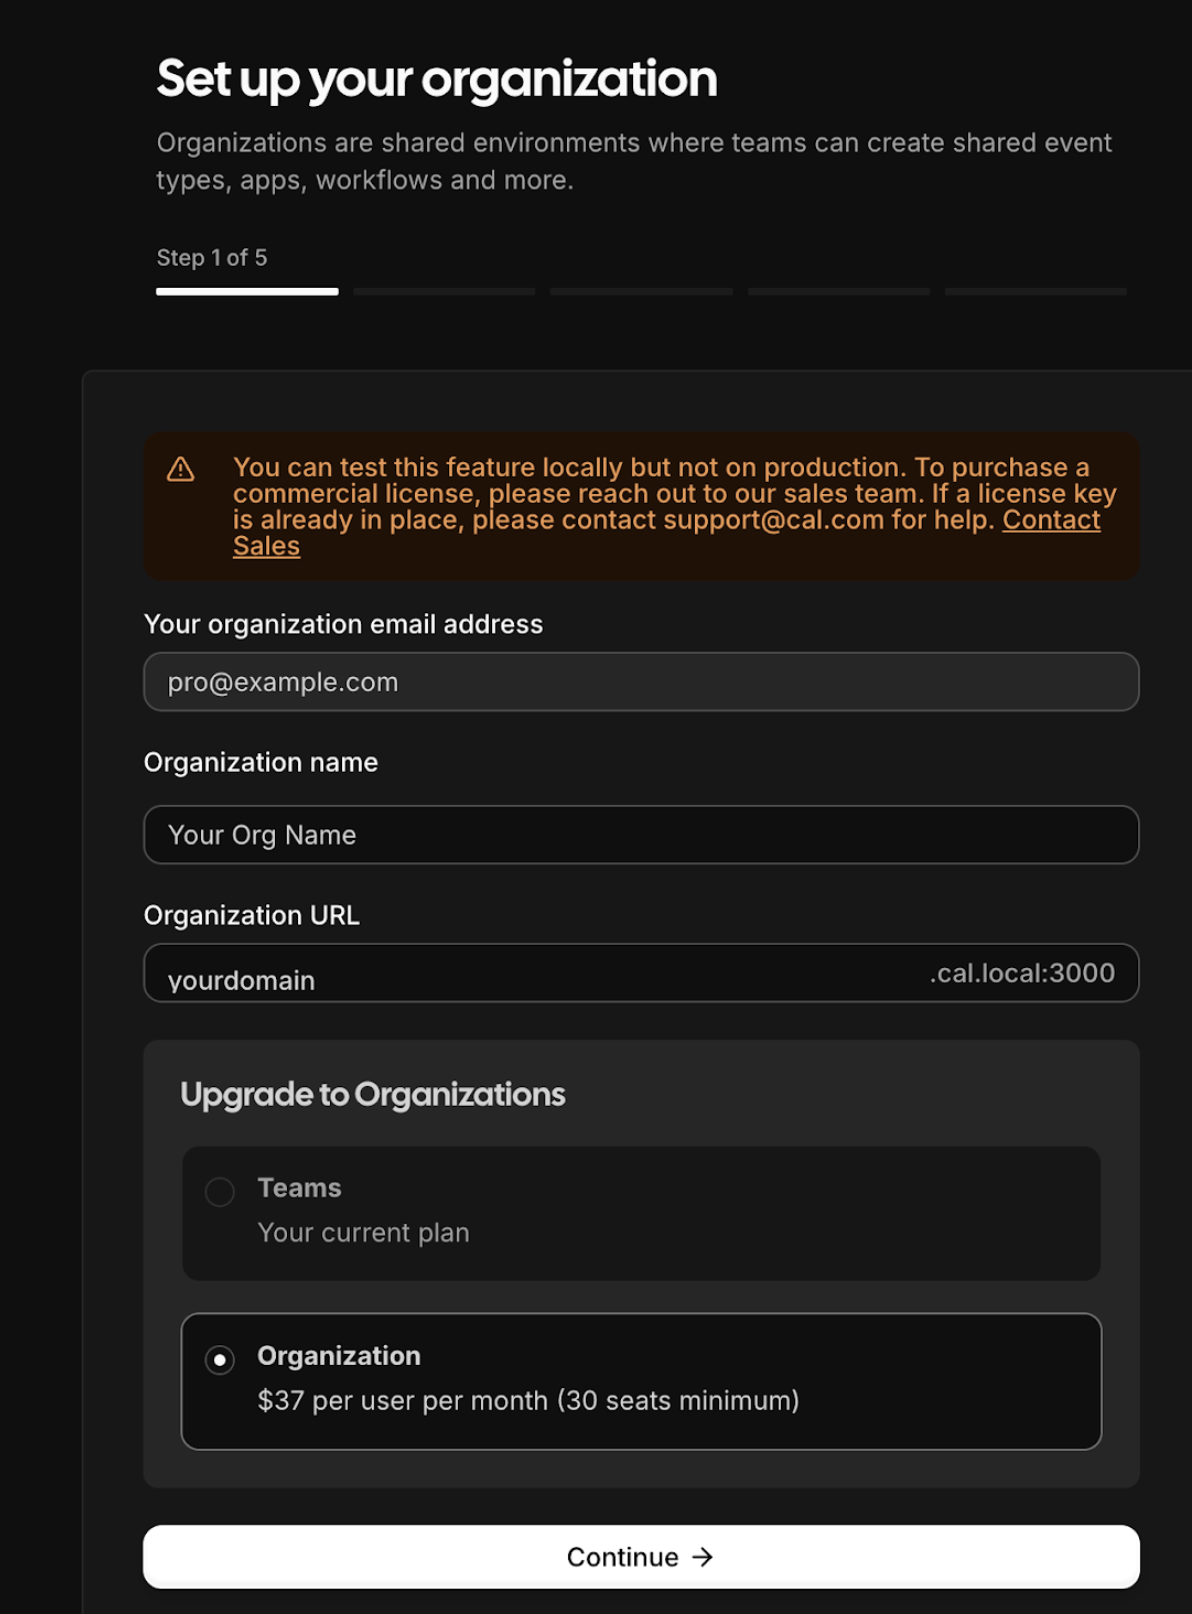
http://app.cal.local:3000/settings/organizations/new - Follow the onboarding steps:
- Choose a slug for the organization(say
myorg) - Ignore pricing information (not required for self-hosting)
- Complete the first step (remaining steps can be skipped for now)
- Choose a slug for the organization(say
After creating the organization, you’ll be moved inside it and all existing Cal.com links will redirect to the organization URL (e.g.,
yourdomain.cal.local:3000).