

Steps
1. Create Elastic SIP Trunking
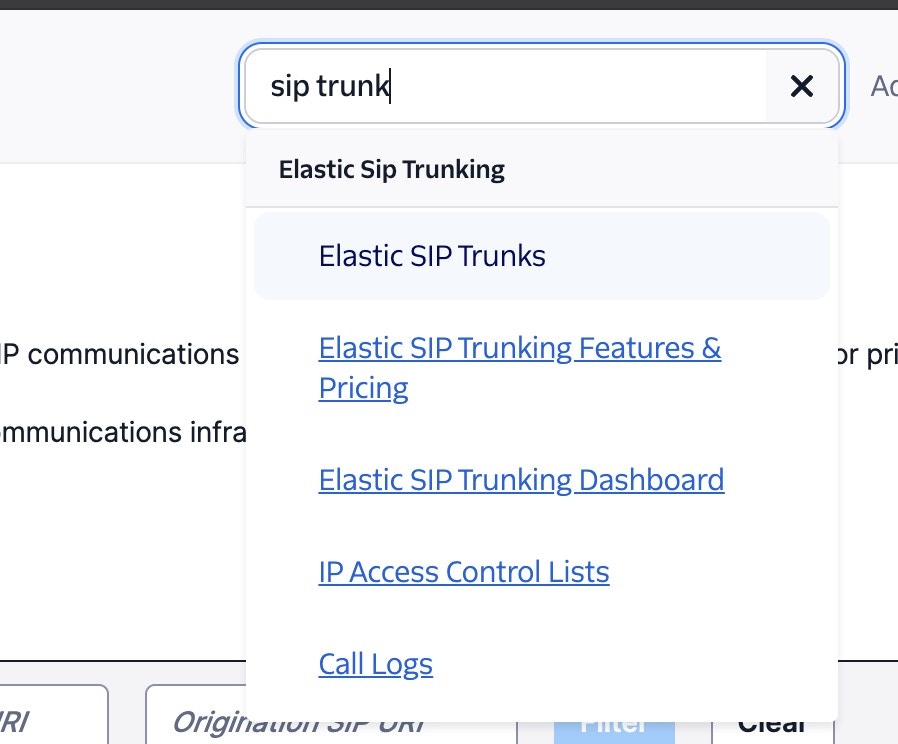
- Search “Elastic SIP trunks” on Twilio Console
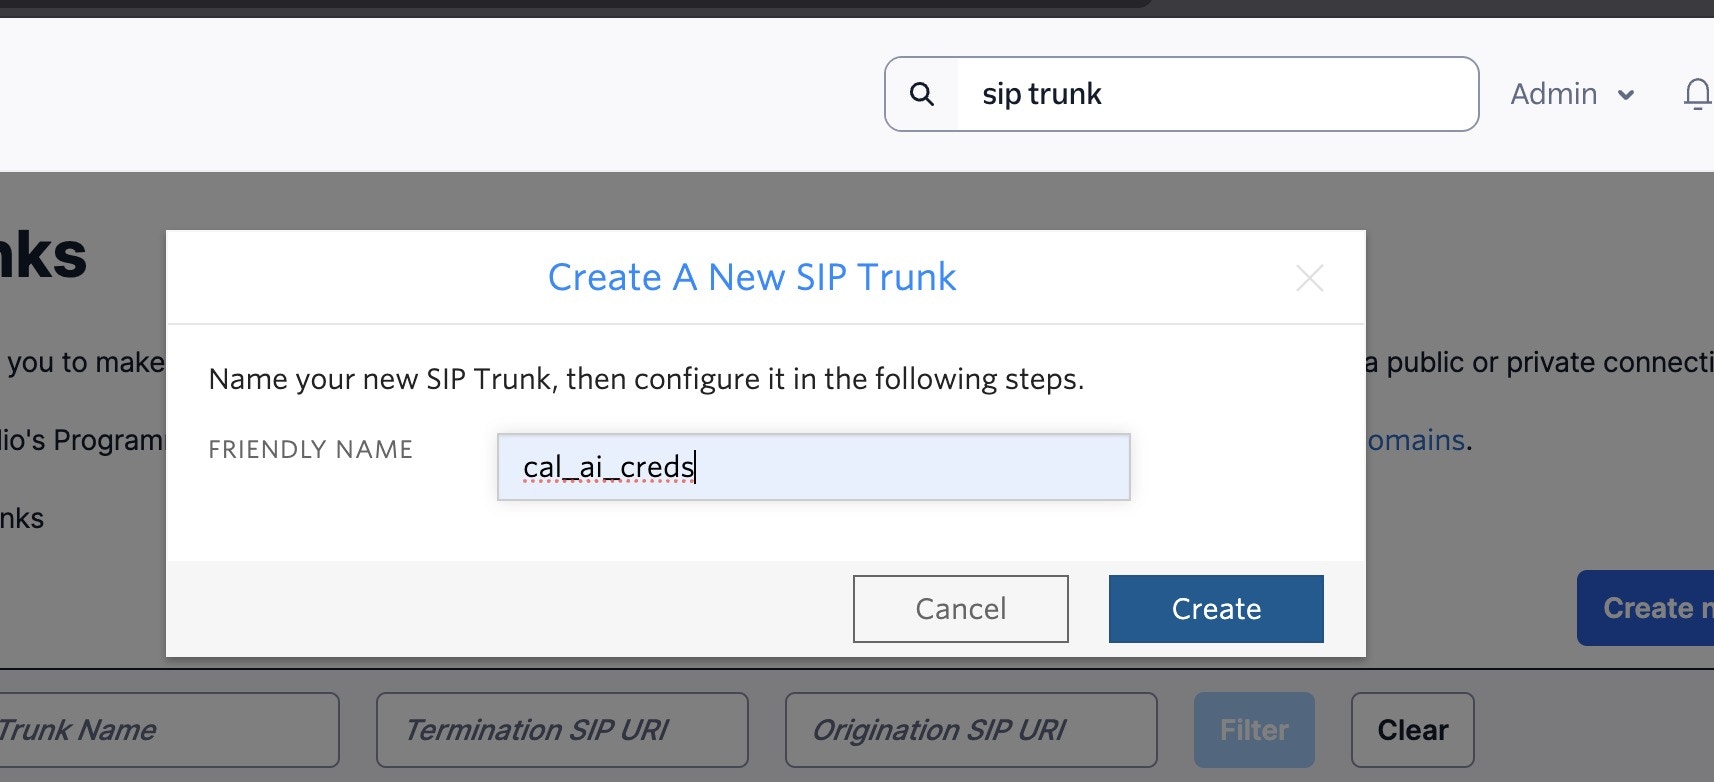
- Create the trunk, give it a name, and toggle these settings and click Save
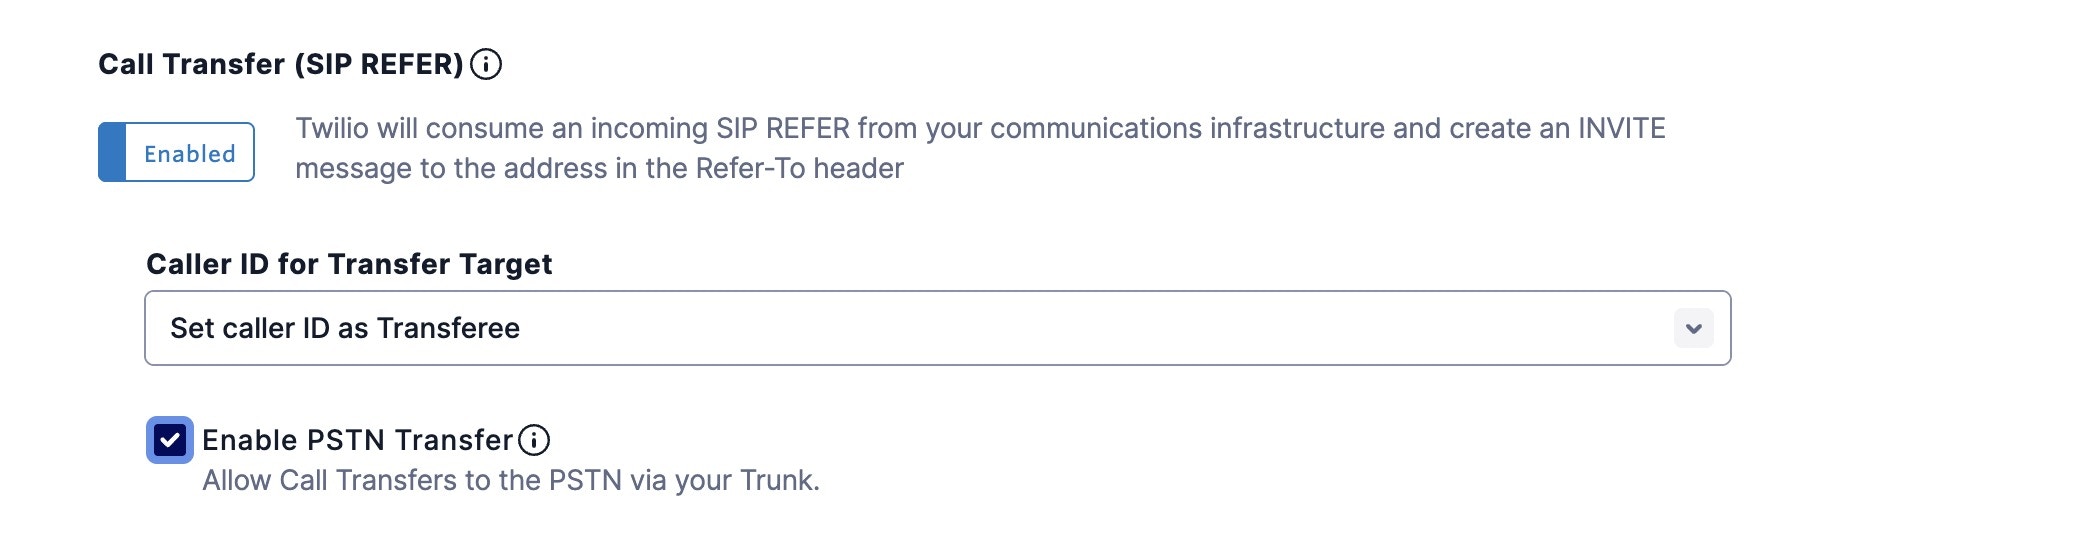
-
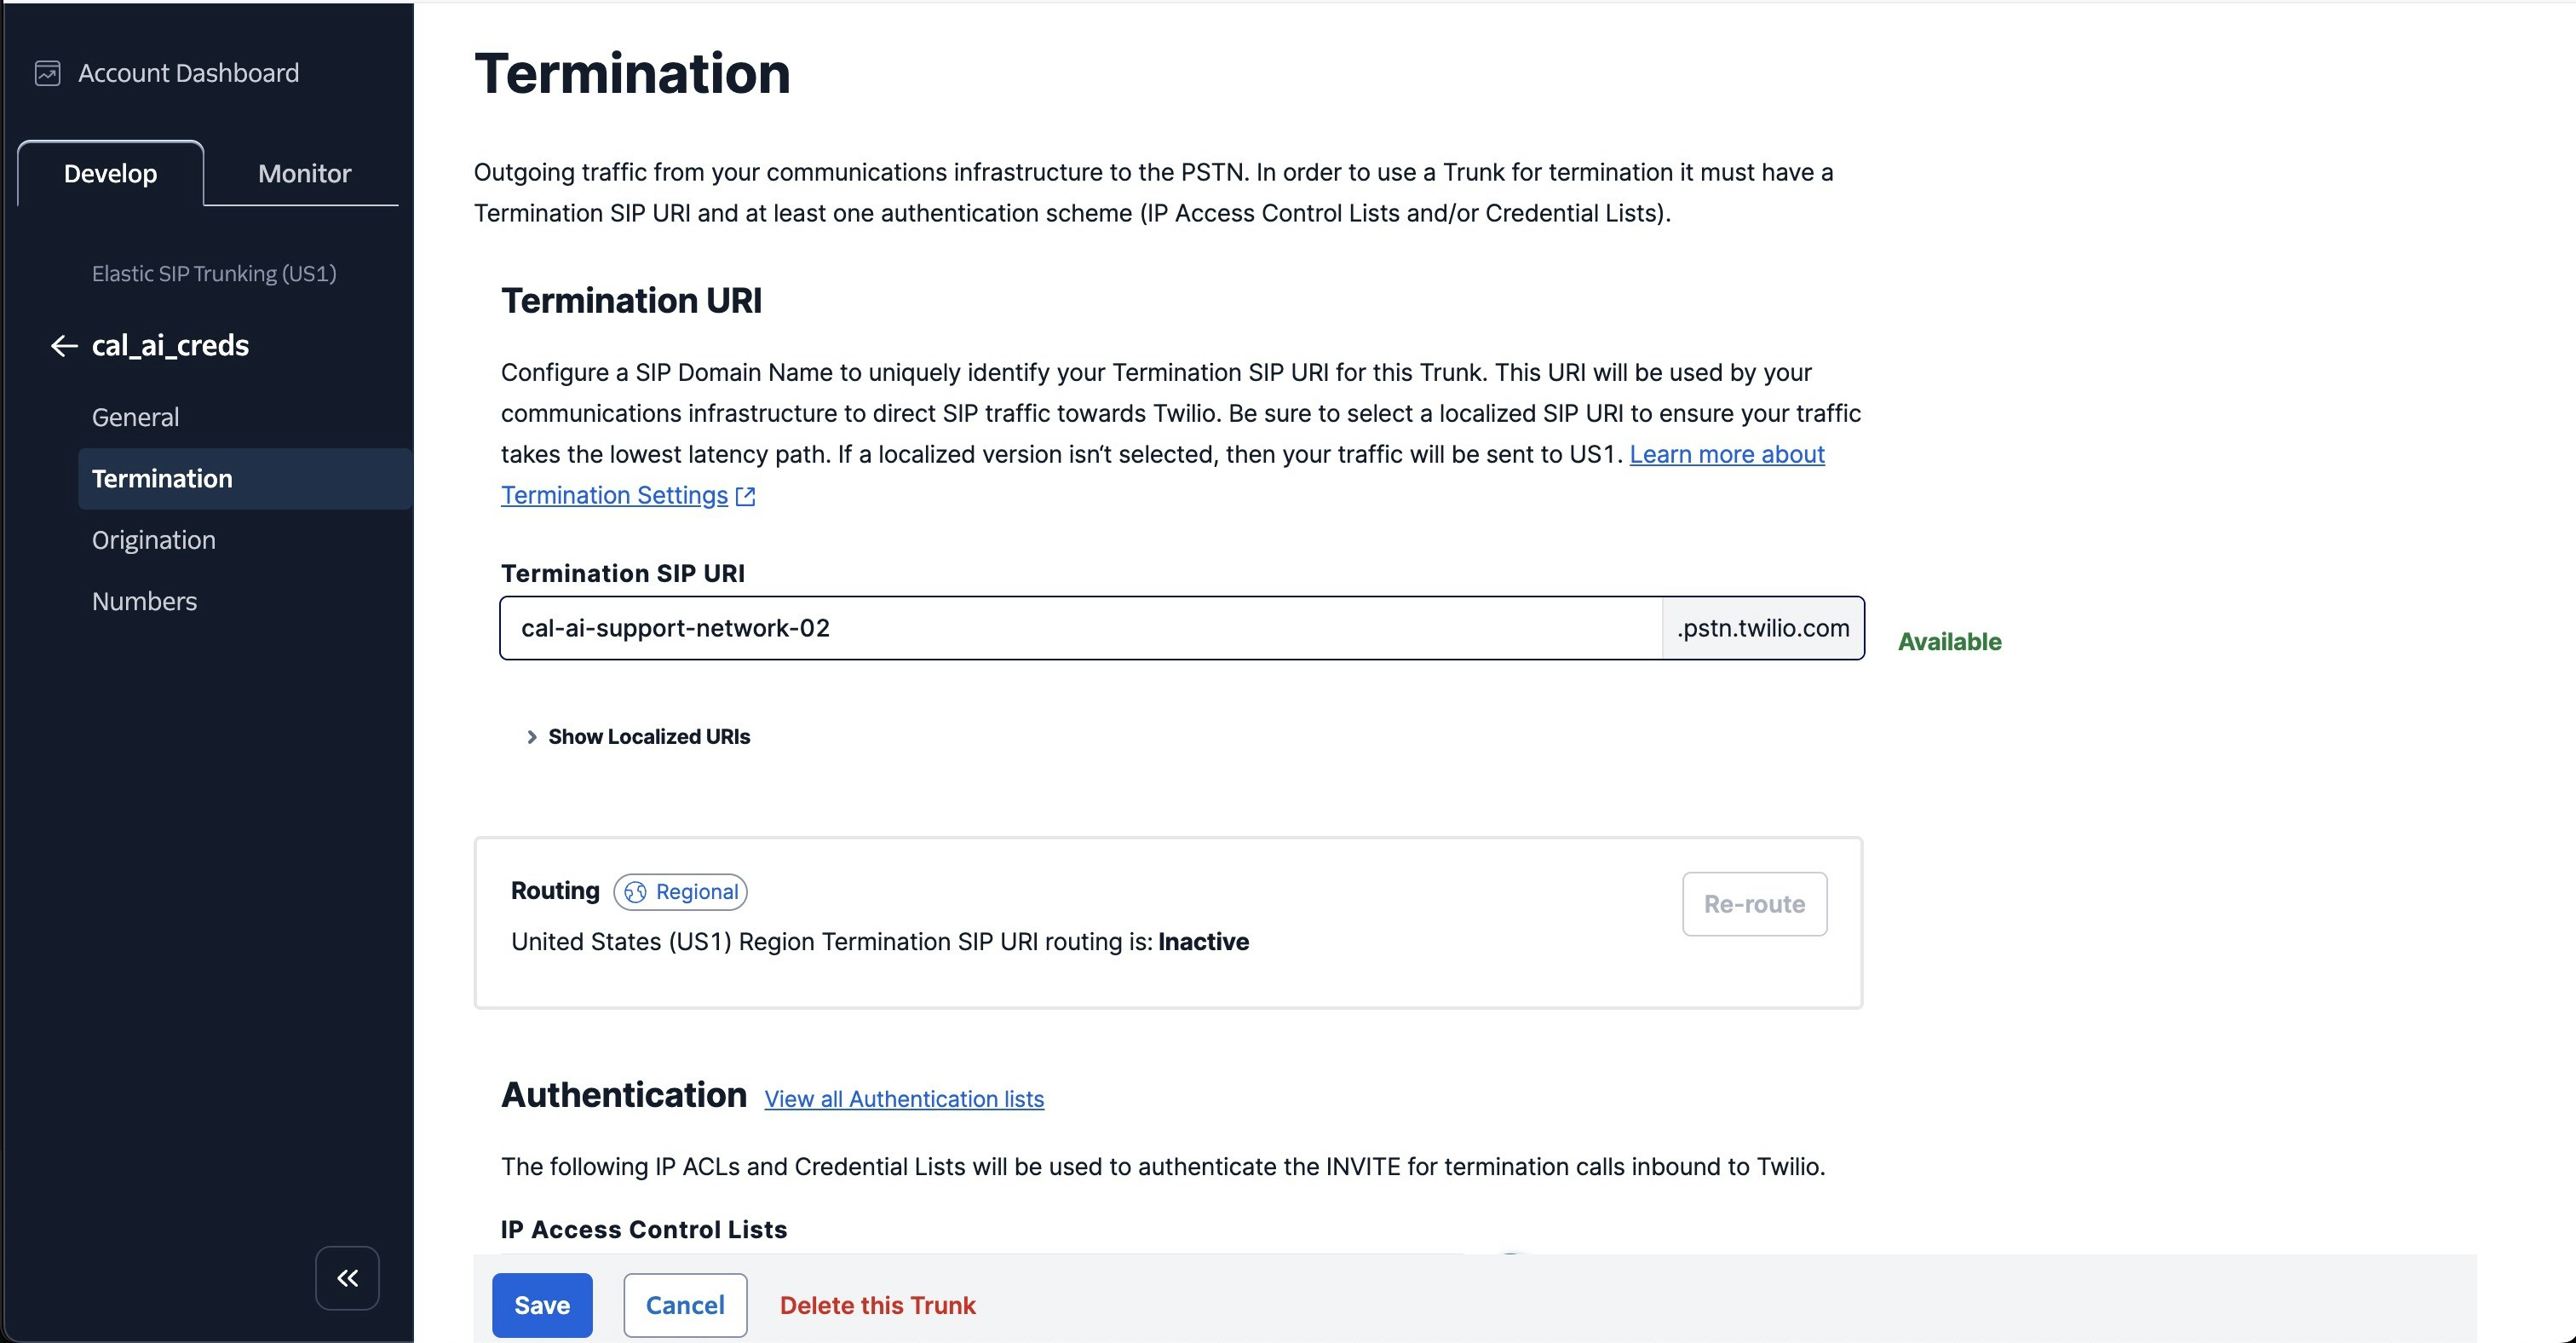
Setup termination (this is for outbound)
- Click the Termination tab on the sidebar
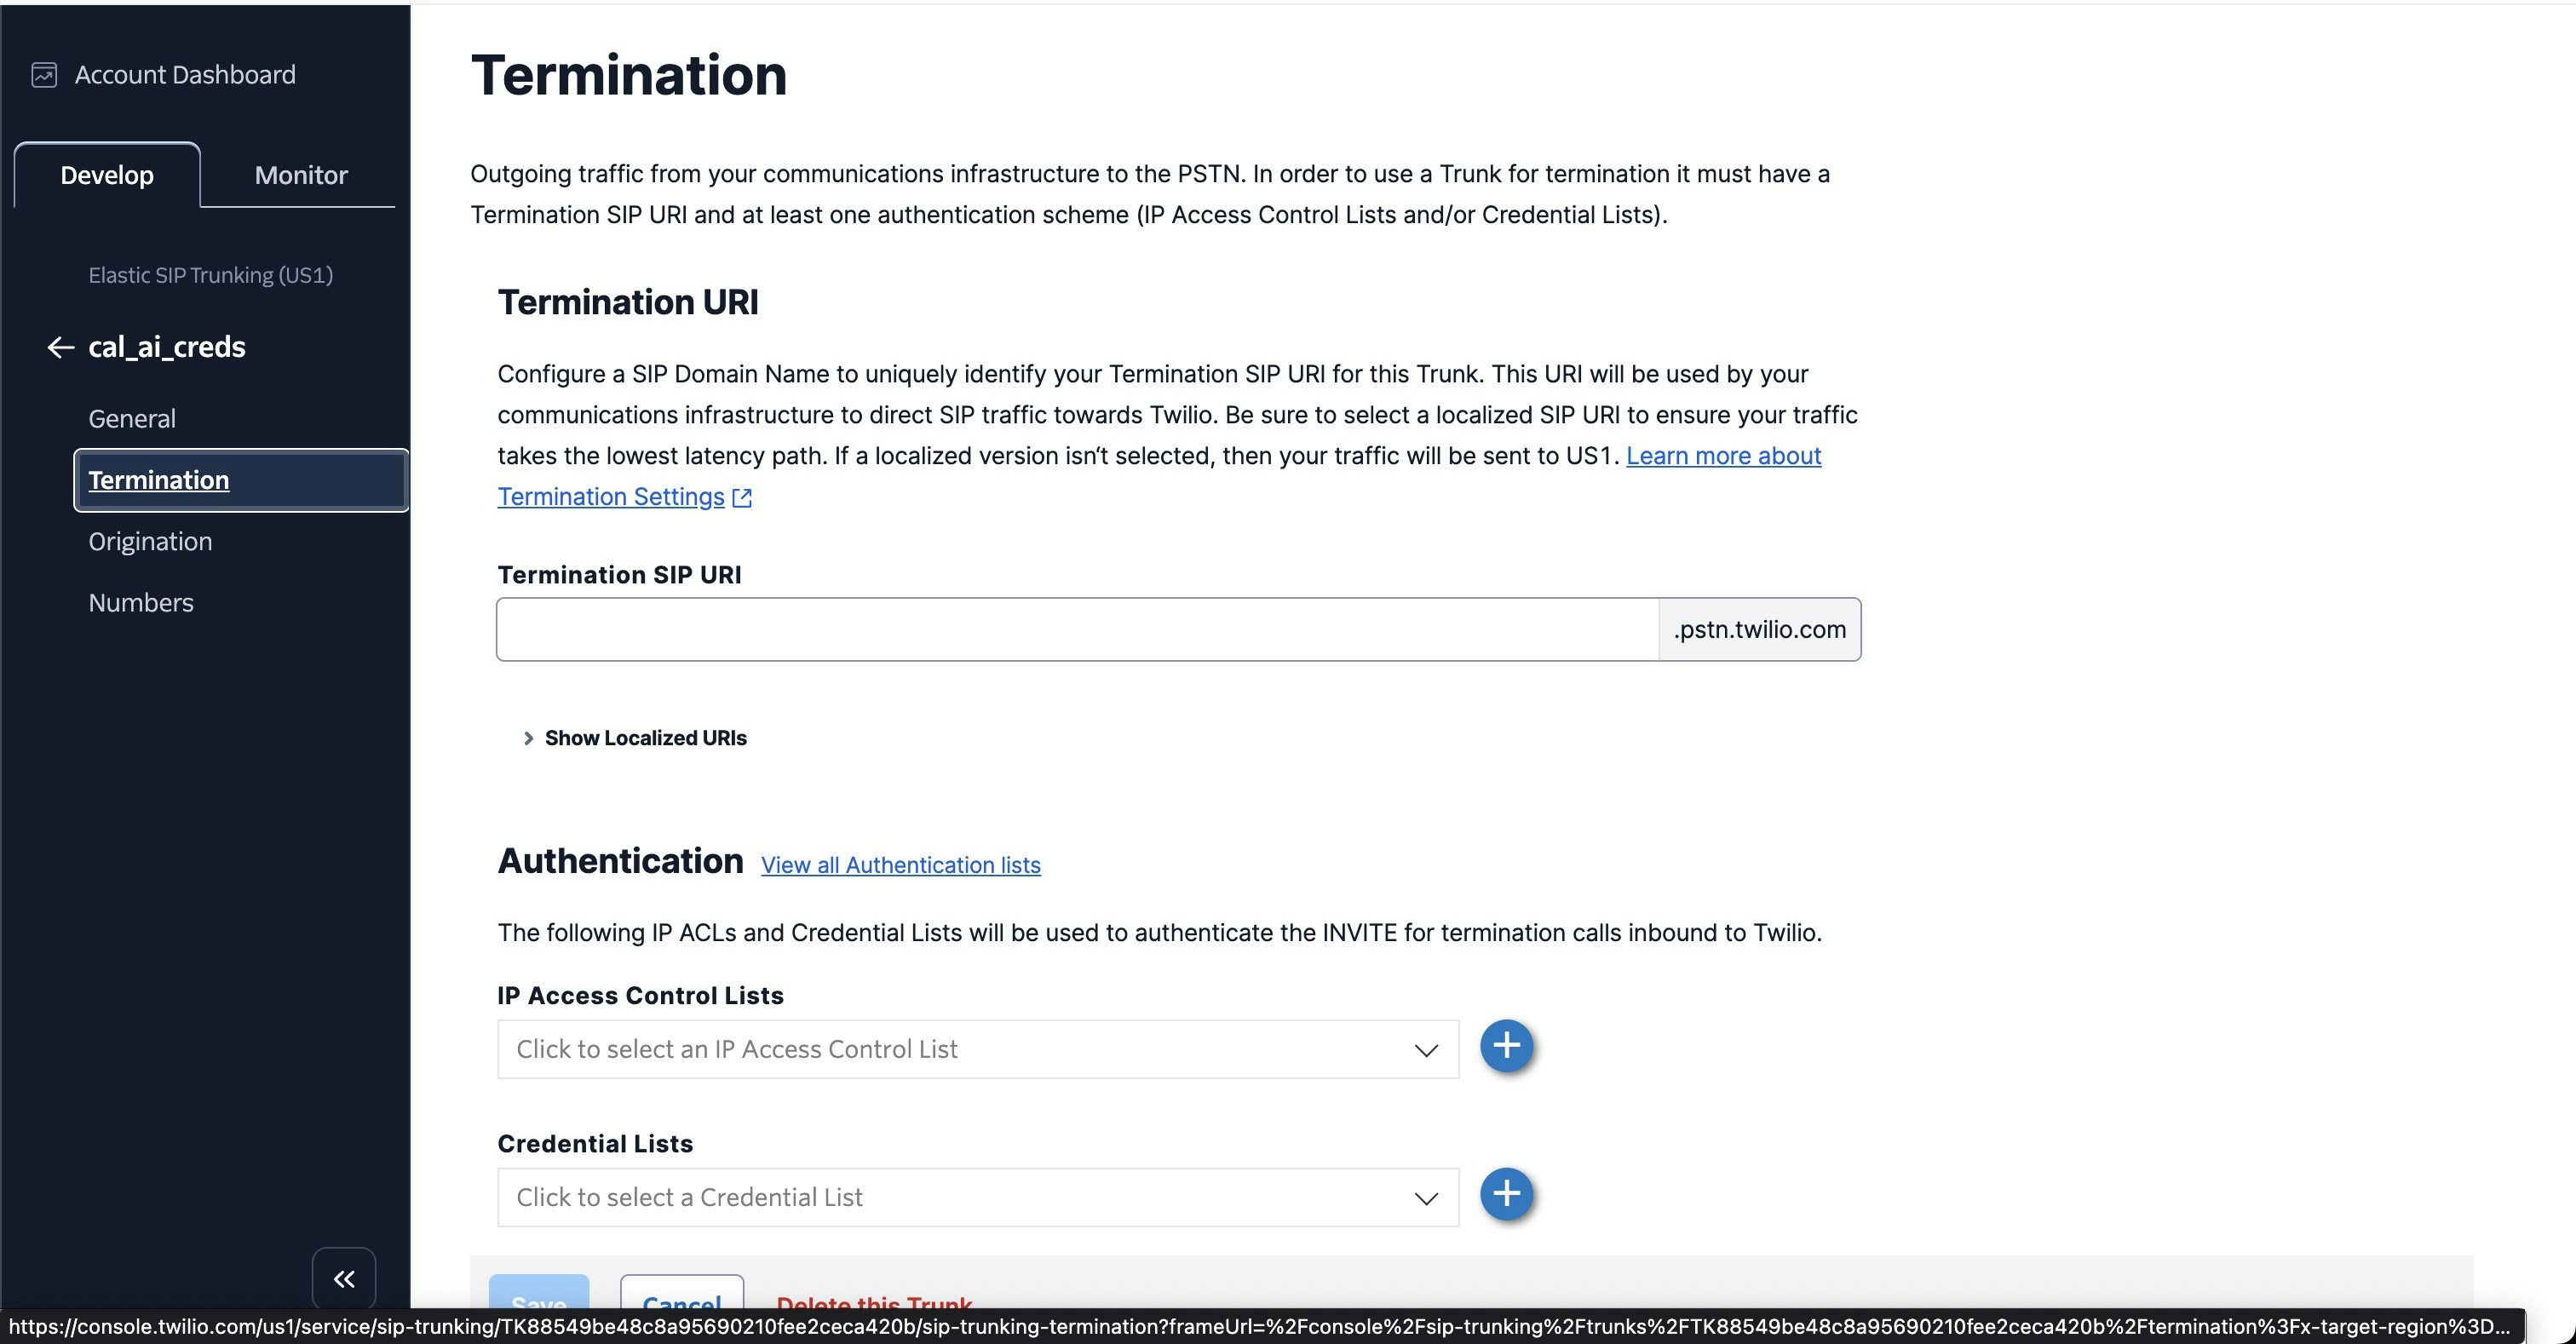
- The termination SIP URI here is important, we would use it in later steps. You might want to use a localized termination uri that’s near your region. You can expand and view your localized uris in your provider’s console.
- You can pick the uri something like cal-ai-support-network-02
- For your elastic SIP trunk to accept our outbound request, you need to create a auth with username and password.
- Click on create new credentials list in Authentication section
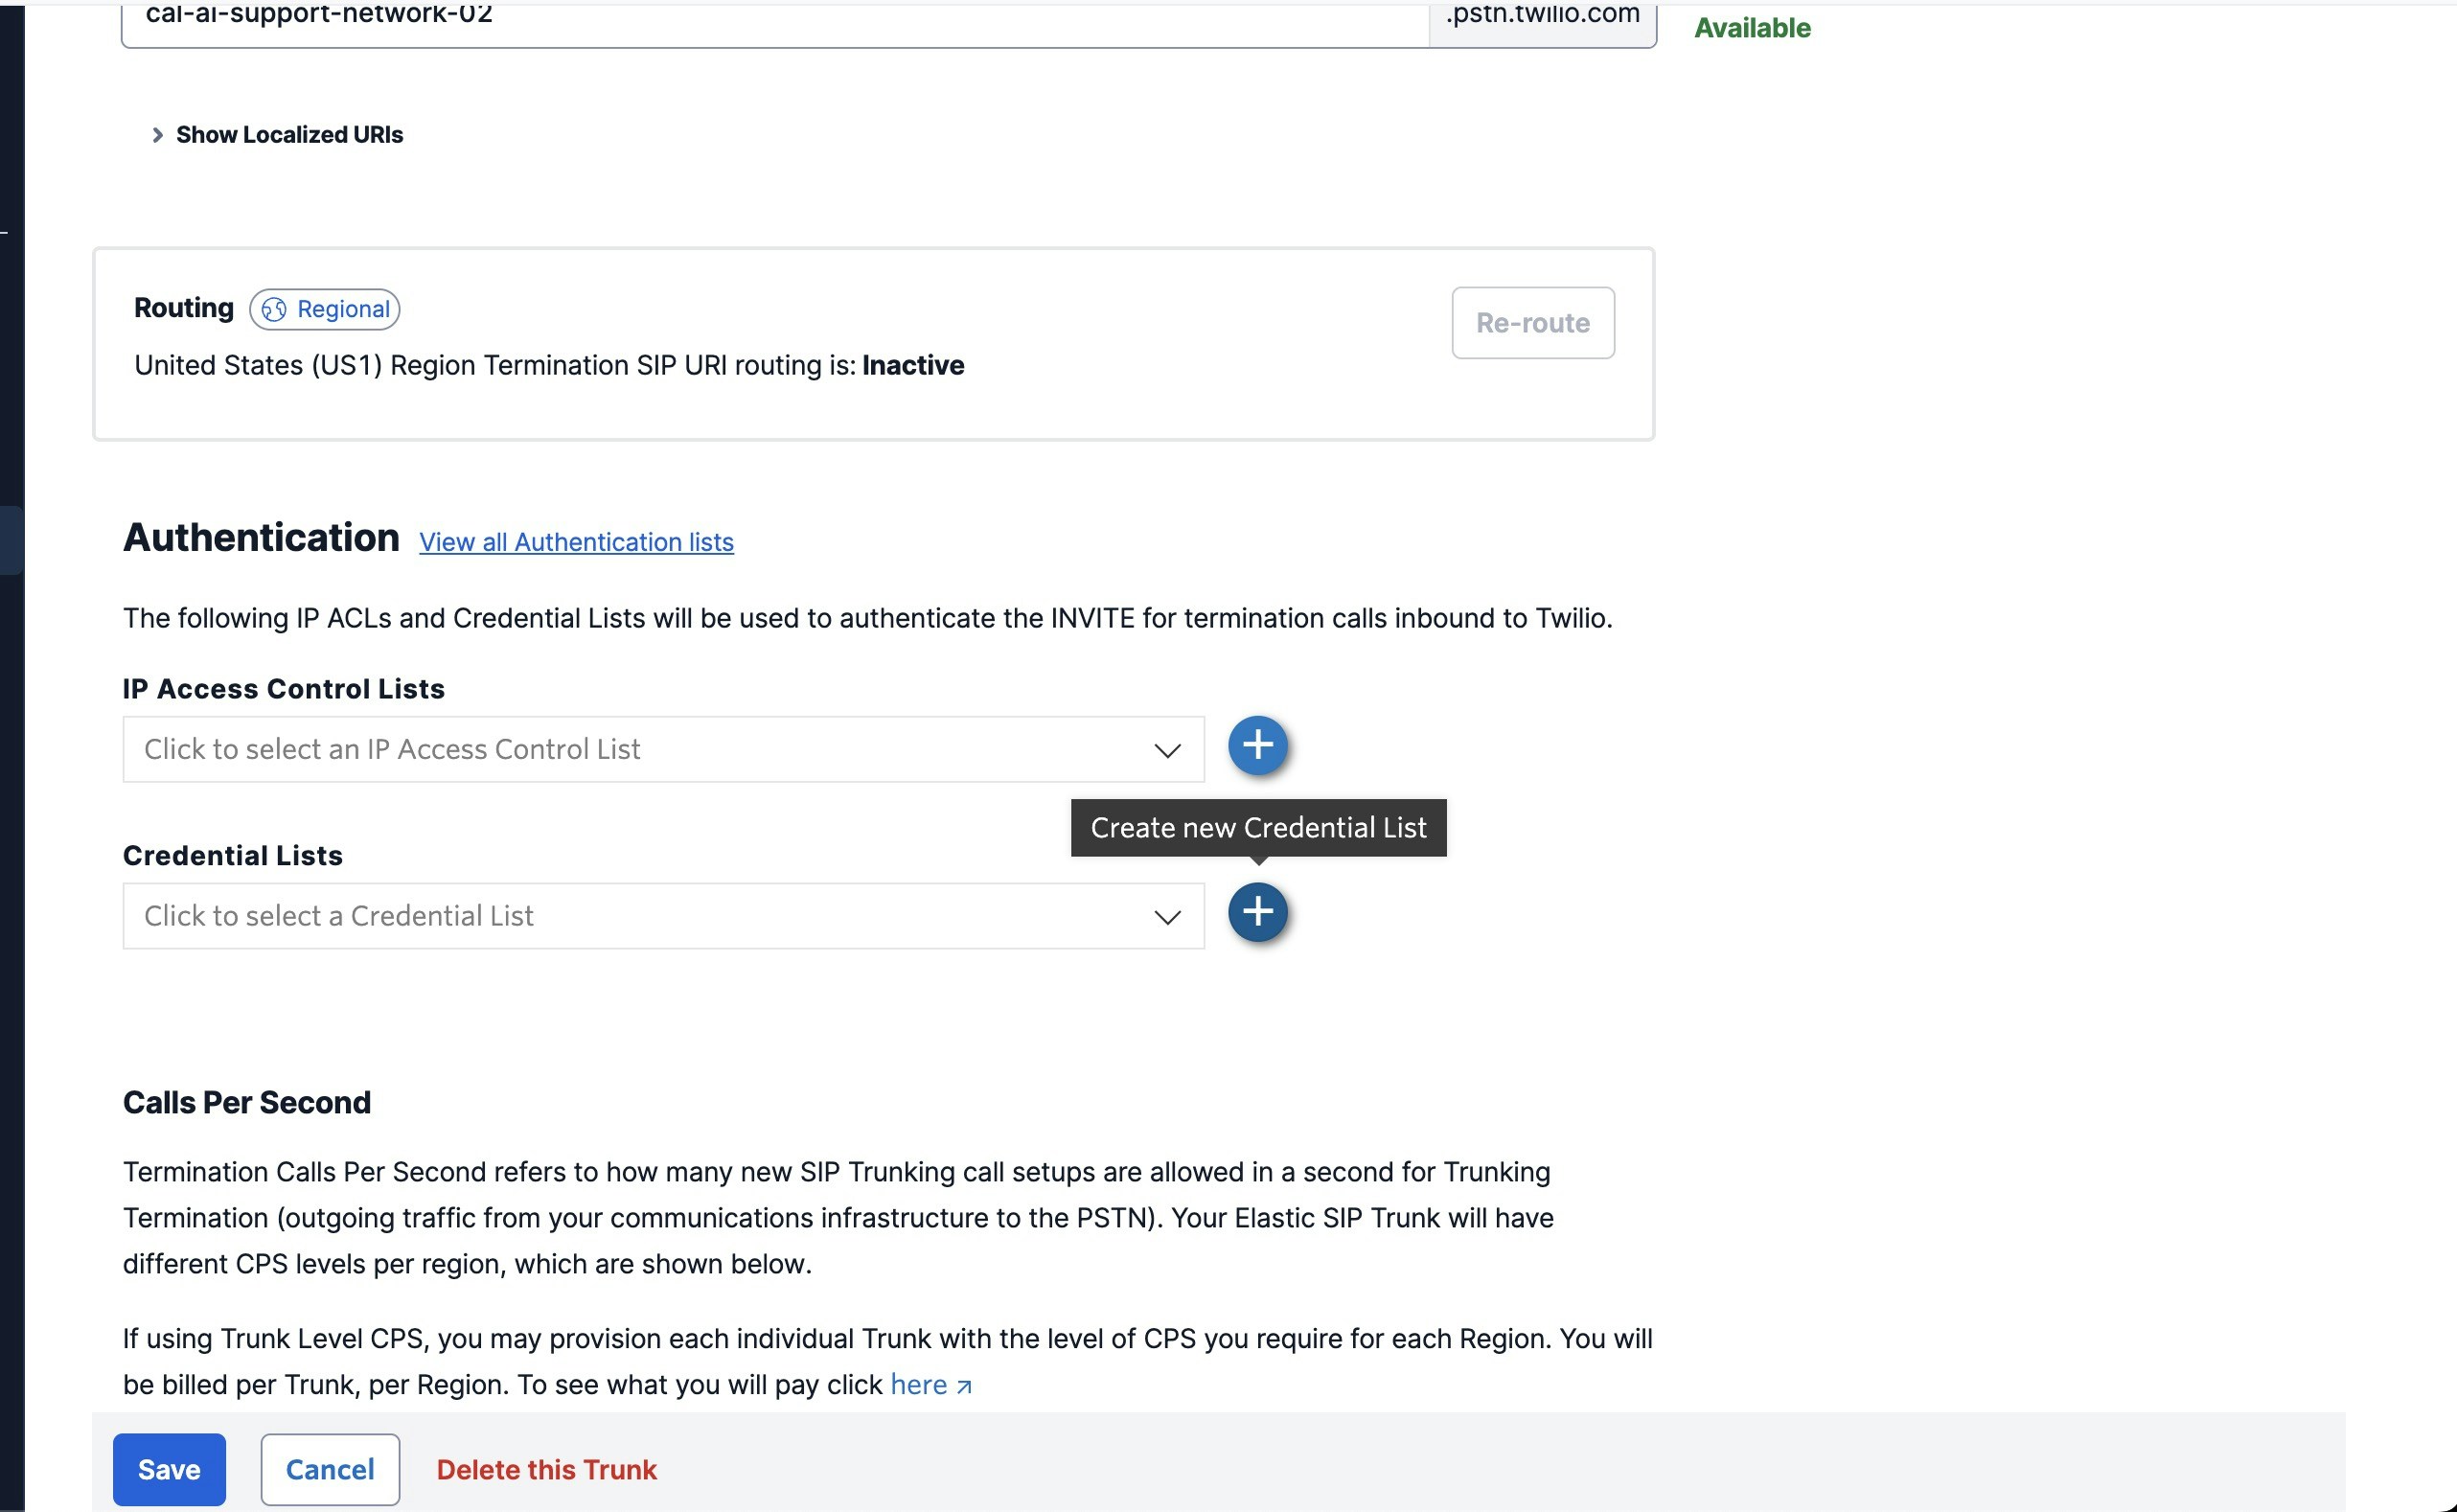
- Give it a friendly name and enter any username and password and we would need this username and password in the later steps and click save on the Termination page.
-
Setup origination (this is for inbound)
- Click on Origination tab on the sidebar
- Click on Add new Origination URI’s button
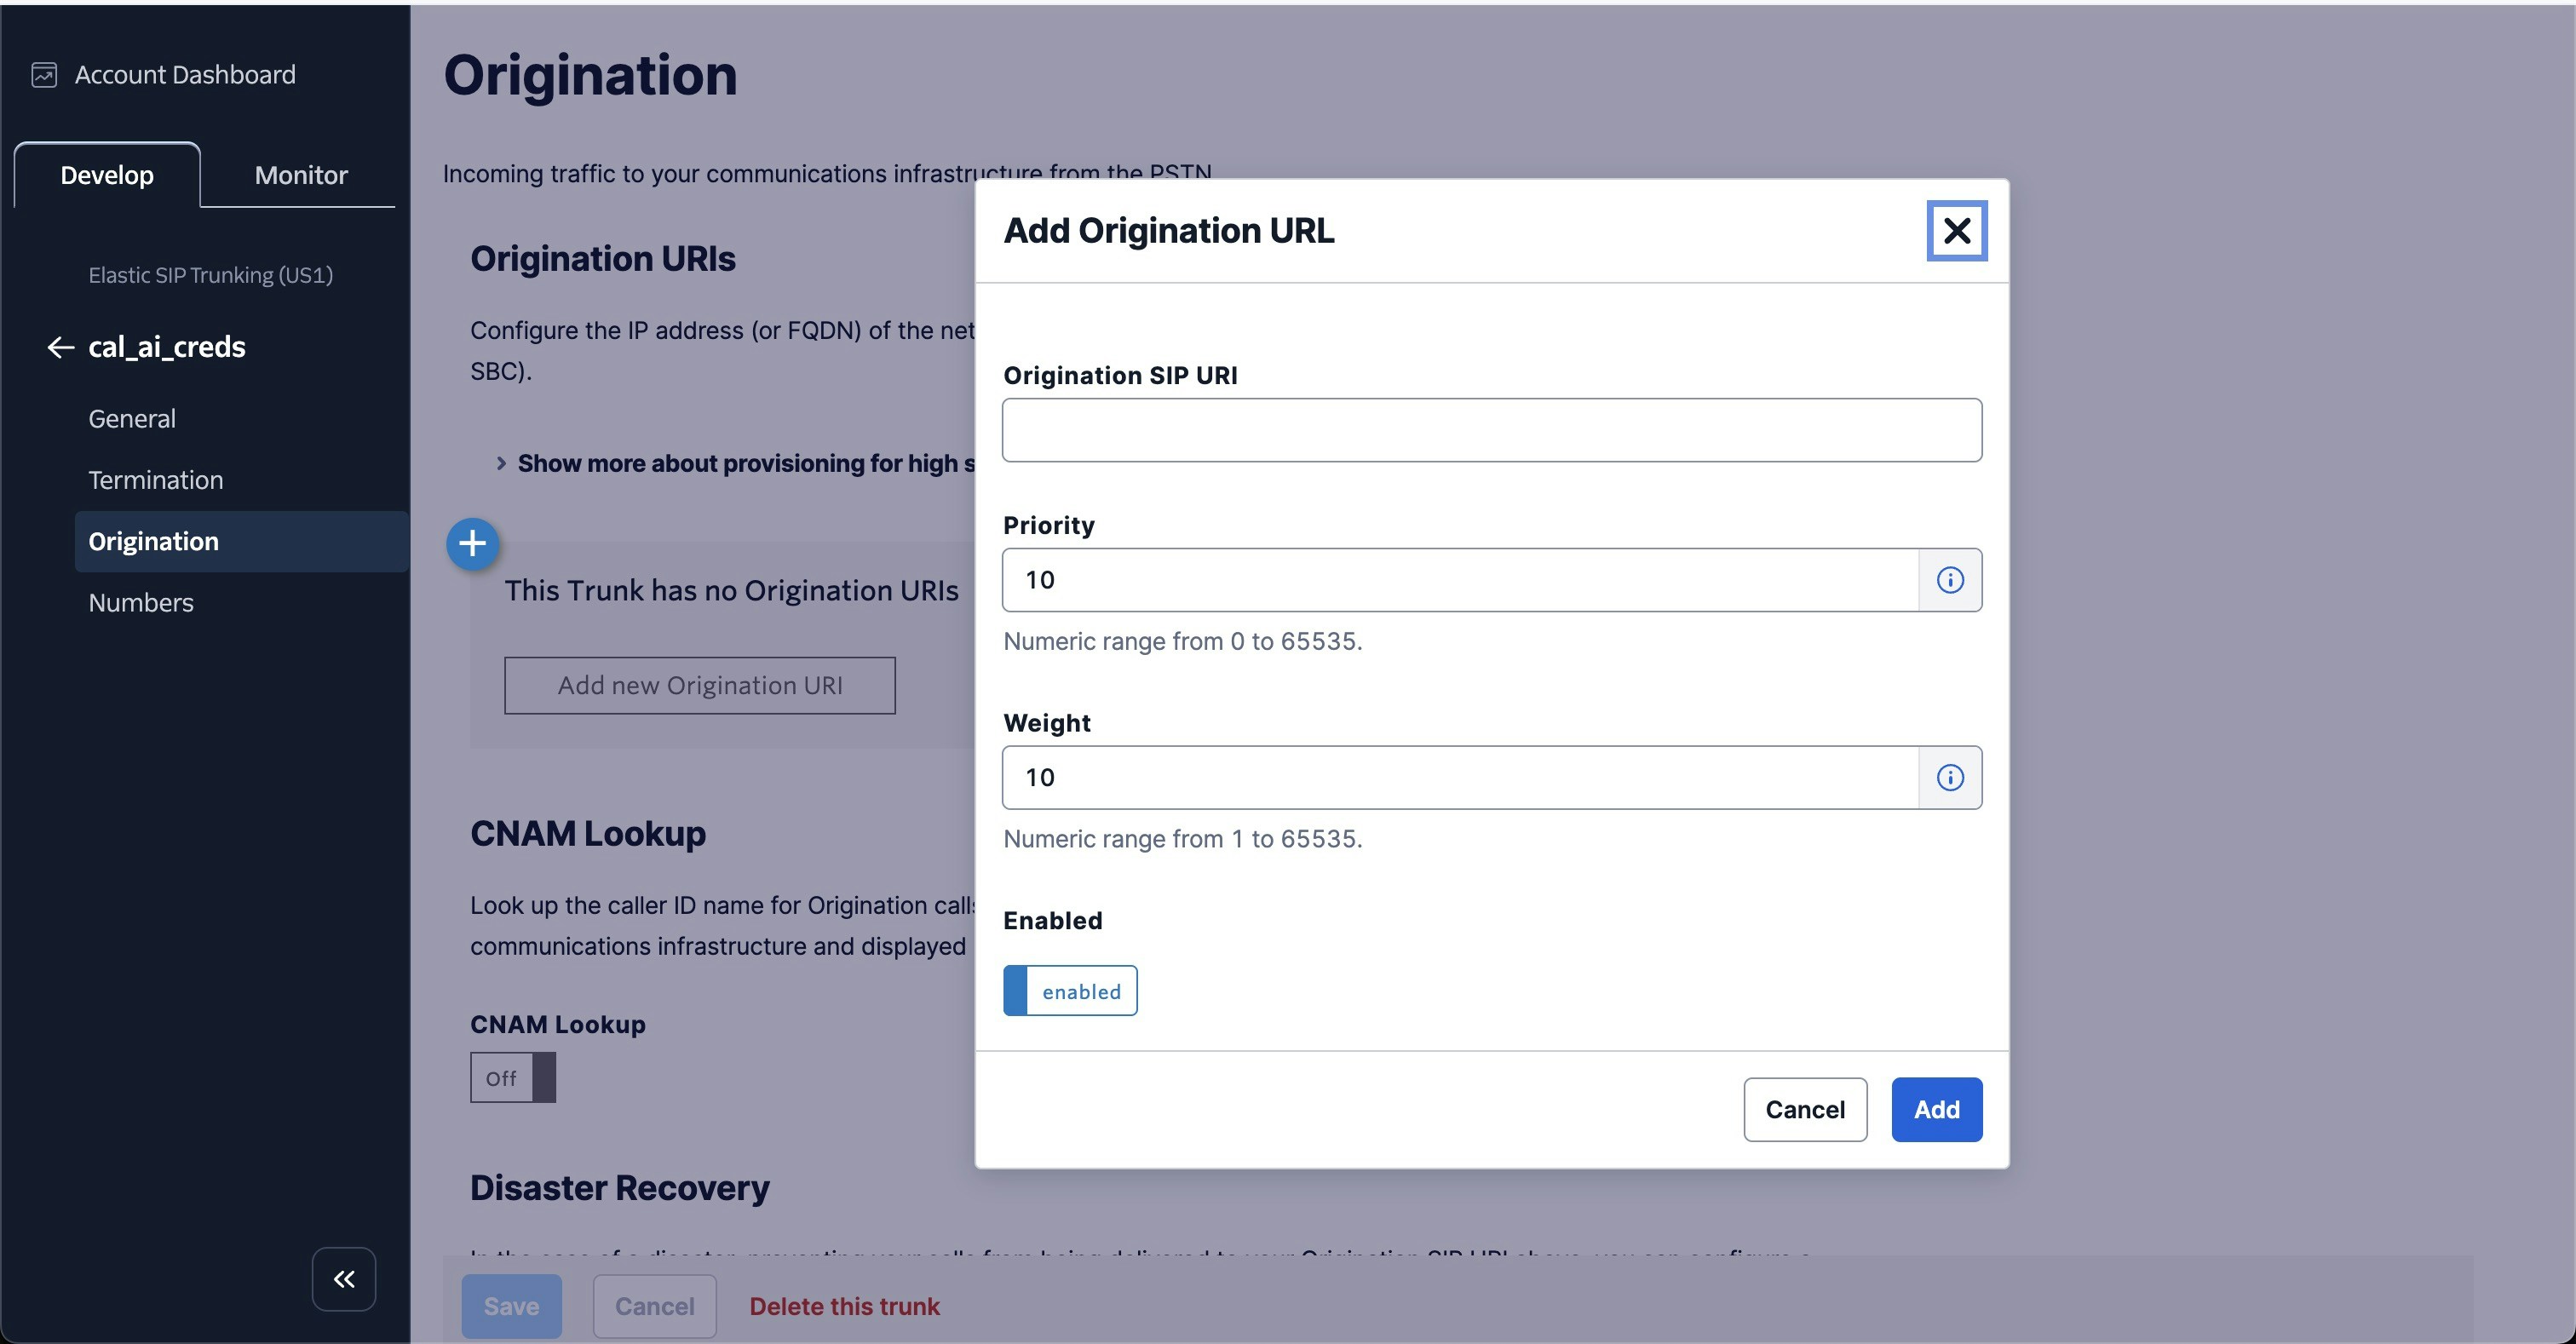
- Here you will specify SIP server address as the origination SIP URI:
sip:5t4n6j0wnrl.sip.livekit.cloudand click ‘Add’
2. Move numbers to Elastic SIP Trunking
You’ve created the elastic SIP trunk, now you would need to purchase numbers / move existing numbers to this trunk.- Now go to Numbers tab on the sidebar and click on Add a number button to purchase / move existing numbers to this trunk.

3. Import modal on Cal.com
On Import modal on Cal.com workflow edit page, enter these values:- Your complete phone number with country code
- Complete Termination URI from the previous steps
- SIP Username and password from the previous steps
- Click on Create button to import the number to Cal.com
