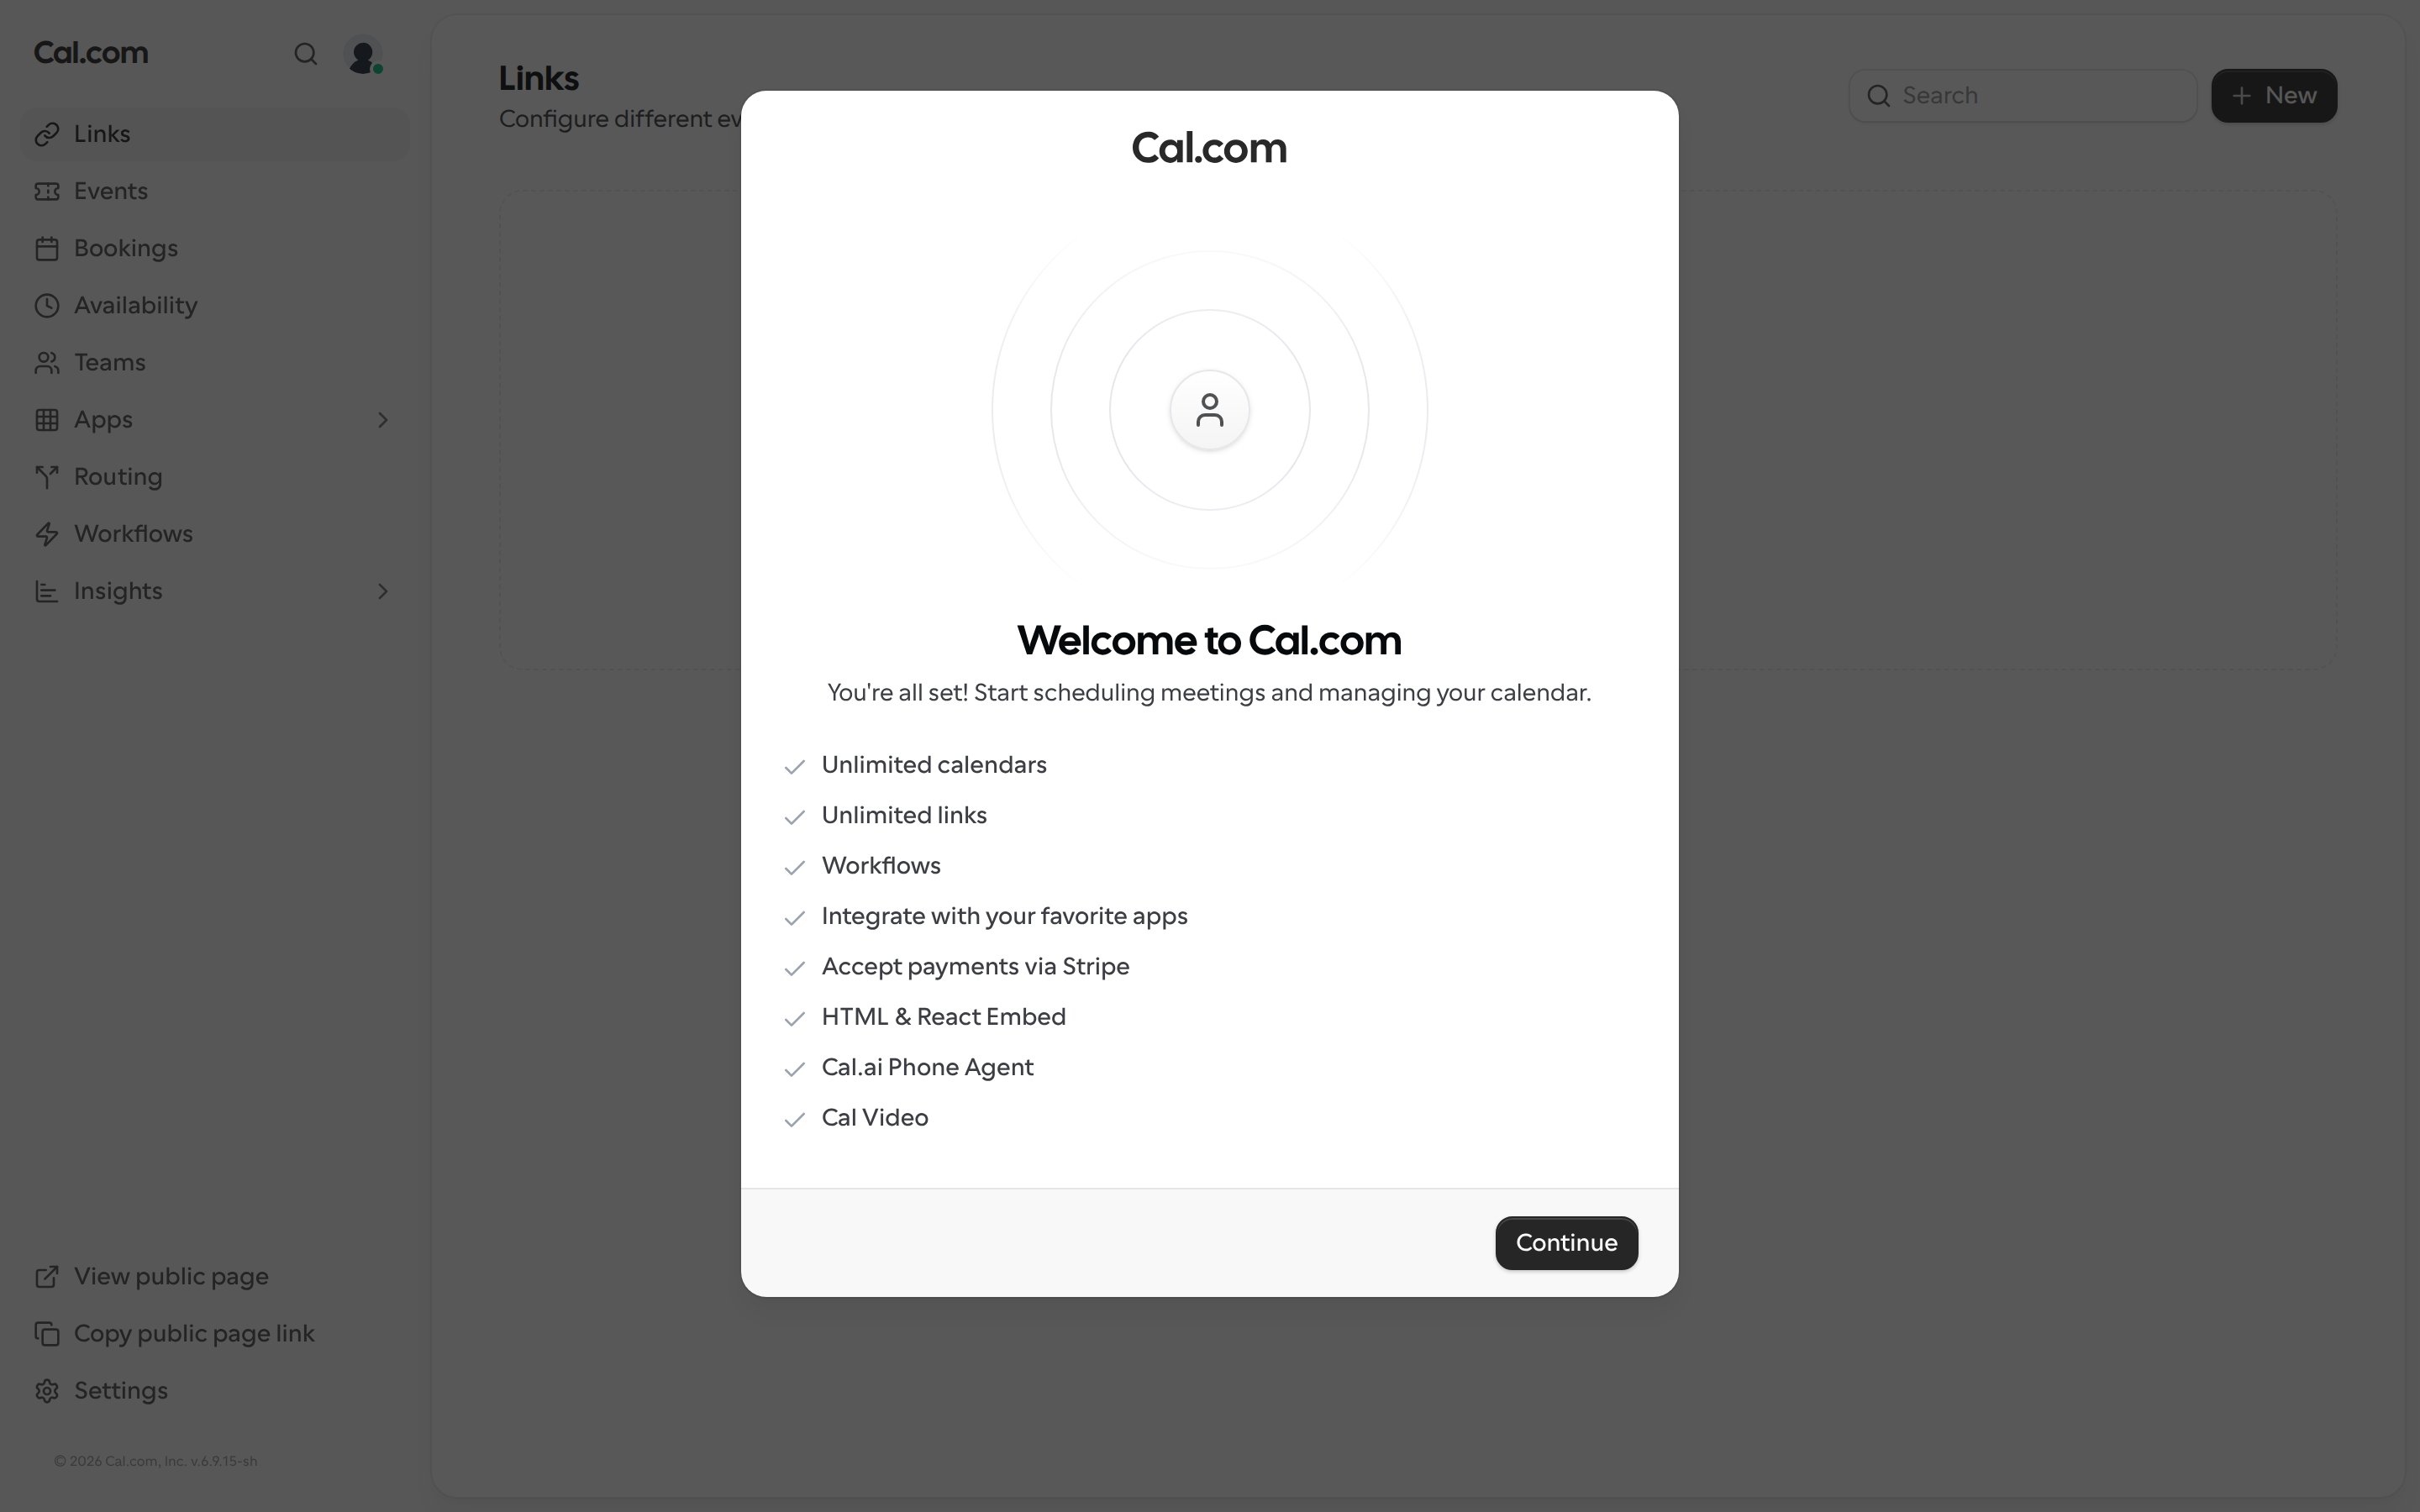
Select a plan
Choose what you plan to use Cal.com for, then click Continue:- For personal use (free) to set up your own scheduling page.
- With my team to create a team and invite your teammates.
- For my organization to set up Cal.com for a larger company with more control, privacy, and security.
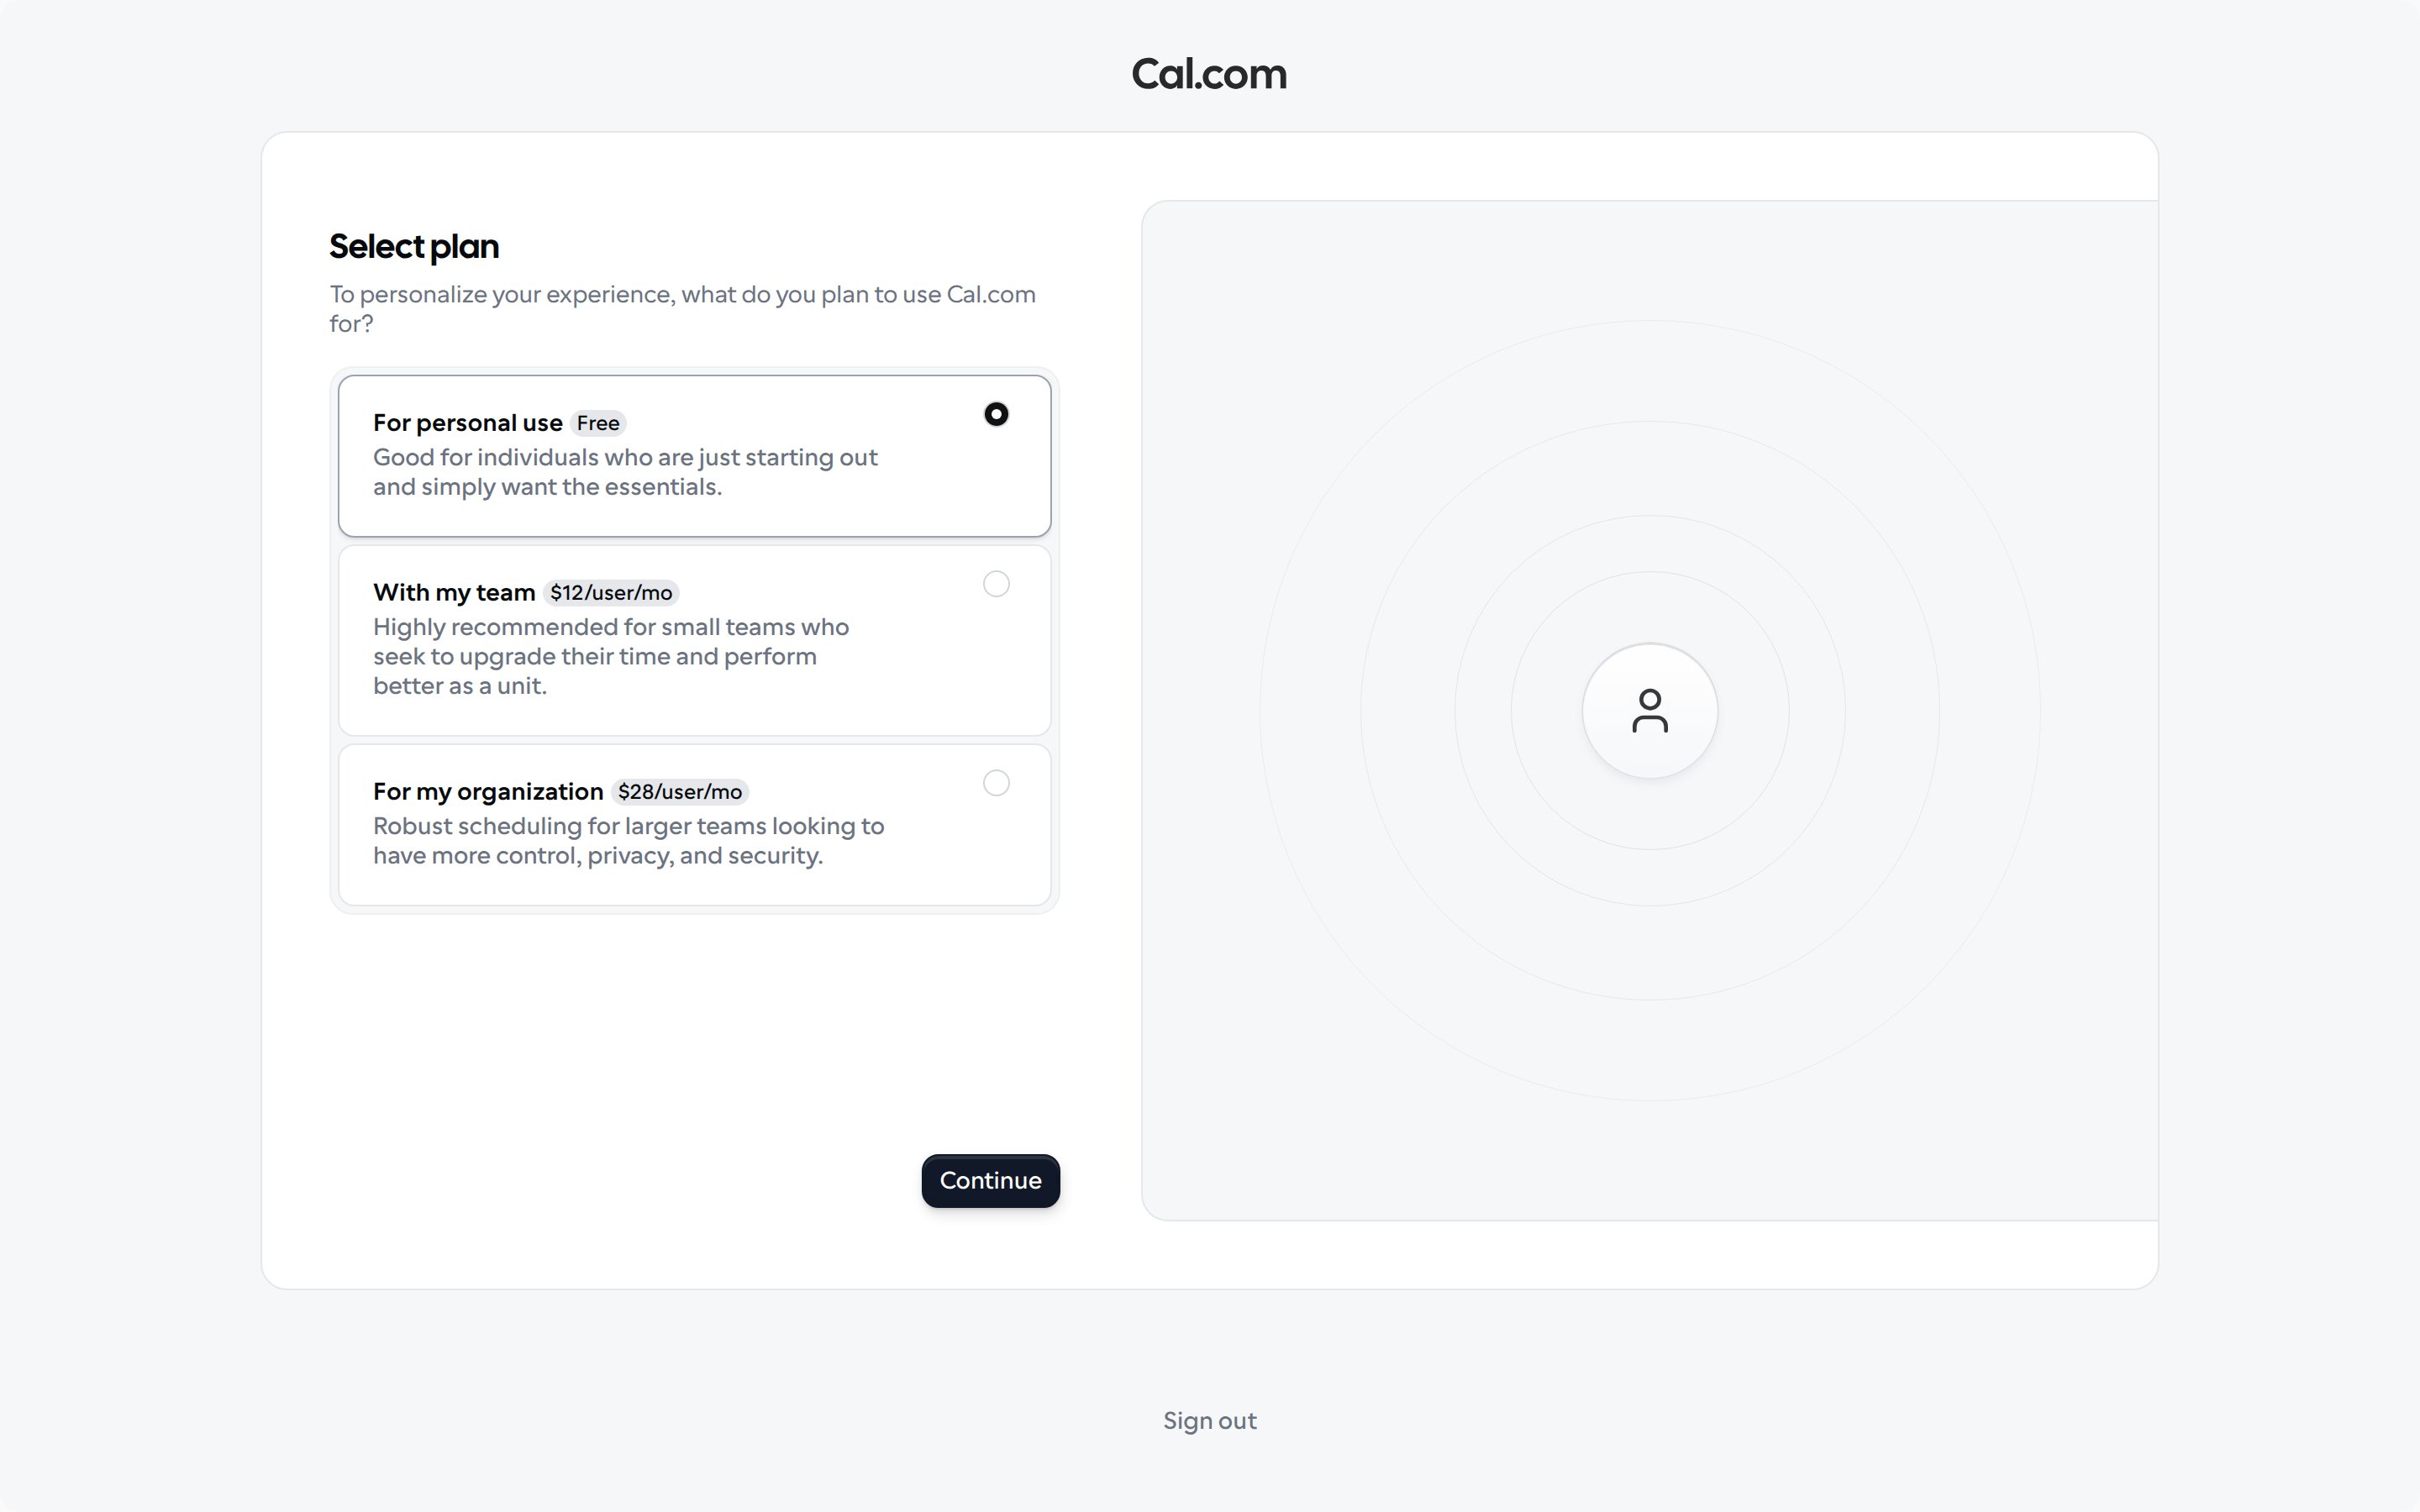
Add your details
Set up the profile people see when they book with you:- Profile picture: upload a photo so people know who they’re booking with. The recommended size is 64x64px, up to 5 MB.
- Your name: the name shown on your booking page.
- Username: the end of your booking link, for example
cal.com/your-username. - Bio: a short description about yourself.
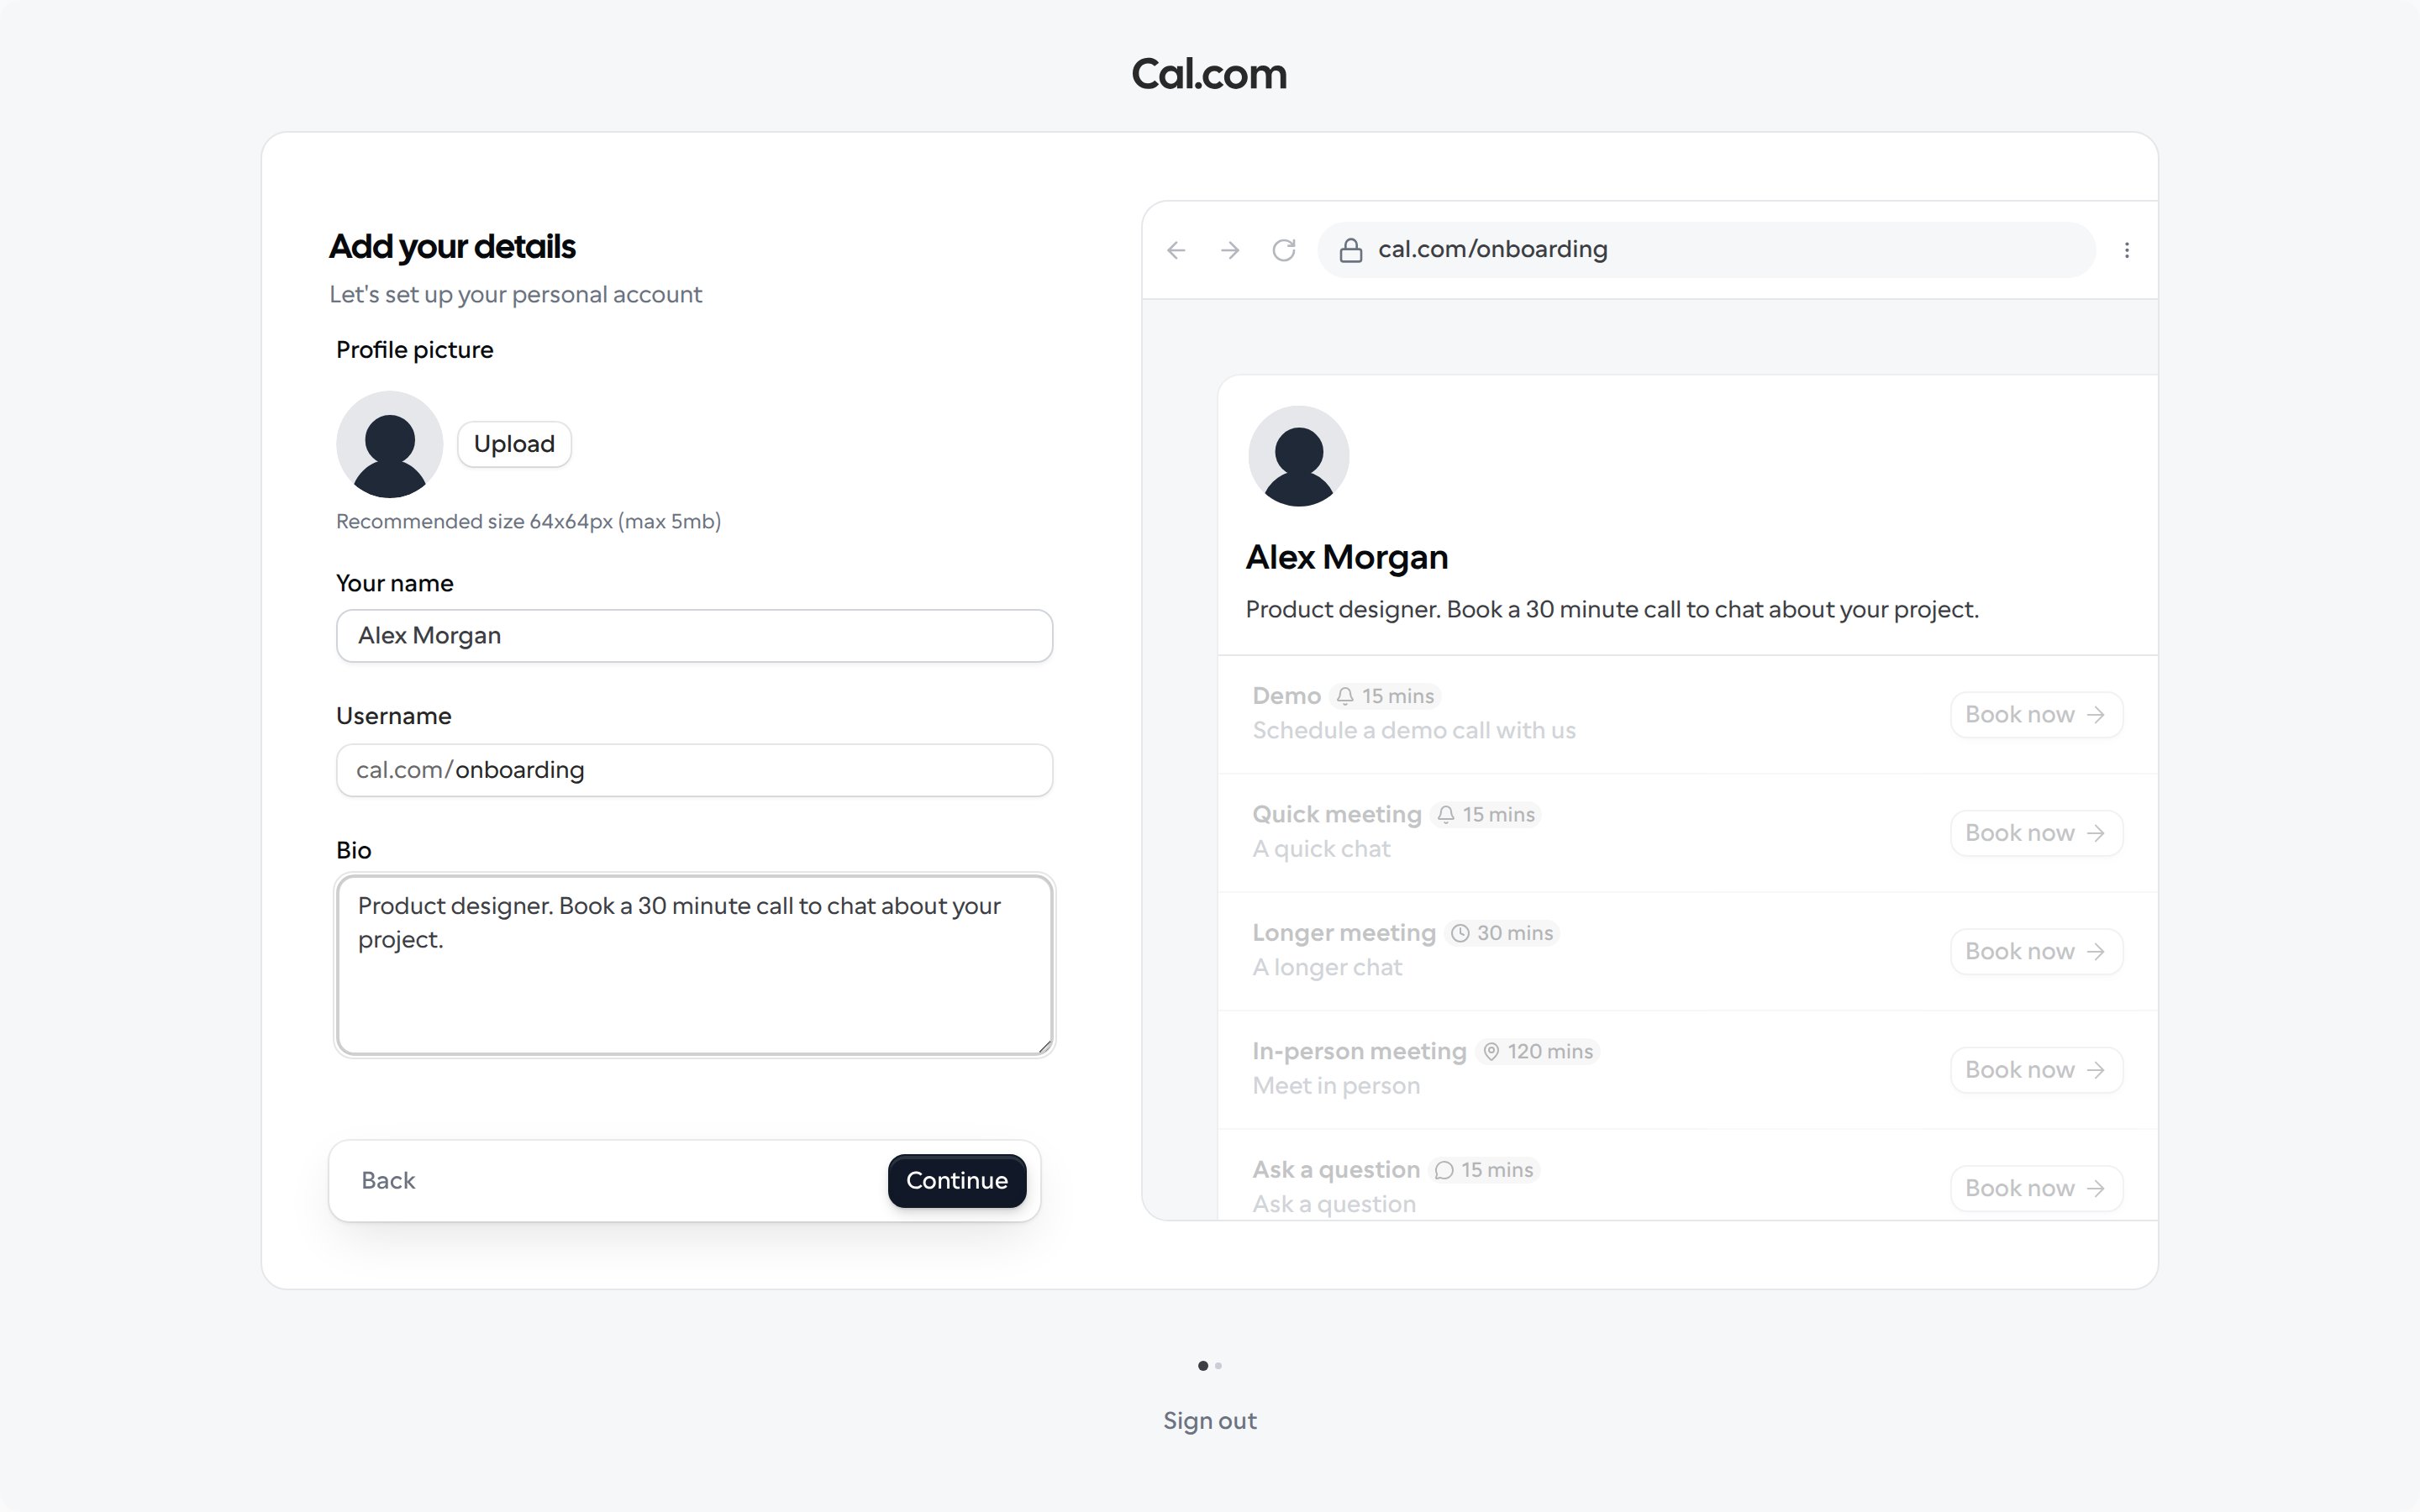
Connect your calendar
Connect your calendar so Cal.com can check your busy times to prevent double bookings and add new bookings to your calendar as they’re scheduled. Click Connect on the calendar you use and follow the prompts. If you’d rather connect a calendar later, click Skip for now. You can connect one at any time from Apps. See Calendar for step-by-step guides for each calendar.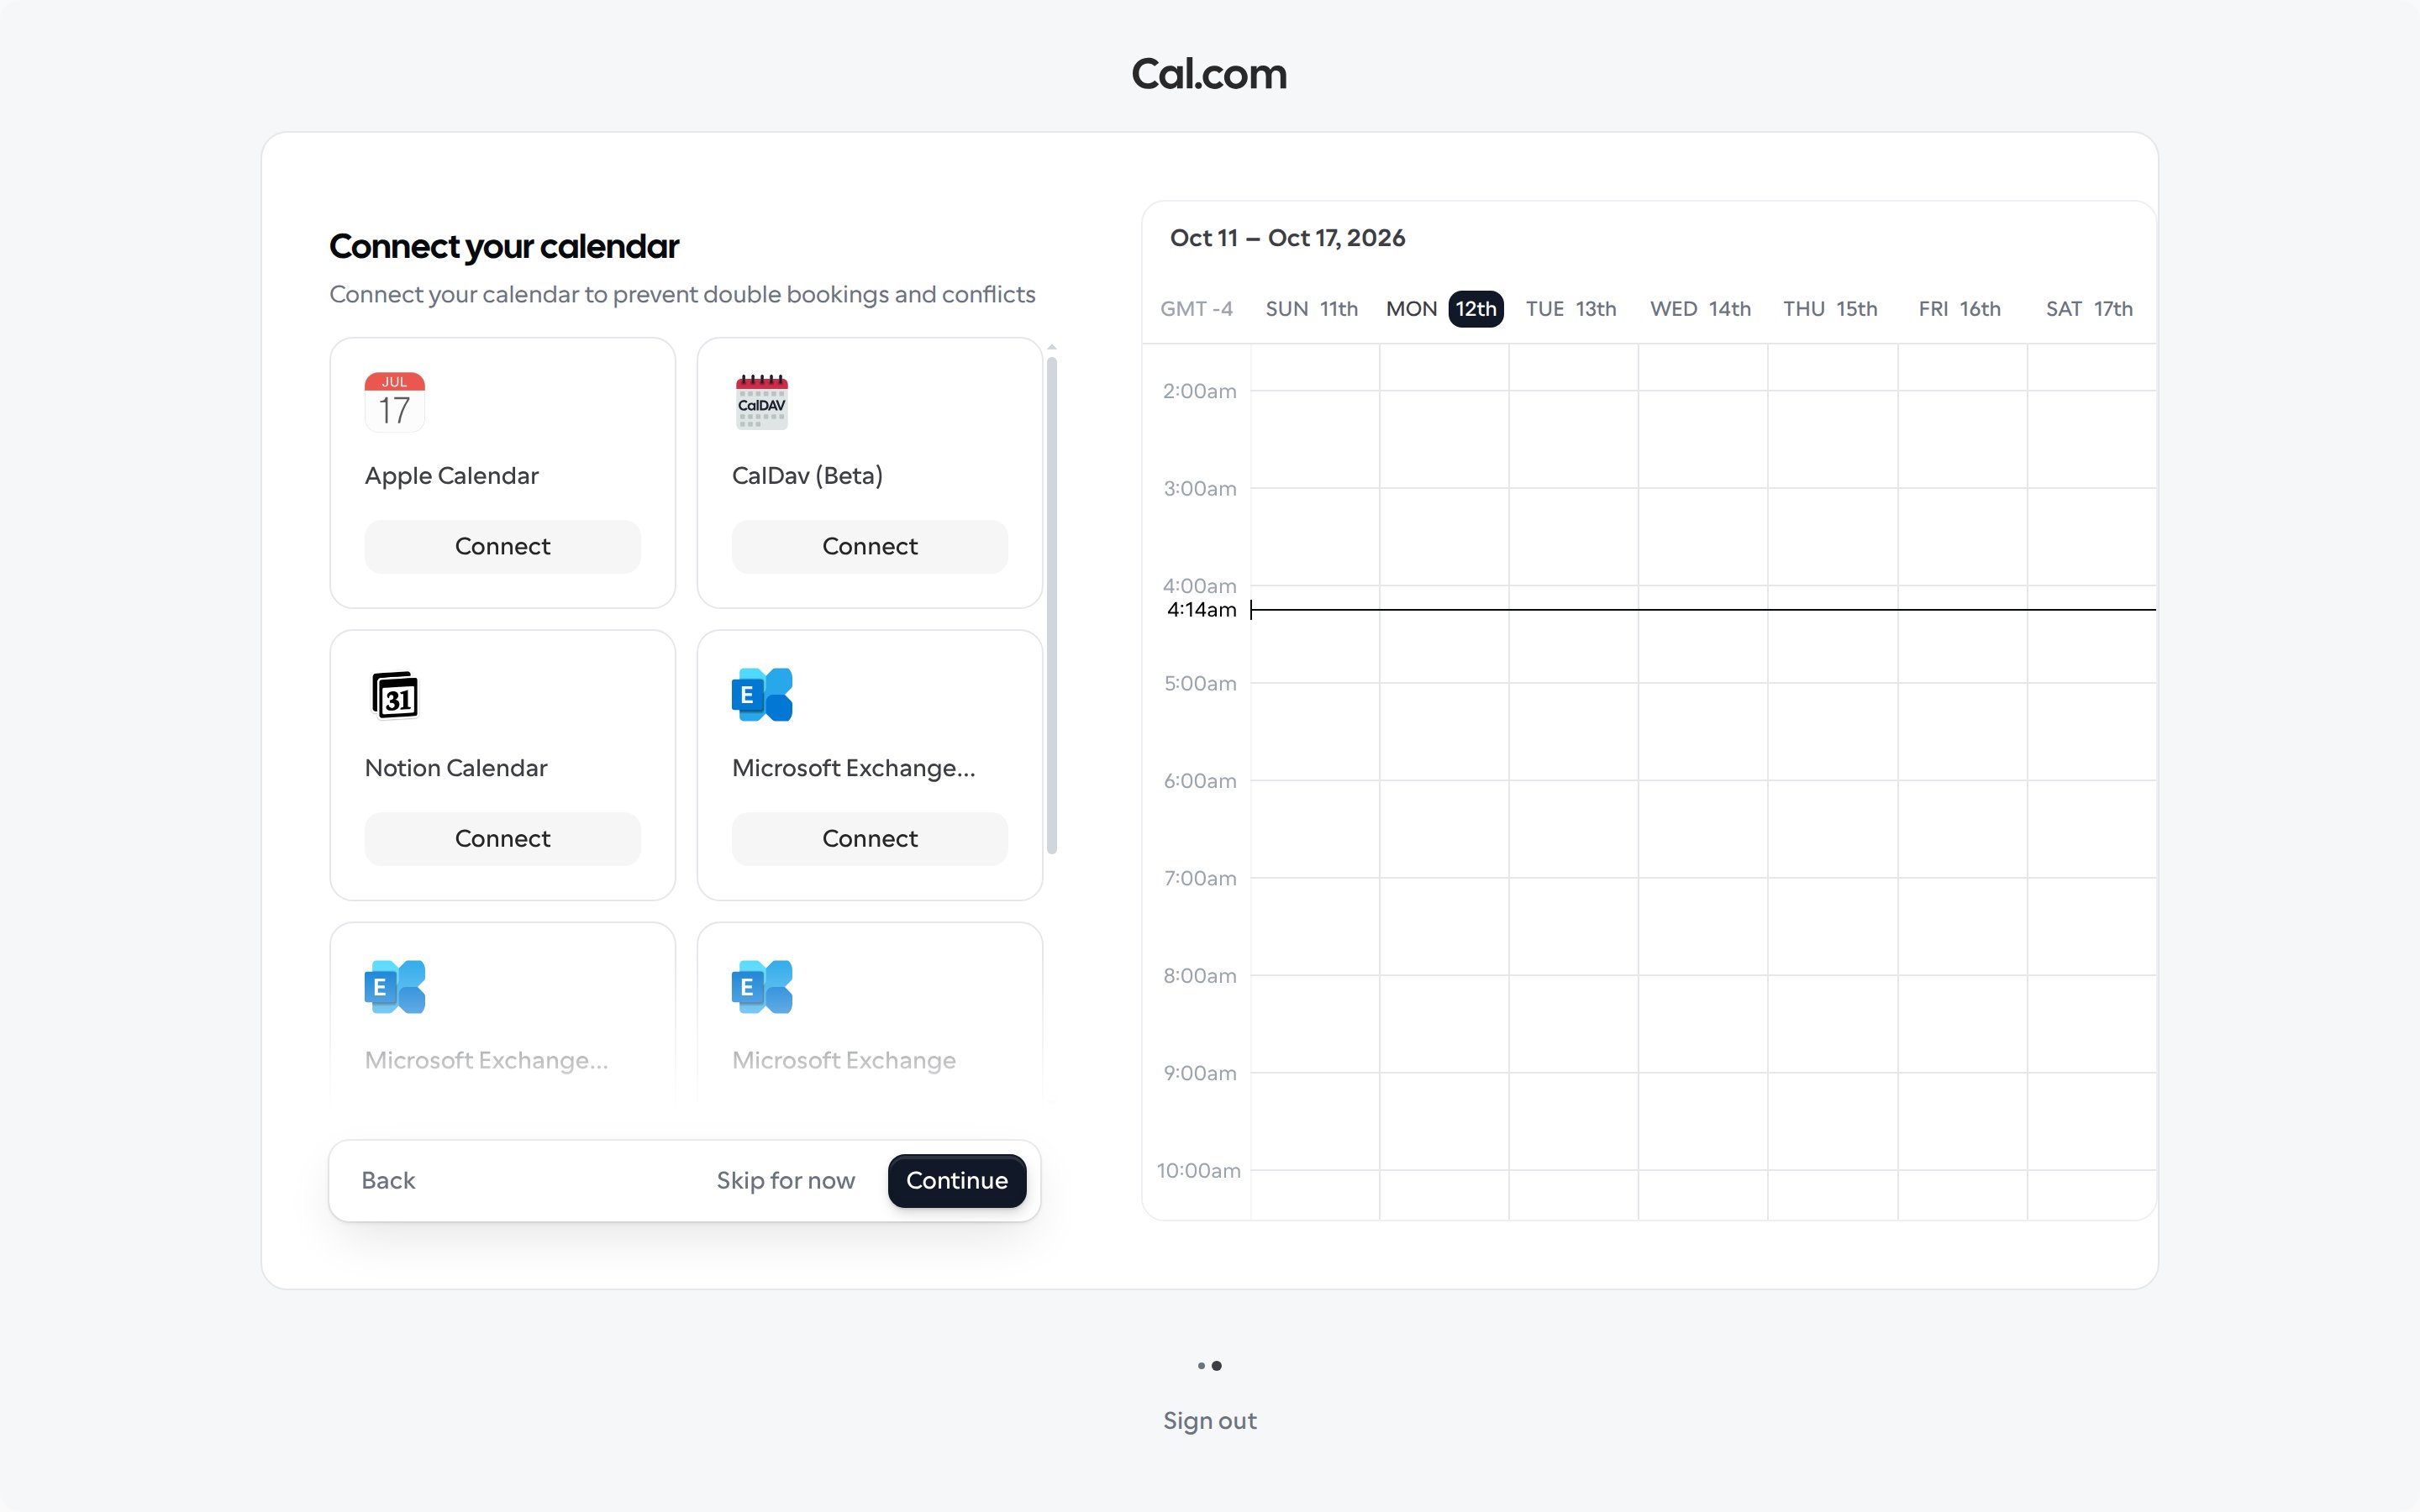
You’re all set
When you finish, you’ll see a welcome message and land on your dashboard, ready to start scheduling.