Setting up SAML login
Create a SAML application with your Identity Provider (IdP)
Follow the instructions here - SAML Setup
Configure access to the IdP SAML app
Ensure that all users who need access to Cal.com have access to the IdP SAML app.
Retrieve XML metadata from your IdP
Keep the XML metadata from your IdP accessible, as you will need it later.
Paste the XML metadata and Save
In the SAML configuration section, copy and paste the XML metadata from step 3 and click on Save.
SAML Registration with Identity Providers
This guide explains the settings you need to use to configure SAML with your Identity Provider. Once configured, obtain an XML metadata file and upload it on your Cal.com instance.Note: Please do not add a trailing slash at the end of the URLs. Create them exactly as shown below.Assertion consumer service URL / Single Sign-On URL / Destination URL: https://app.cal.com/api/auth/saml/callback Entity ID / Identifier / Audience URI / Audience Restriction: https://saml.cal.com Response: Signed Assertion Signature: Signed Signature Algorithm: RSA-SHA256 Assertion Encryption: Unencrypted Name ID Format: EmailAddress Application username: email Mapping Attributes / Attribute Statements:
| Name | Name Format | Value |
|---|---|---|
| firstName | Basic | user.firstName |
| lastName | Basic | user.lastName |
Setting up OIDC login
Gather necessary credentials
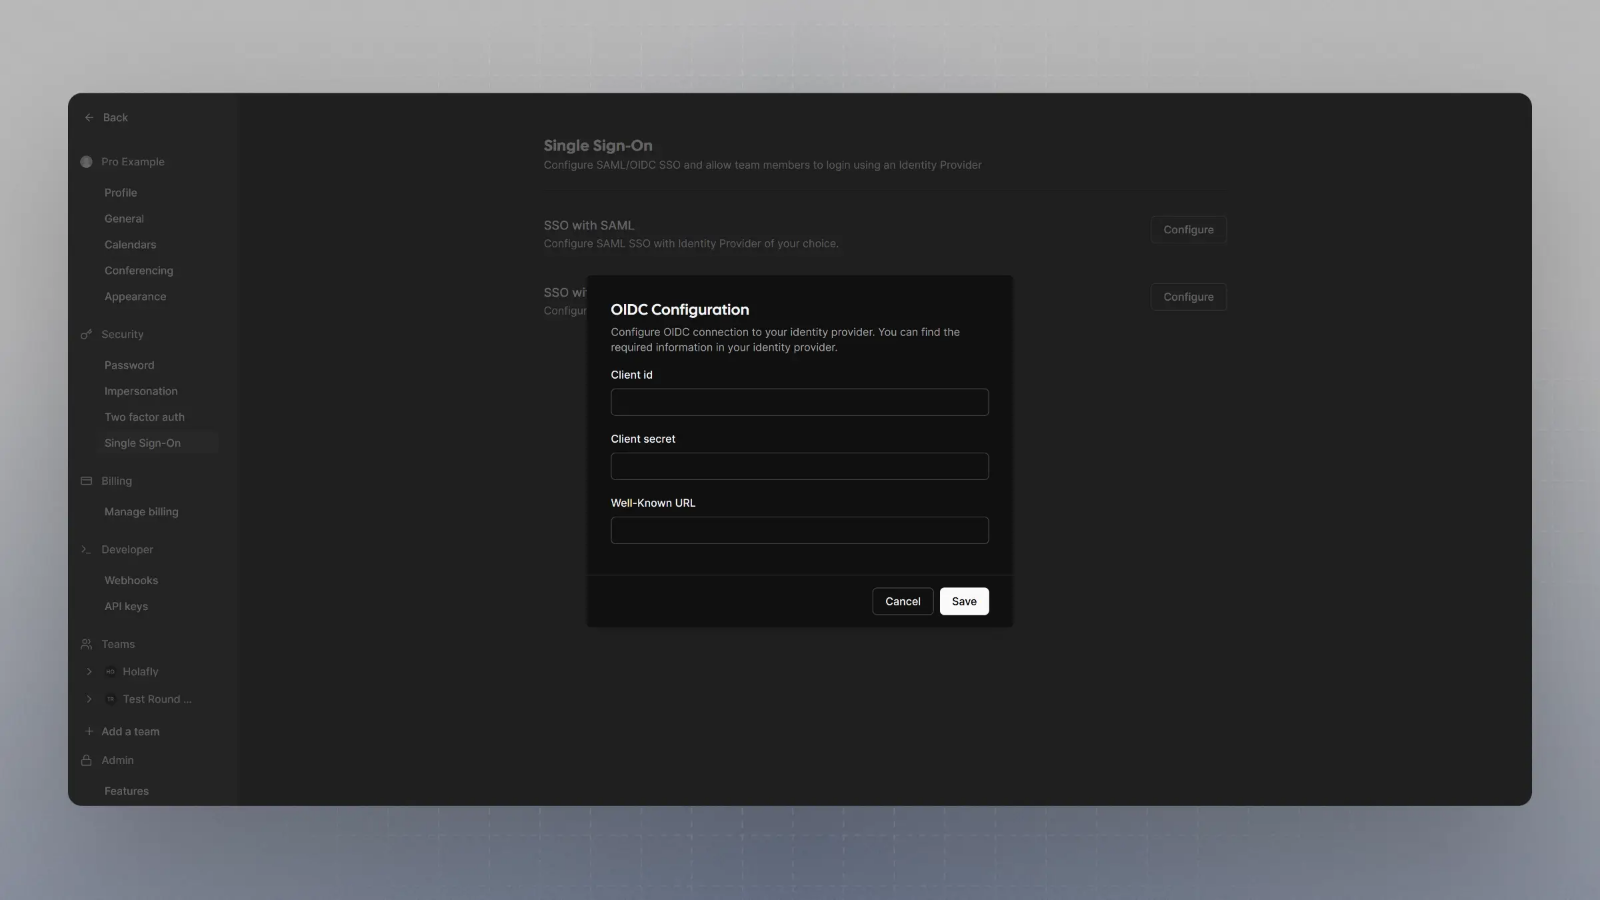
Keep handy the Client Secret, Client ID, and Well Known URL for the next steps.
Log in and go to Organization SSO Settings
Visit 
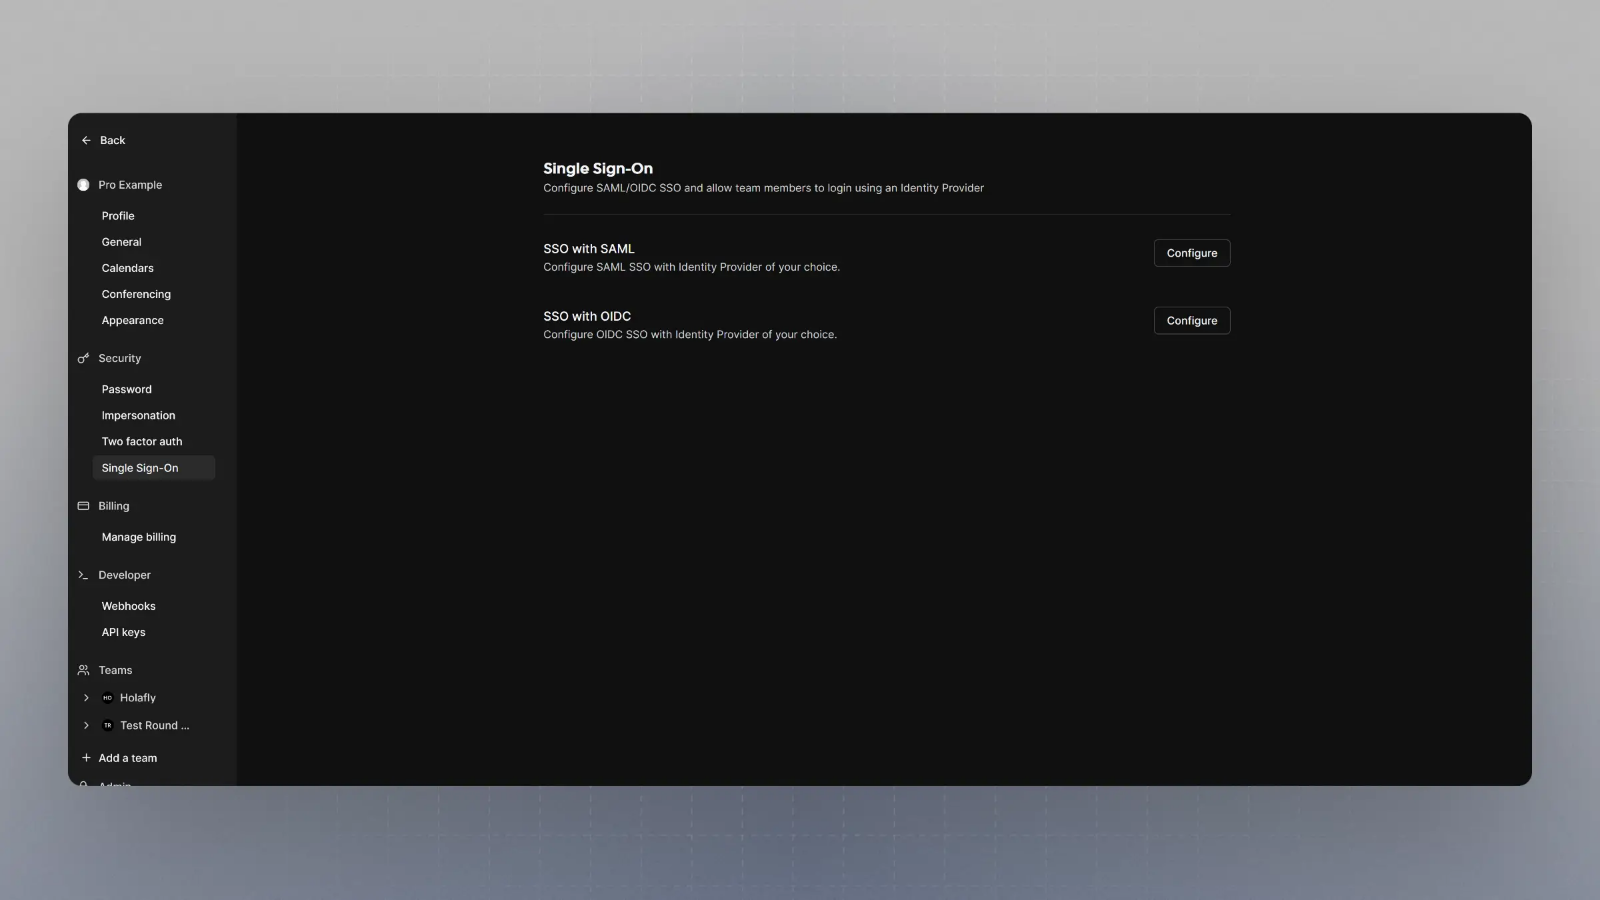
/settings/organizations/sso and you should see something like this:
Configure SSO with OIDC
Click on Configure SSO with OIDC, enter the Client Secret, Client ID, and Well Known URL from Step 1, and click save.
