The availability dashboard is the area within your account where you can create new availability schedules. In order to do this, simply follow the steps below:

  1. Click the button marked ”+ New” in the upper right-hand corner of the screen.

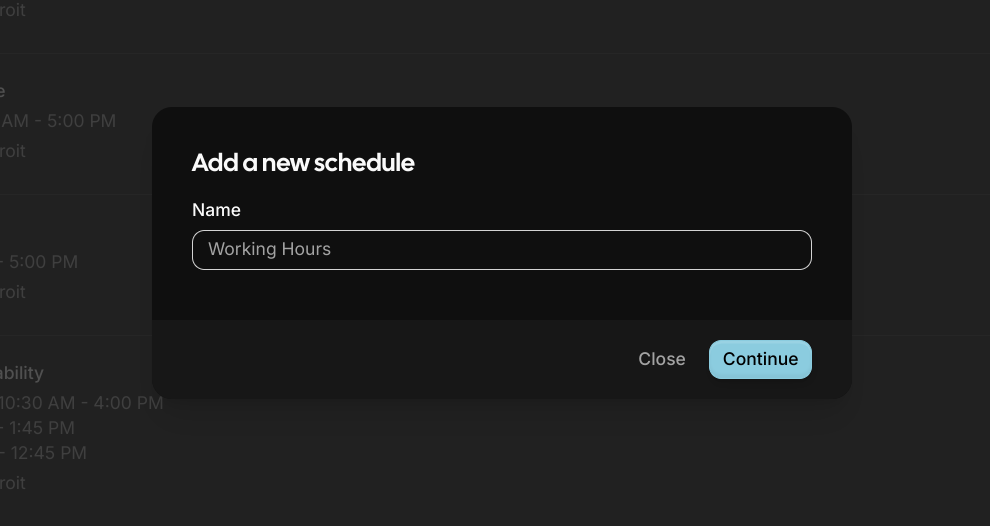
  2. Doing this will cause a pop-up to appear.

  3. Within this pop-up is a field where you can add the name of your new availability schedule.

  4. Once you’ve typed in the name, click the button marked “Continue.”

  5. Doing this will create your availability schedule and redirect you to a new page.

The page you’ve been redirected to is the settings area for your availability schedule. Each availability schedule you create will have its own settings page. This is the area where you can specify the days and hours for this availability schedule. From here, you can choose the timezone the availability schedule references, as well as set up any date overrides and troubleshoot.

As always, please remember to click the save button in the upper right-hand corner once you have finished making your changes to your availability schedule.

Learn more about: