

Get your OAuth “Continue with Cal.com” Badge
- https://app.cal.com/continue-with-calcom-coss-ui.svg
- https://app.cal.com/continue-with-calcom-dark-rounded.svg
- https://app.cal.com/continue-with-calcom-dark-squared.svg
- https://app.cal.com/continue-with-calcom-light-rounded.svg
- https://app.cal.com/continue-with-calcom-light-squared.svg
- https://app.cal.com/continue-with-calcom-neutral-rounded.svg
- https://app.cal.com/continue-with-calcom-light-squared.svg
1. OAuth Client Credentials
You can create an OAuth client via the following page https://app.cal.com/settings/developer/oauth. The OAuth client will be in a “pending” state and not yet ready to use. You must select at least one scope when creating the OAuth client. You can register up to 10 redirect URIs per OAuth client. An admin from Cal.com will then review your OAuth client and you will receive an email if it was accepted or rejected. If it was accepted then your OAuth client is ready to be used.Available Scopes
Scopes control which API endpoints the OAuth token can access. Once a user authorizes your client with a given set of scopes, the issued access token can only be used to call endpoints covered by those scopes — any request to an endpoint outside the granted scopes will be rejected. The following scopes are available:Some endpoints like
POST /v2/bookings (create), POST /v2/bookings/:bookingUid/cancel (cancel), POST /v2/bookings/:bookingUid/reschedule (reschedule), and slot availability endpoints are public and do not require any scope. You can still pass an OAuth access token when calling these endpoints — the token is accepted but not required. This means you can use a consistent Authorization: Bearer <token> header across all API requests without worrying about whether a specific endpoint is public or scoped.Team Scopes
Team scopes control access to team-level resources. These are used for endpoints under/v2/teams/:teamId/... and /v2/organizations/:orgId/teams/:teamId/....
Organization Scopes
Organization scopes control access to organization-wide resources. These are used for endpoints under/v2/organizations/:orgId/... that do not target a specific team.
An
ORG_ scope automatically grants the corresponding TEAM_ scope. For example, a token with ORG_PROFILE_READ can also access endpoints that require TEAM_PROFILE_READ.2. Authorize
To initiate the OAuth flow, direct users to the following authorization URL:https://app.cal.com/auth/oauth2/authorize?client_id=YOUR_CLIENT_ID&redirect_uri=YOUR_REDIRECT_URI&state=YOUR_STATE&scope=BOOKING_READ%20BOOKING_WRITE
URL Parameters:
After users click Allow, they will be redirected to the
redirect_uri with code (authorization code) and state as URL parameters:
Error Handling
Errors during the authorization step are displayed directly to the user on the Cal.com authorization page. Your application will not receive a JSON error response for these cases:- Client not found: No OAuth client exists with the provided
client_id. - Client not approved: The OAuth client has not been approved by a Cal.com admin yet.
- Mismatched redirect URI: The
redirect_uridoes not match any of the registered redirect URIs for the OAuth client.
redirect_uri with an error:
- Scope required: If the
scopeparameter is missing, the errorscope parameter is required for this OAuth clientis displayed on the authorization page. - Unknown scope: If the
scopeparameter includes scope values that do not exist, the user is redirected witherror=invalid_scopeanderror_description=Requested scope is not a recognized scope. This applies to both regular and legacy clients. - Invalid scope: If the
scopeparameter includes scopes not enabled on the OAuth client, the user is redirected witherror=invalid_requestanderror_description=Requested scope exceeds the client's registered scopes. - Access denied: If the user denies access or has insufficient permissions, the user is redirected with an error.
3. Exchange Token
Exchange an authorization code for access and refresh tokens. The token endpoint also acceptsapplication/x-www-form-urlencoded content type.
Endpoint: POST https://api.cal.com/v2/auth/oauth2/token
3.1 Confidential Clients
Confidential clients authenticate with aclient_secret. All parameters are required:
- cURL
- fetch
- axios
3.2 Public Clients (PKCE)
Public clients (e.g. single-page apps, mobile apps) use PKCE instead of aclient_secret. You must have sent a code_challenge during the authorization step. All parameters are required:
- cURL
- fetch
- axios
Success Response (200)
Access tokens expire after 30 minutes (
expires_in: 1800). Use the refresh token to obtain a new access token. The scope field contains the granted scopes as a space-separated string.Error Responses
Error responses includeerror and error_description fields.
Invalid client credentials (401)
Invalid client credentials (401)
client_secret does not match the client_id. Verify your credentials.Client not found (401)
Client not found (401)
client_id.Missing client_id (400)
Missing client_id (400)
client_id field is missing from the request body.Invalid grant_type (400)
Invalid grant_type (400)
grant_type field must be either authorization_code or refresh_token.4. Refresh Token
Refresh an expired access token using a refresh token. Endpoint:POST https://api.cal.com/v2/auth/oauth2/token
4.1 Confidential Clients
Confidential clients authenticate with aclient_secret. All parameters are required:
- cURL
- fetch
- axios
4.2 Public Clients
Public clients do not use aclient_secret. All parameters are required:
- cURL
- fetch
- axios
Success Response (200)
Scopes are preserved from the original authorization. You do not need to re-request scopes when refreshing tokens.
Error Responses
Invalid refresh token (400)
Invalid refresh token (400)
Invalid client credentials (401)
Invalid client credentials (401)
client_secret does not match the client_id.Client not found (401)
Client not found (401)
client_id.5. Client Secret Rotation
Cal.com supports rotating client secrets with zero downtime. You can have up to 2 active secrets at a time, allowing you to deploy a new secret before revoking the old one.Why rotate secrets?
- A secret may have been accidentally exposed or compromised
- Your security policy requires periodic credential rotation
- An employee with access to the secret has left your organization
How it works
- Generate a new secret from your OAuth client settings. Your old secret continues to work — both secrets are valid simultaneously.
- Update your application to use the new secret in all token exchange and refresh requests.
- Verify that your application works correctly with the new secret.
- Revoke the old secret from the settings page. Any requests using the old secret will immediately fail.
Important notes
- You can have a maximum of 2 secrets per client. To generate a new one when you already have 2, revoke an existing secret first.
- New secrets are shown only once when generated. Copy and store them securely.
- Revoking a secret takes effect immediately — there is no grace period.
- Existing access and refresh tokens remain valid after secret rotation. Rotation only affects token exchange and refresh requests that require
client_secret. - Secret rotation applies only to confidential clients. Public clients (PKCE) do not use client secrets.
What needs to change in your code
When you rotate a secret, update theclient_secret parameter in these requests:
Legacy Client Migration
If your OAuth client was created before scopes were introduced, it is considered a legacy client. A client is treated as legacy if it has no scopes configured, or if it only has the old legacy scope values (READ_BOOKING and/or READ_PROFILE). Access tokens issued by legacy clients can access any resource on behalf of the authorizing user — scopes are not enforced.
You can migrate a legacy client to use explicit scopes without creating a new client. Order matters — follow these steps to avoid breaking existing integrations:
Step 1: Update your authorization URL
Add ascope query parameter to your authorization URL before changing any client settings. Legacy clients skip scope validation during authorization, so users can already authorize with a scope parameter even while the client is still in legacy mode.
Step 2: Update client scopes in settings
Once your authorization URL is updated and you have verified that new tokens are being issued with the correct scopes, open your OAuth client settings and select the matching scopes. Save the client. After this step, the client is no longer treated as a legacy client. Scope validation is enforced for all new authorization requests.Existing tokens
Tokens issued before the migration continue to work until users re-authorize. There is no forced invalidation of existing tokens during the migration.Re-approval
Changing properties below will trigger a re-review by Cal.com admins and set client to a “pending” state:- Name
- Logo
- Website URL
- Redirect URI
- Scope expansion (adding new scopes that the client did not previously have)
- Adding a
_READscope when the corresponding_WRITEscope is already granted (e.g. addingBOOKING_READwhenBOOKING_WRITEis already present) - Removing scopes
- Purpose description change
- Updating scopes on a legacy client, as long as only user-level scopes are added — adding
TEAM_orORG_scopes to a legacy client will trigger re-approval. See Legacy Client Migration for details.
6. Verify Access Token
To verify the correct setup and functionality of OAuth credentials, use the following endpoint: Endpoint:GET https://api.cal.com/v2/me
- cURL
- fetch
- axios
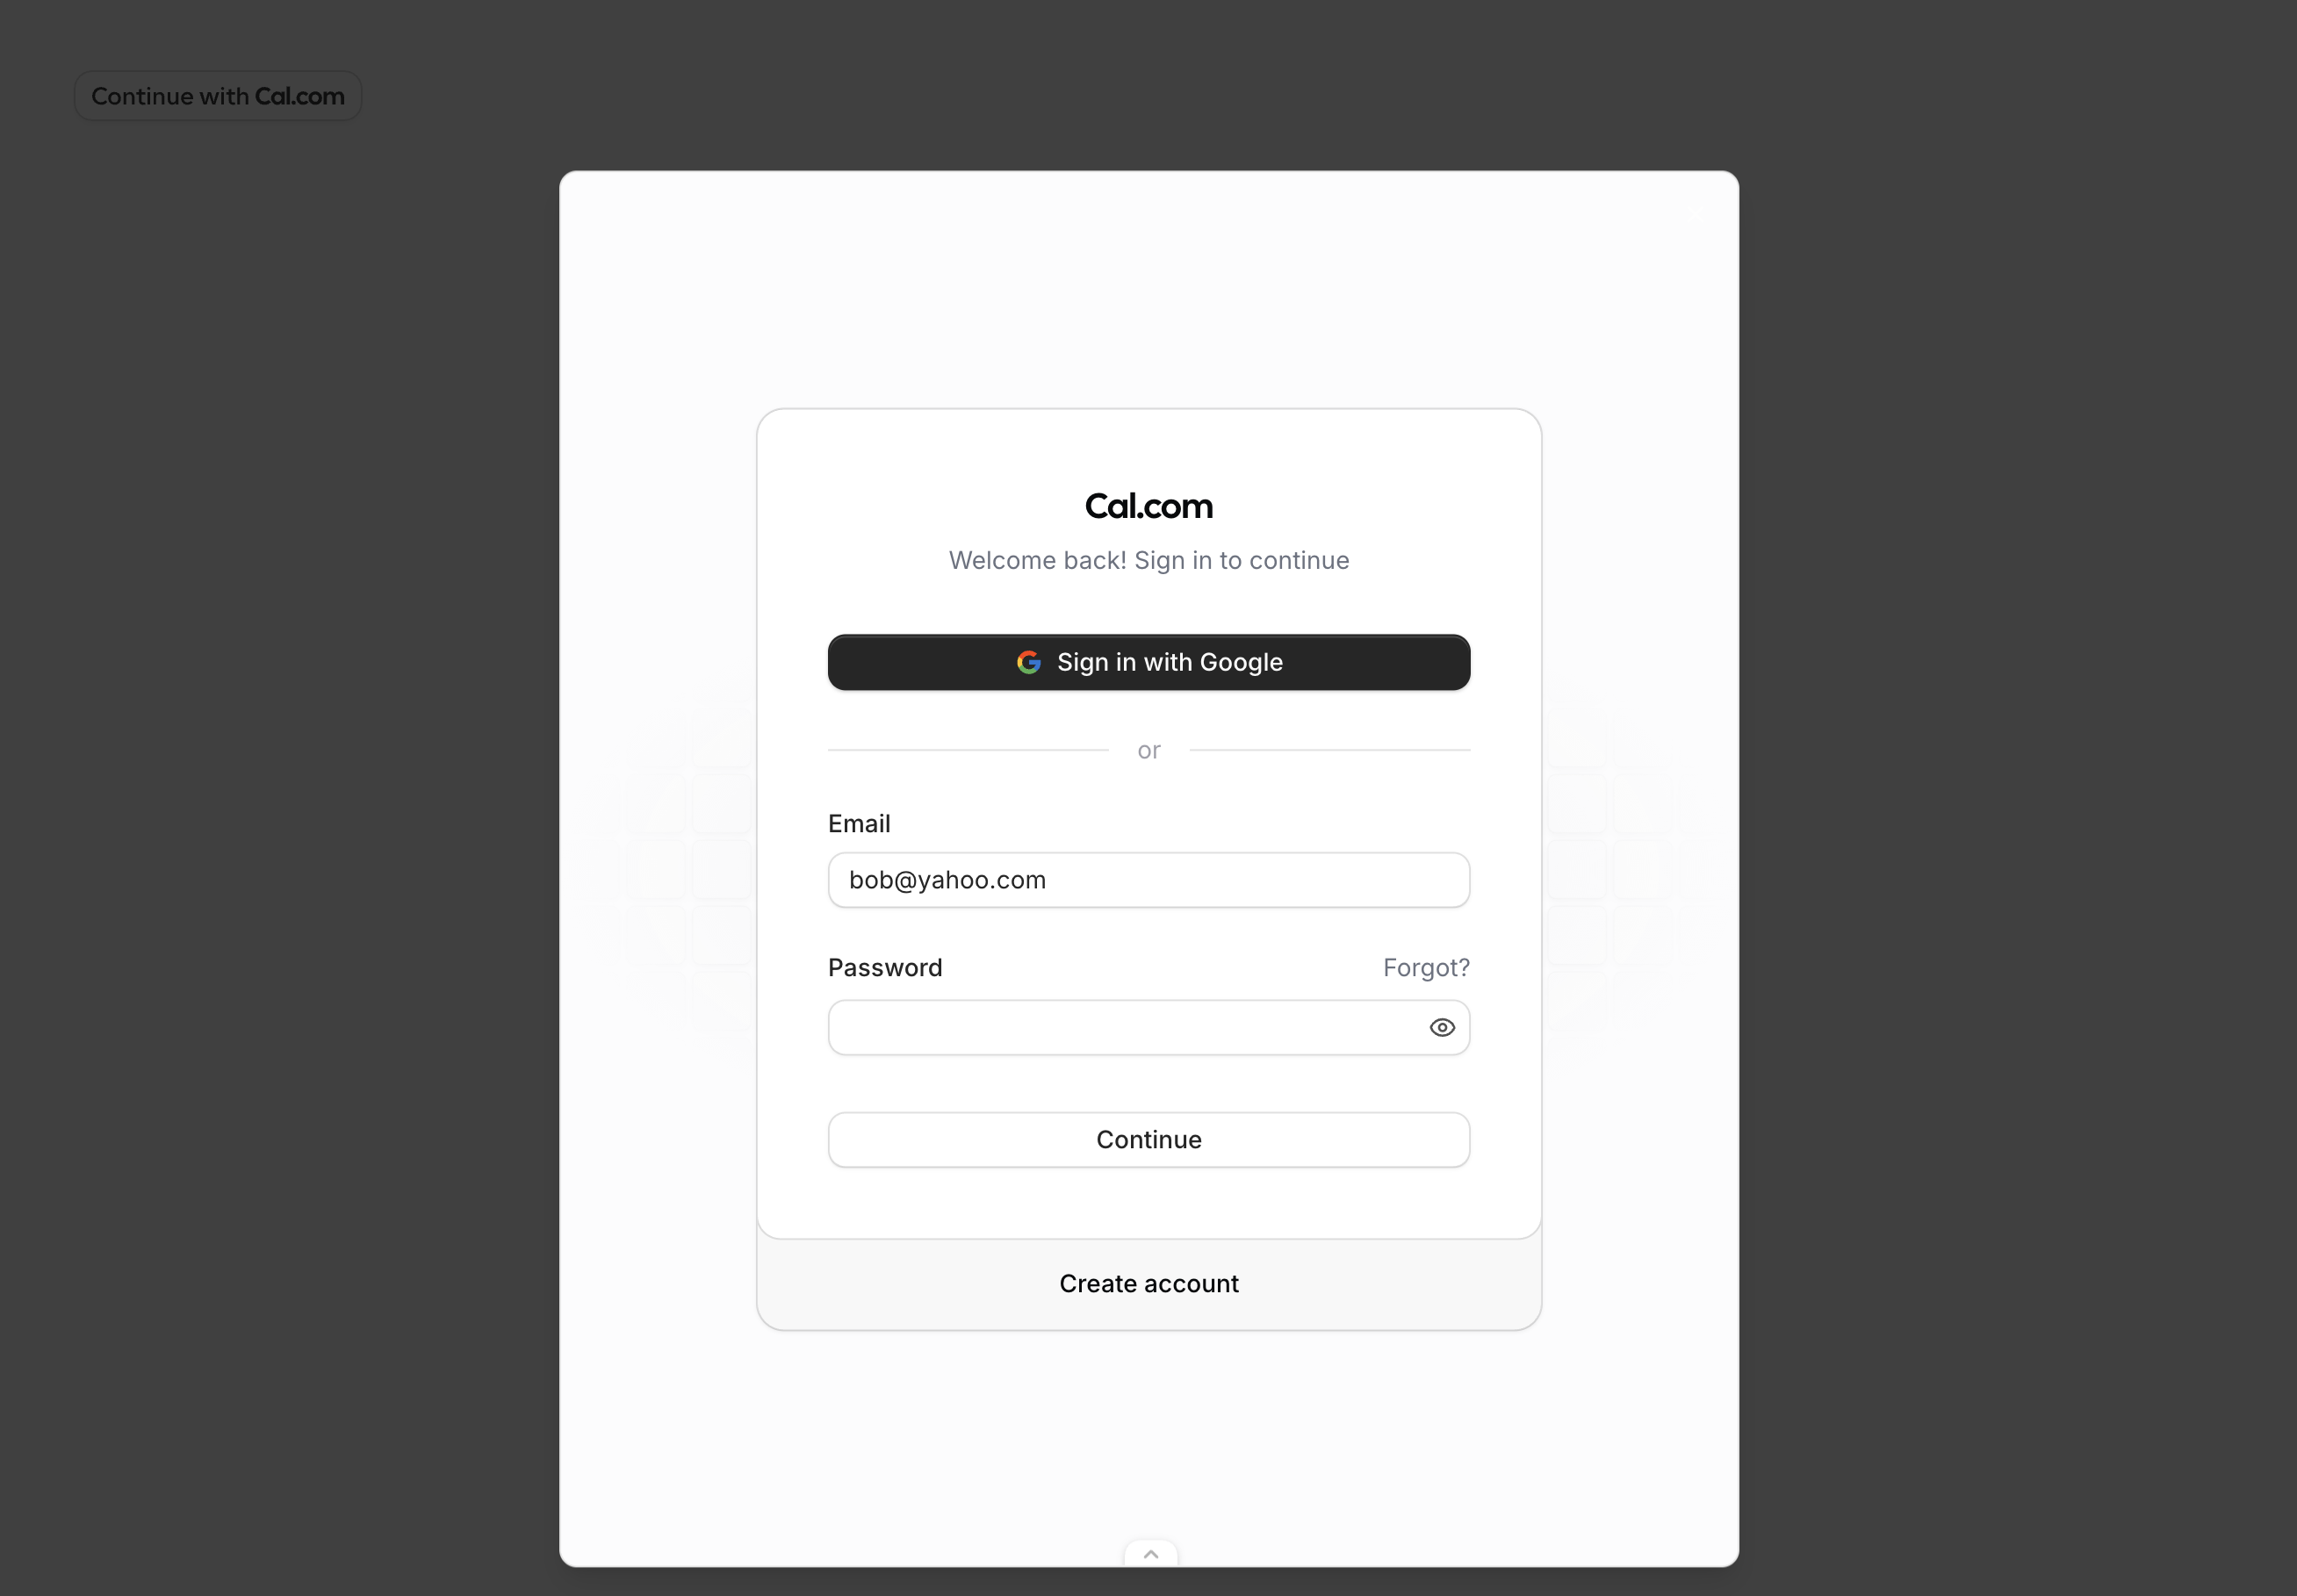
7. Onboarding Embed
The<OnboardingEmbed /> React component lets you embed Cal.com account creation, onboarding, and OAuth authorization directly inside your application. Users create a real Cal.com account, complete onboarding, and grant your app OAuth access — all without leaving your site. The component
also has an inbuilt “dark” and “light” theme.
For a demonstration of the onboarding embed flow, please refer to the video below.
The component supports two modes for receiving the authorization code:
- Callback mode — provide
onAuthorizationAllowedto receive the authorization code via a callback. No page navigation occurs. - Redirect mode — don’t provide
onAuthorizationAllowedand the browser navigates to yourredirectUriwith the code as a query parameter. Works like a standard OAuth redirect.
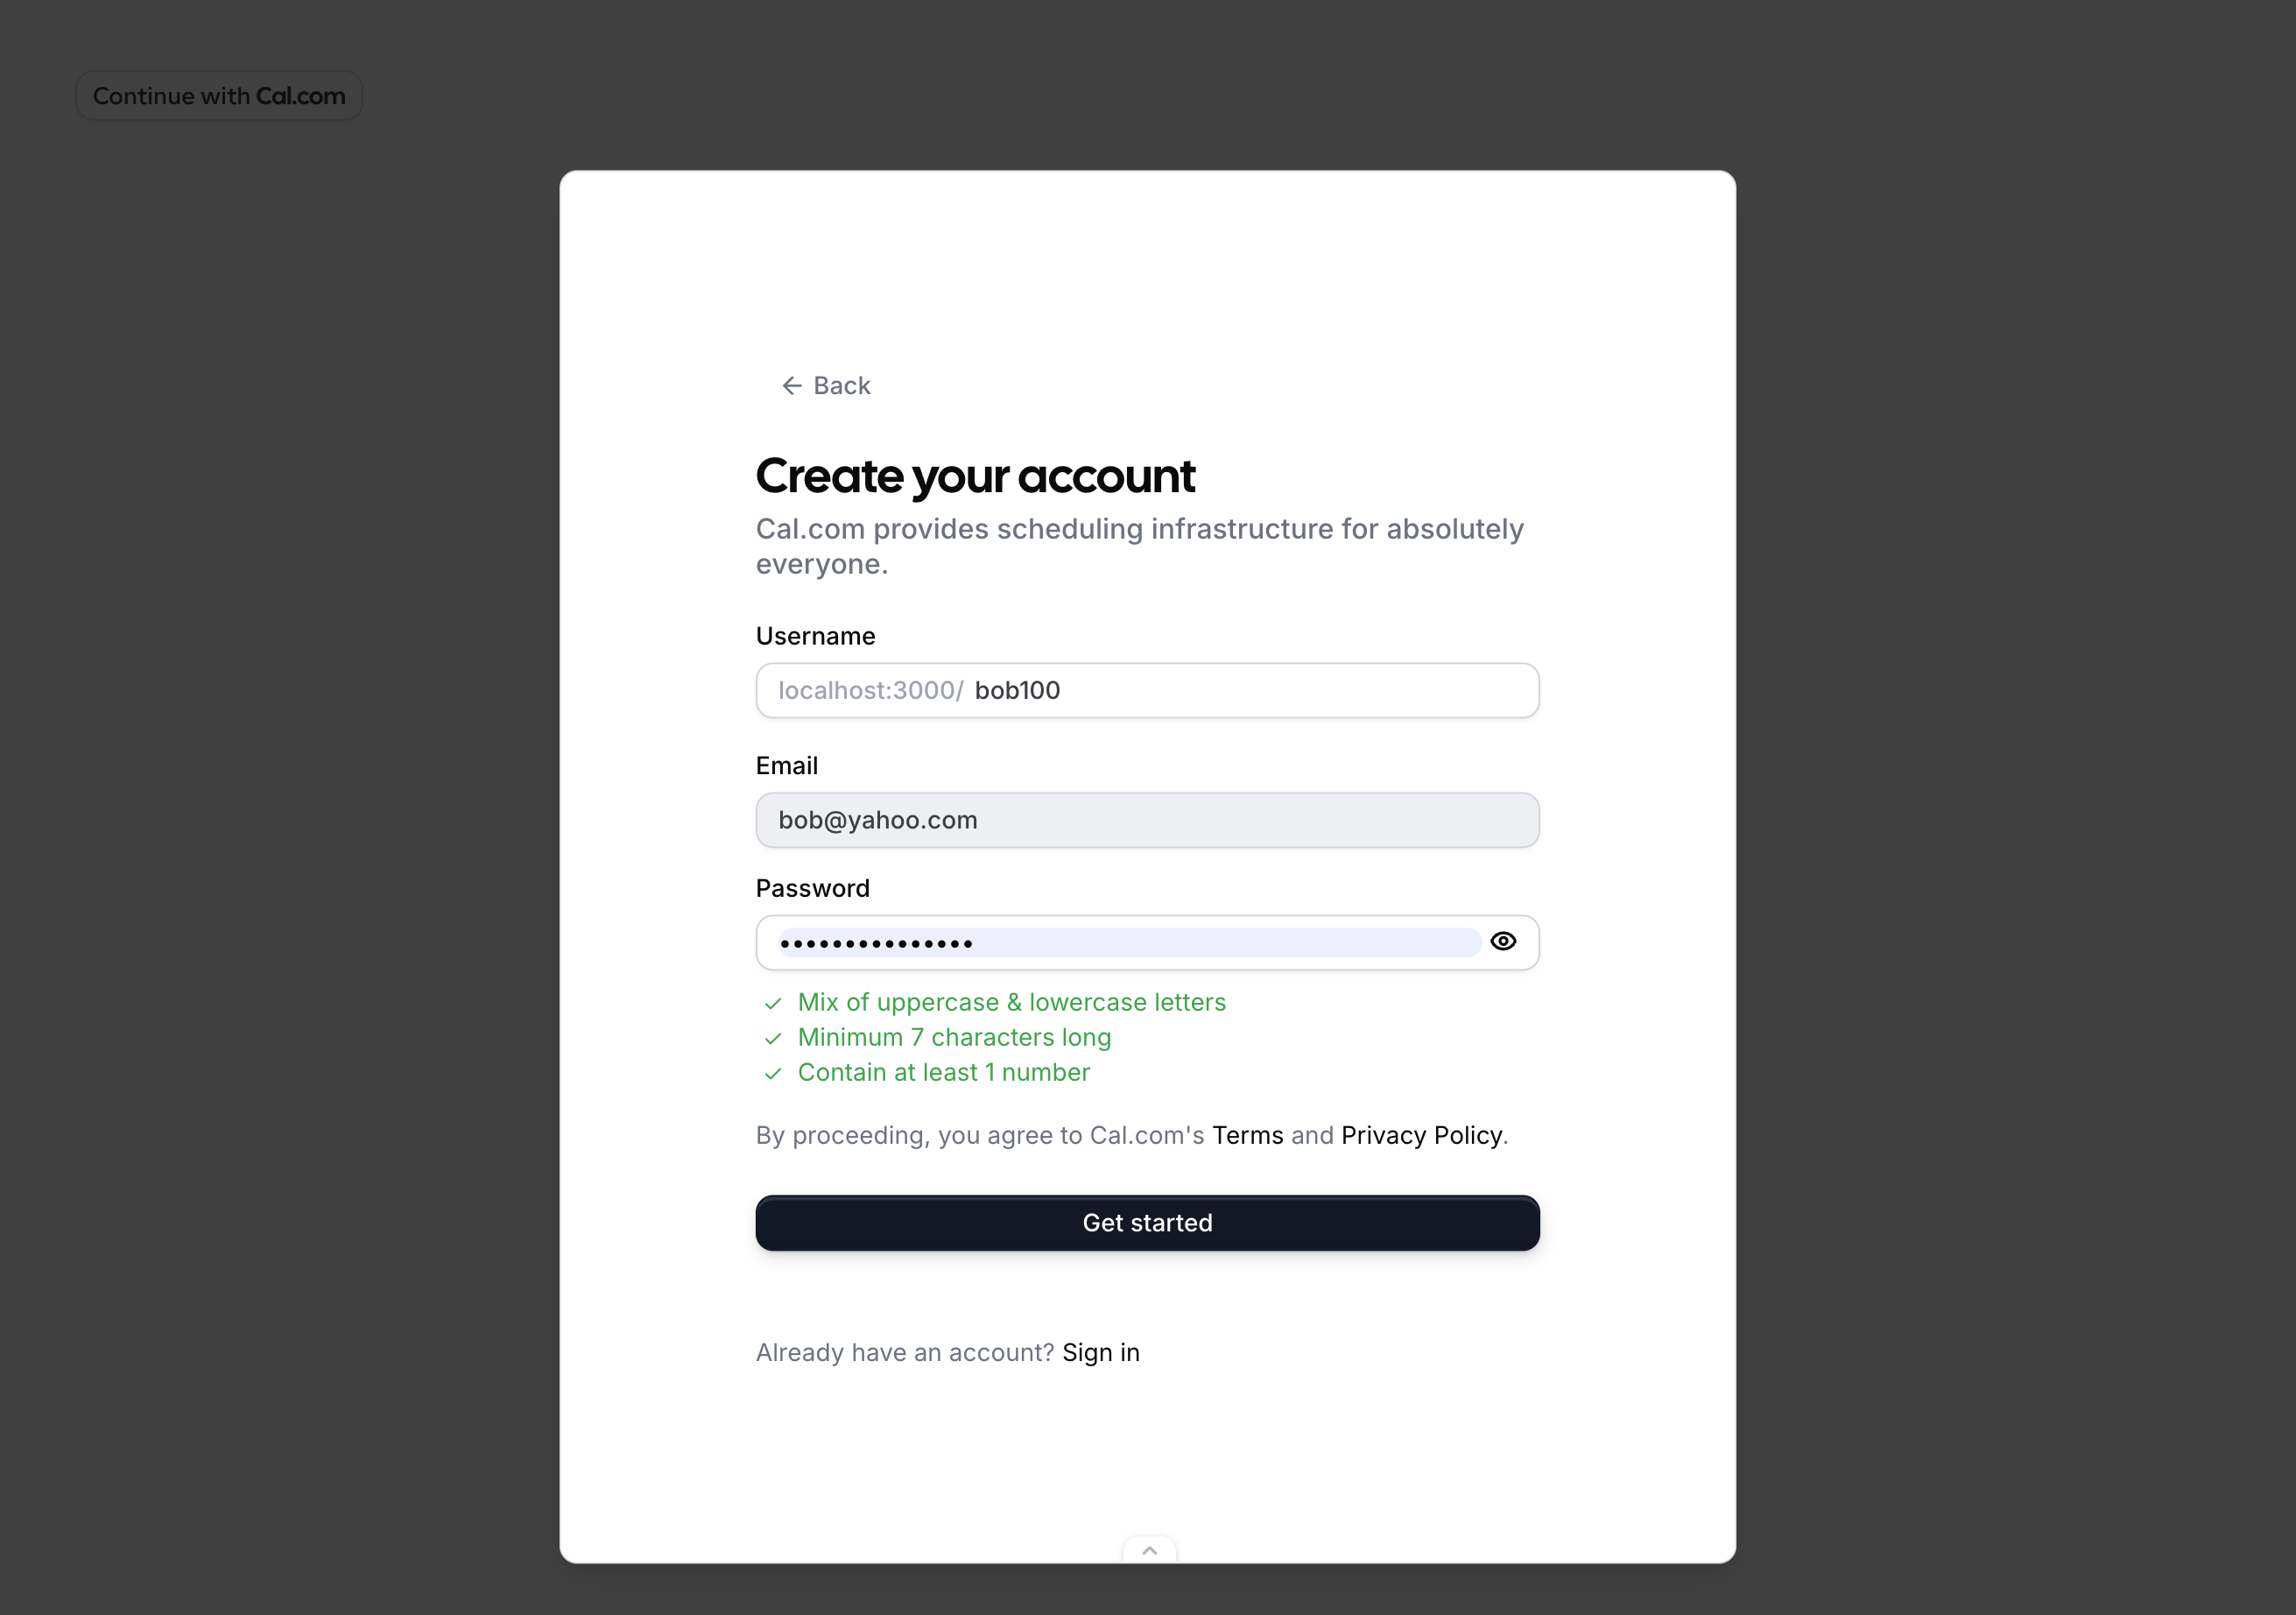
After a new user signs up through the embed, Cal.com sends them a verification email to confirm their email address.
Callback Mode
ProvideonAuthorizationAllowed to receive the authorization code directly. The dialog closes and your callback fires after user authorizes your OAuth client — no page reload.
Redirect Mode
OmitonAuthorizationAllowed and the browser navigates to your redirectUri after the user completes onboarding and grants access:
Props
Authorization Props
If the user signs up via Google, the
user prop values are ignored — name, email, and username are inferred from the Google account instead.Trigger and Theme
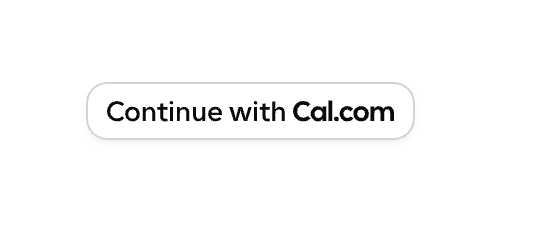
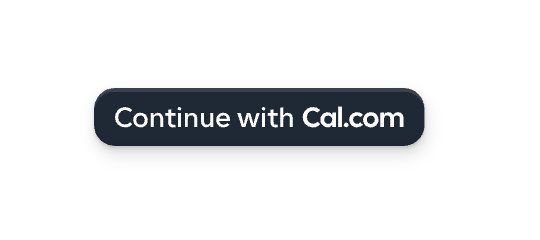
Thetheme prop controls the appearance of the trigger button, the onboarding steps, and the authorization page. The default trigger renders a “Continue with Cal.com” button:
| Light theme (default) | Dark theme |
|---|---|
 |  |
trigger prop:
Walkthrough — Callback Mode
Here’s what happens when a user clicks the trigger withonAuthorizationAllowed provided and the user prop set:
user.email prop prefills the email field.
user.email and user.username props are prefilled. When signing up with Google, the user prop values are ignored — name, email, and username are inferred from the Google account.
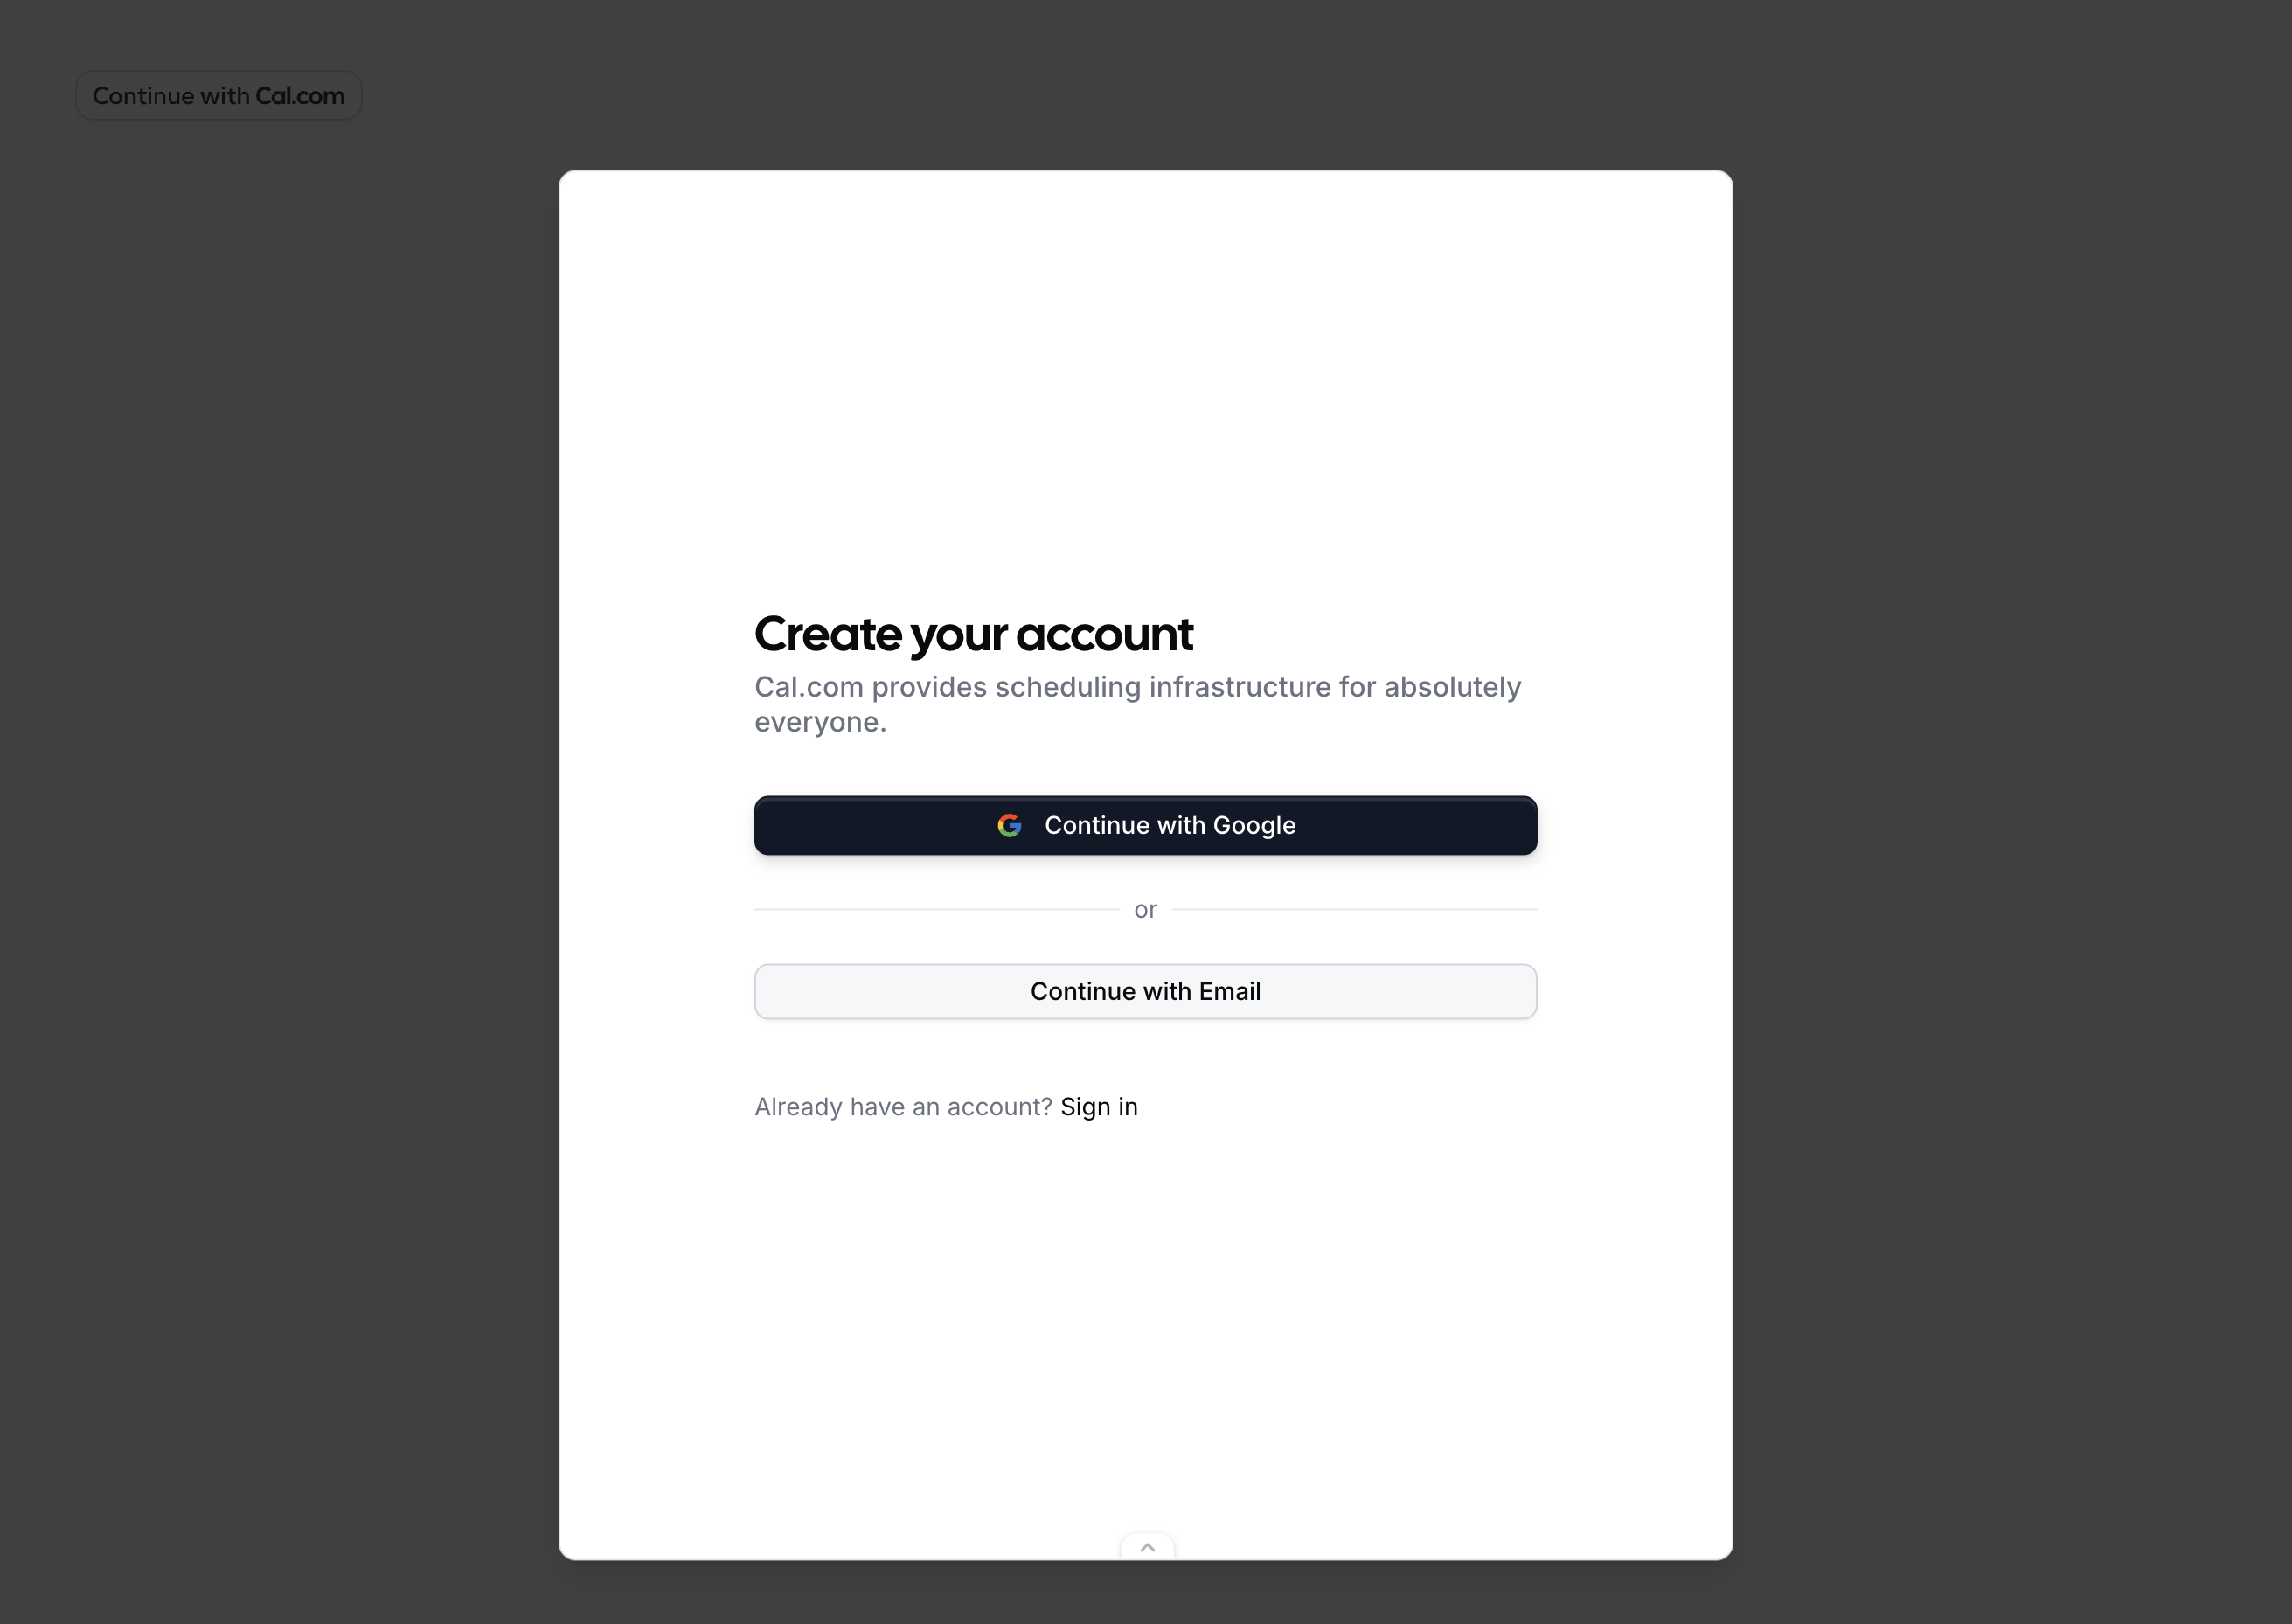
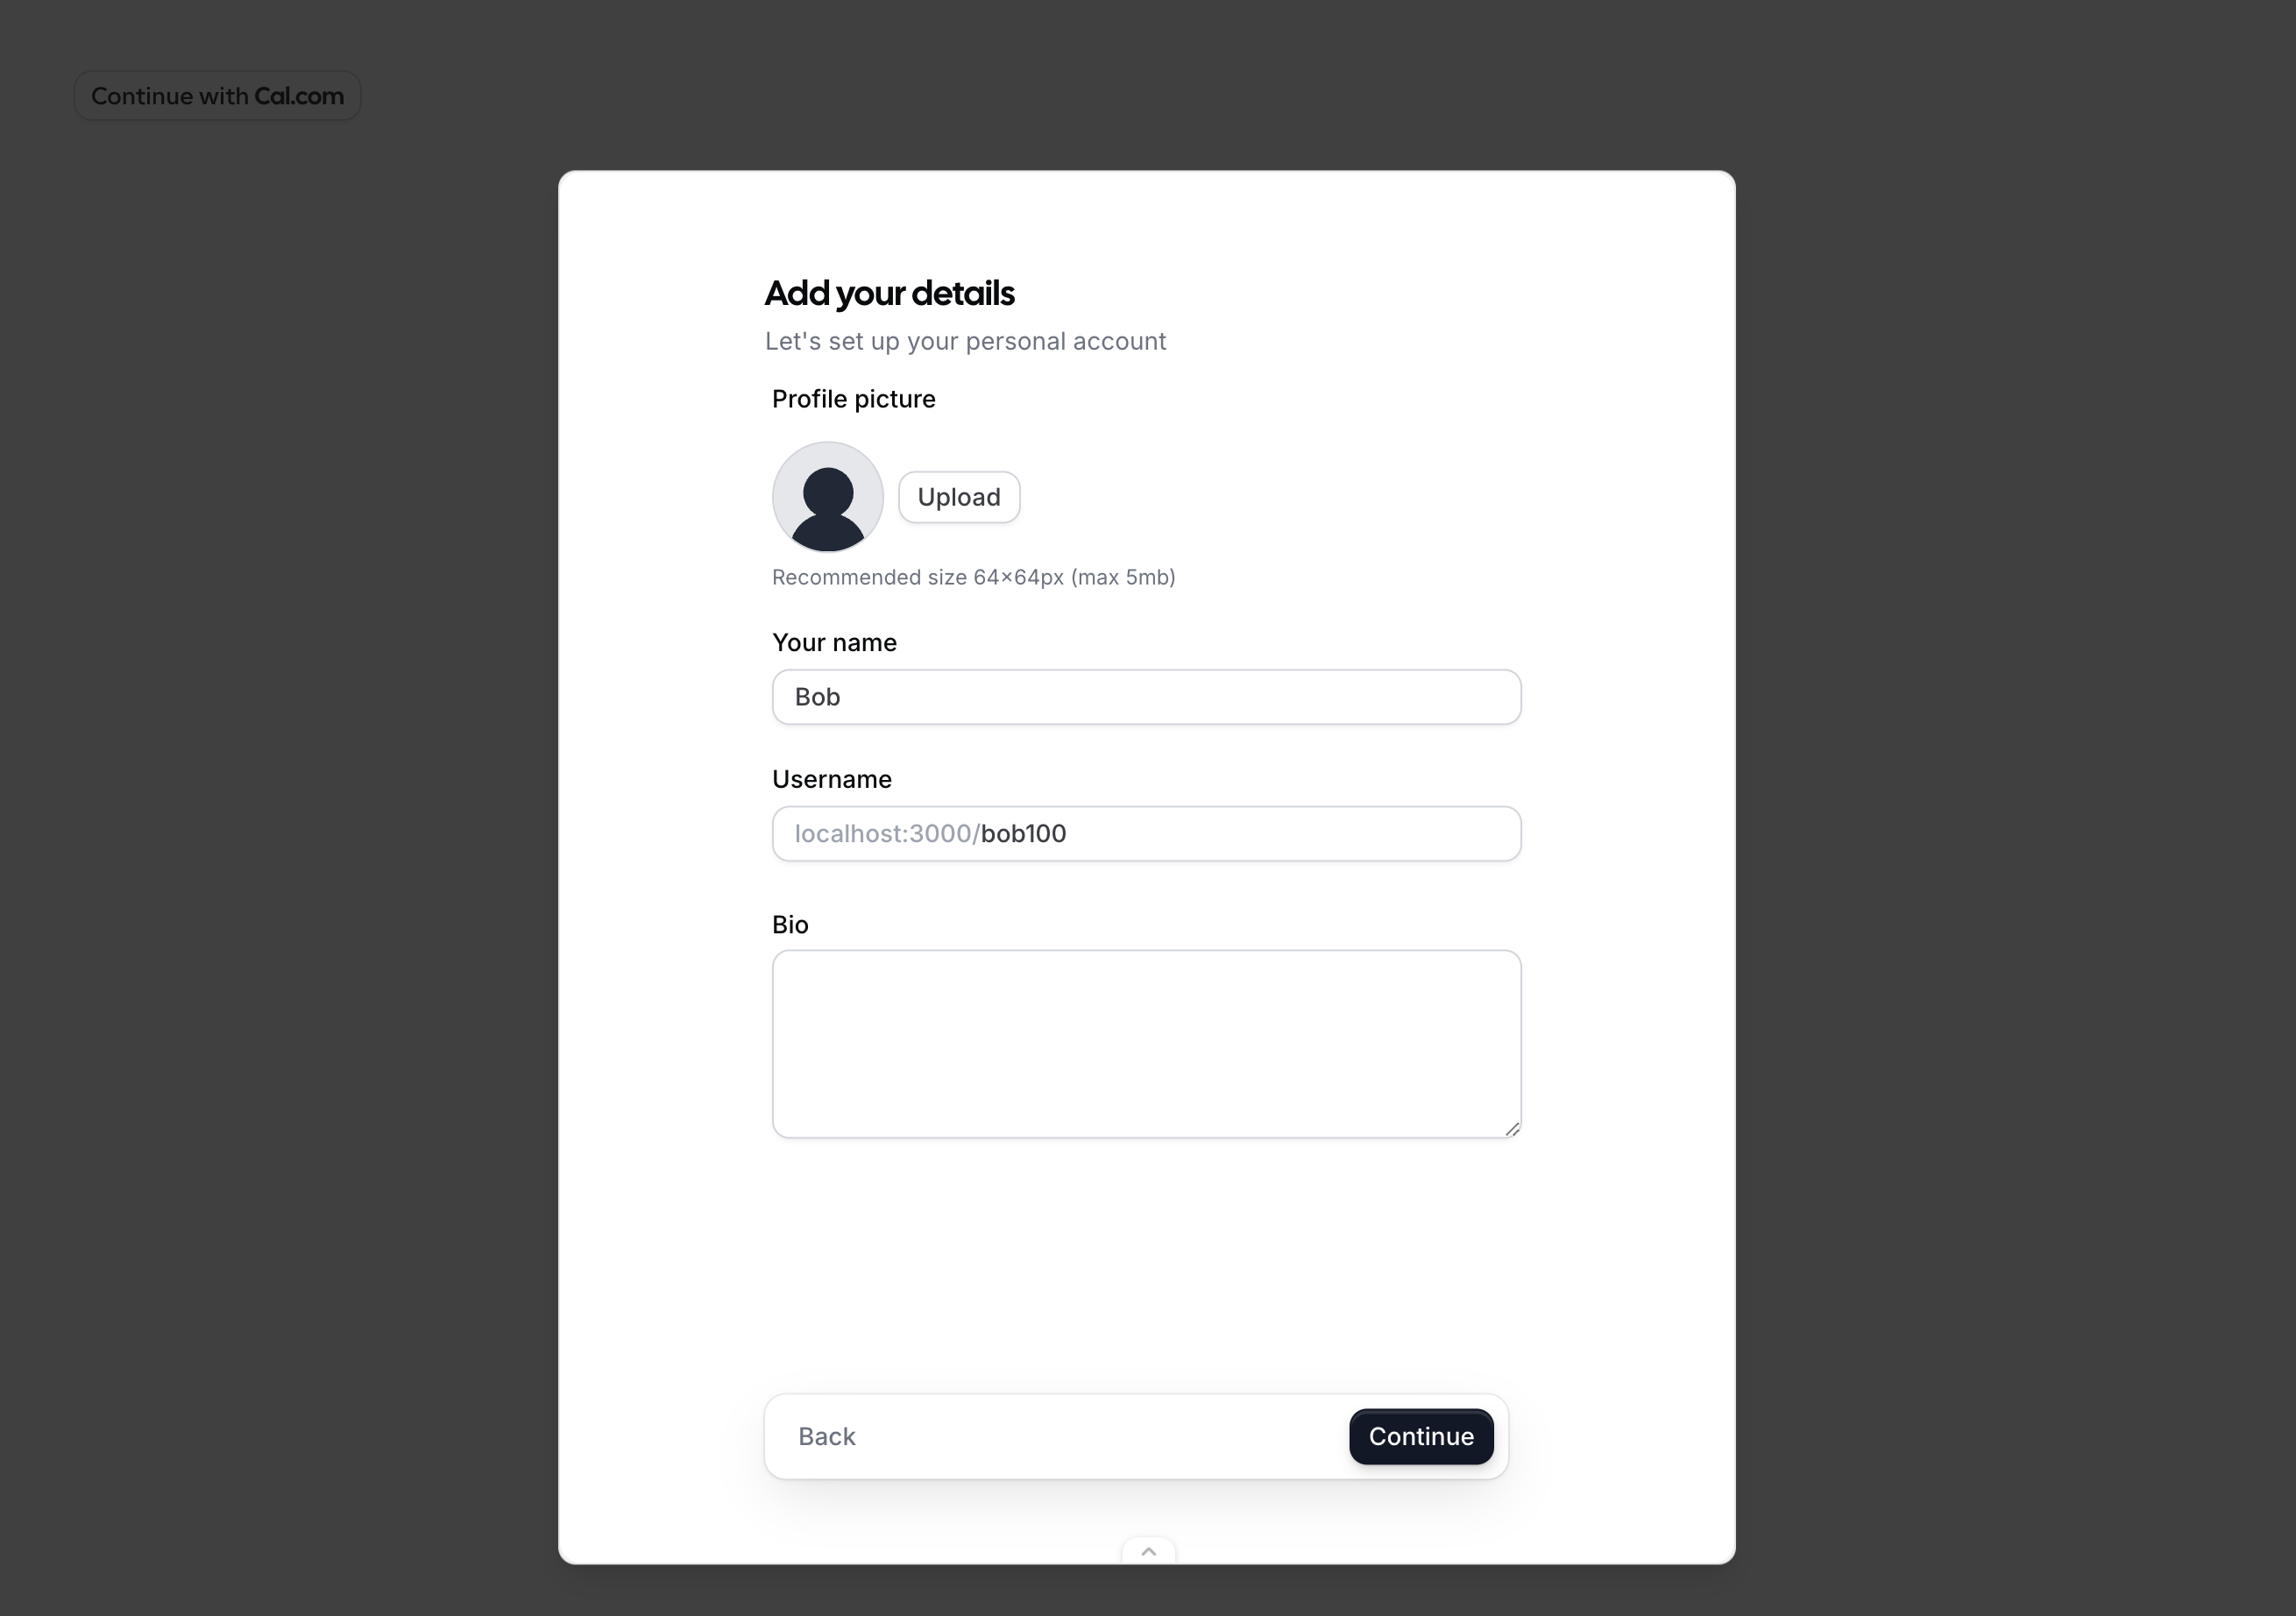
user.name prop prefills the name field.
scope passed to the component — in this example, ["EVENT_TYPE_READ"].

onAuthorizationAllowed fires with the authorization code. Exchange it for tokens using the token endpoint.
Public Clients (PKCE)
Public OAuth clients cannot safely store a client secret (e.g. browser-only apps). Use PKCE to secure the authorization code exchange instead. Generate acode_verifier, derive a code_challenge from it, and pass the challenge to OnboardingEmbed. When you receive the authorization code, exchange it with the code_verifier instead of a client secret.

Error Types
TheonError callback receives an error object with the following shape:
How It Works
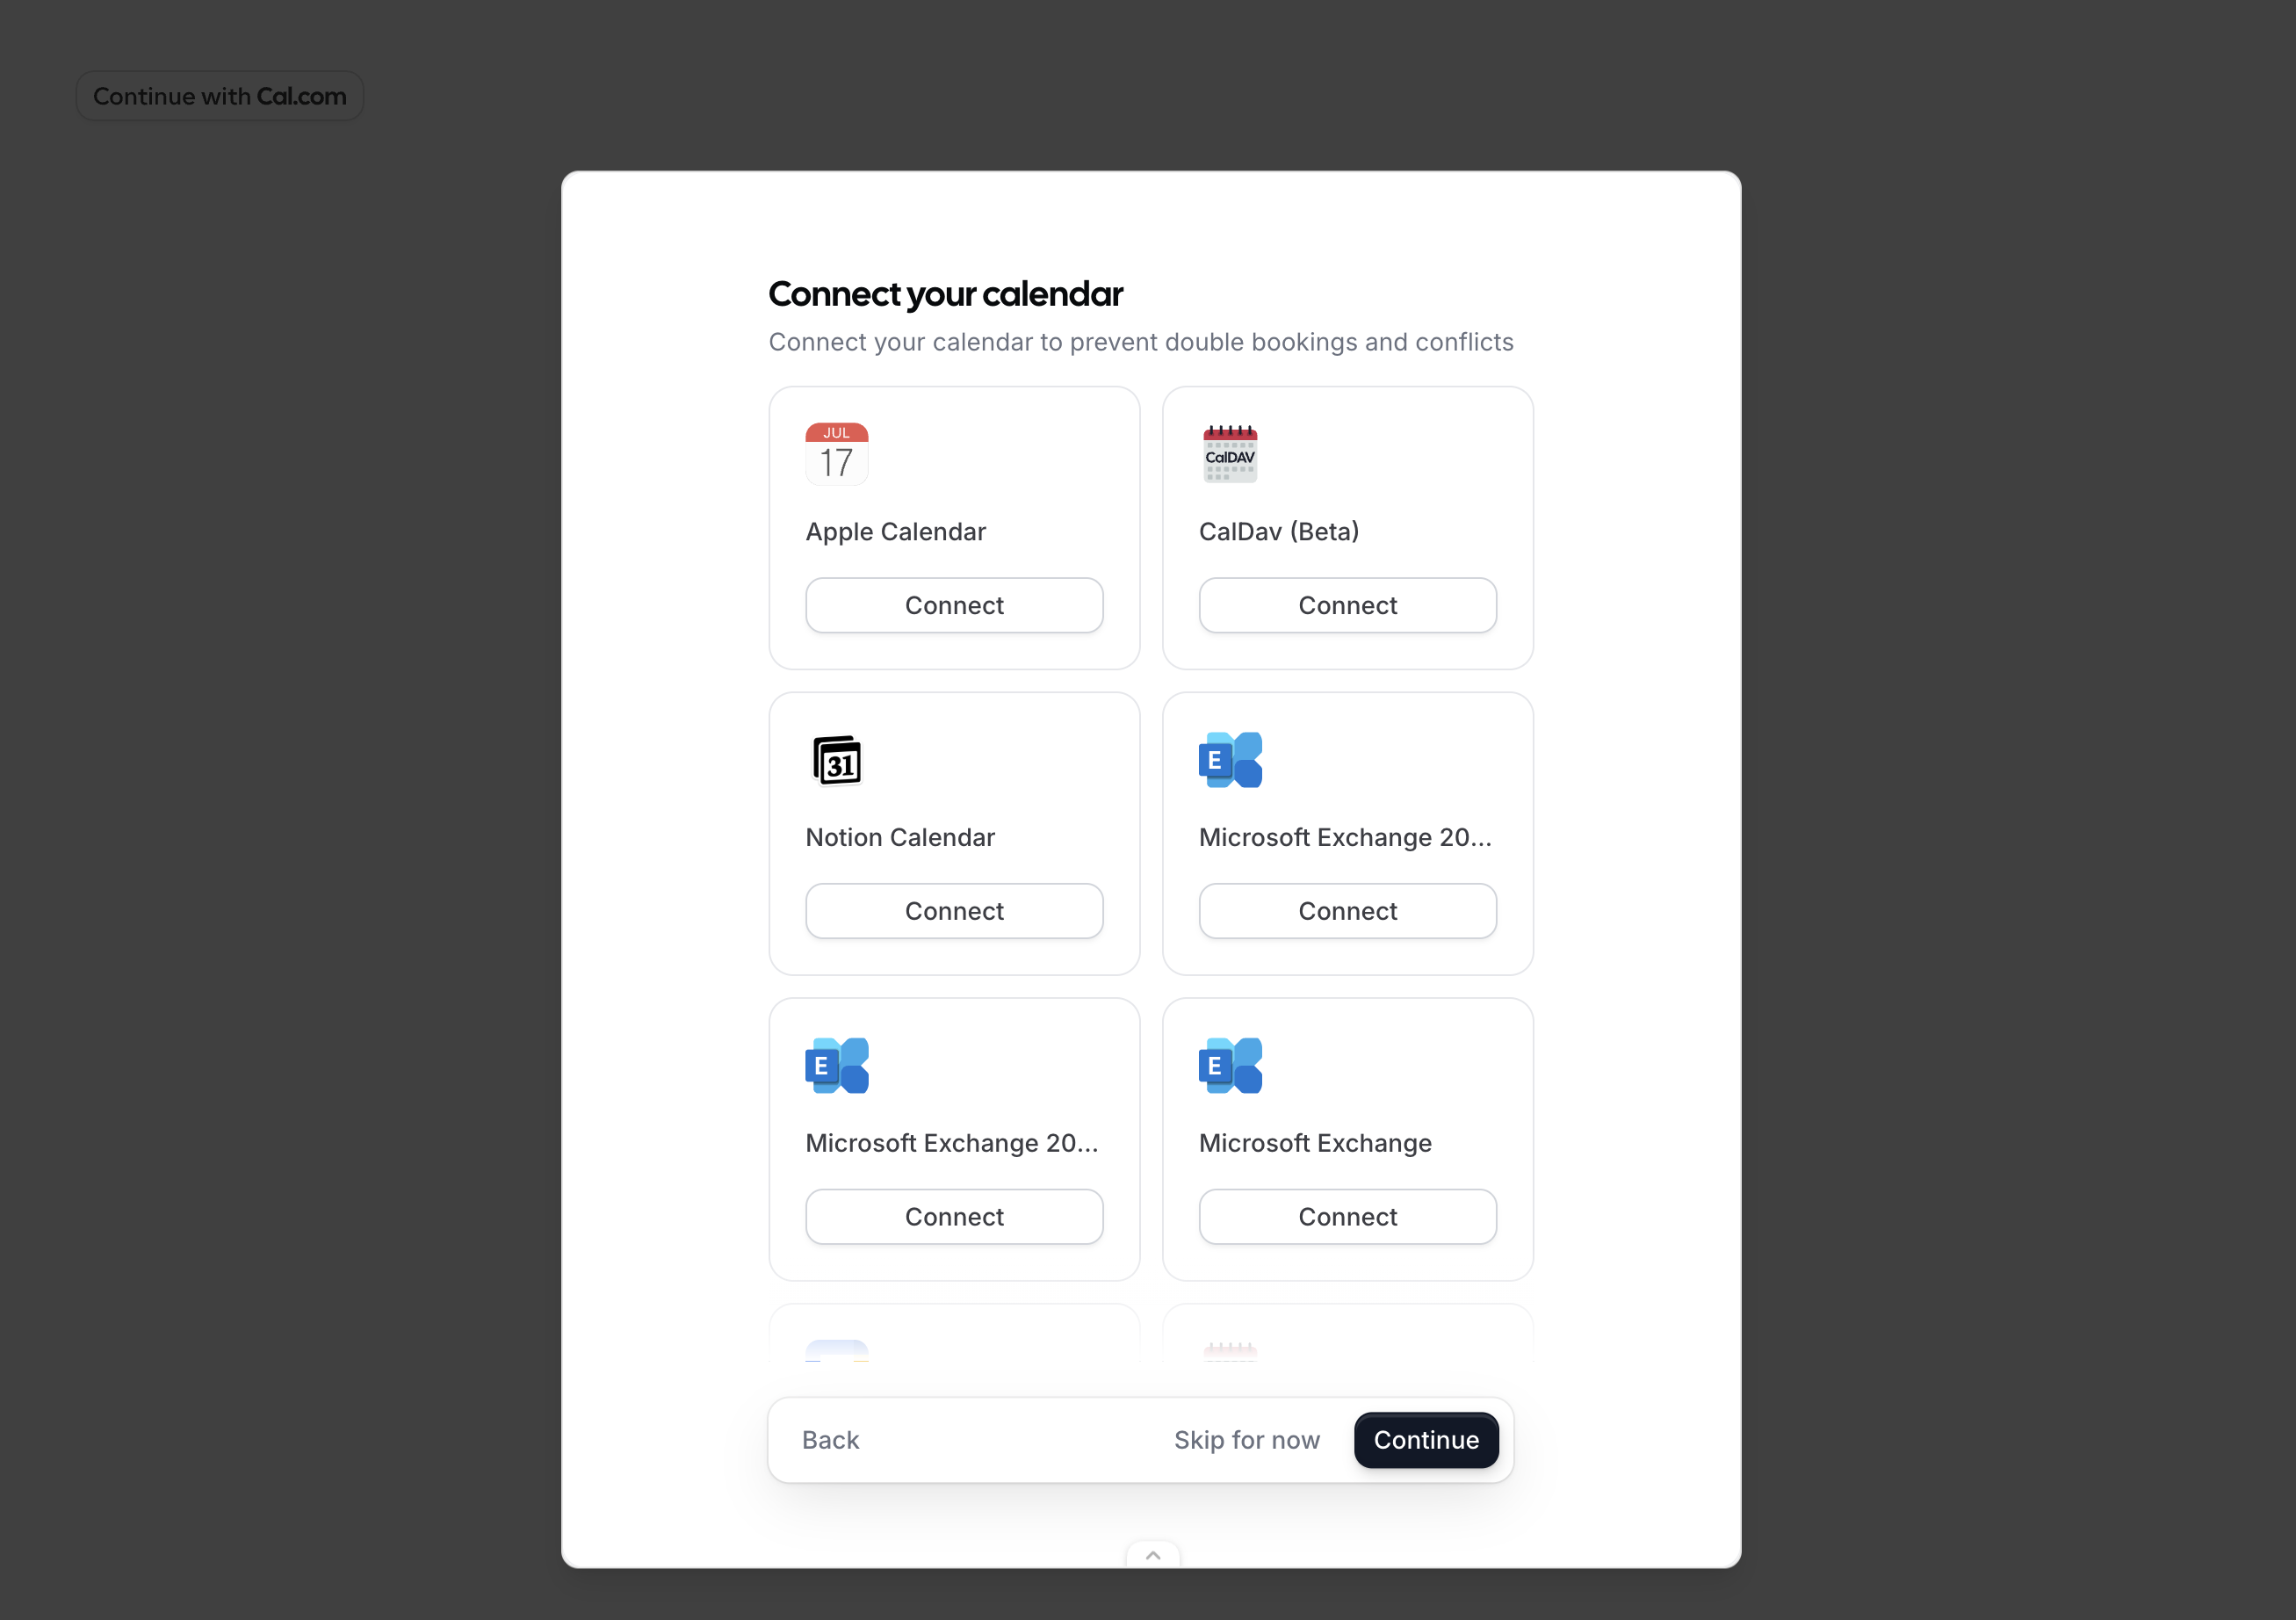
The component opens a dialog containing an iframe that loads Cal.com’s onboarding flow. The iframe runs on Cal.com’s domain with a first-party session, so no third-party cookies are needed. The flow automatically detects the user’s state:- No session — starts at signup/login, then profile setup, calendar connection, and OAuth consent.
- Session with incomplete onboarding — resumes from where the user left off.
- Session with complete onboarding — skips straight to OAuth consent.